Create a data table with a static datasource
Target audience: Modelers
Introduction
Data tables are a popular component with many Flowable Work users. Setting up a data table isn't hard, but you got to know what you're doing. This How-To will use a static datasource, wwhich is not a common use case compared to getting data from a REST API, but demonstrates the basic concepts well.
Creating the App and Process Model
First of all it will be mandatory to have Flowable Design and Work applications up and running.
Then let’s proceed and open Design and navigate to "Apps".
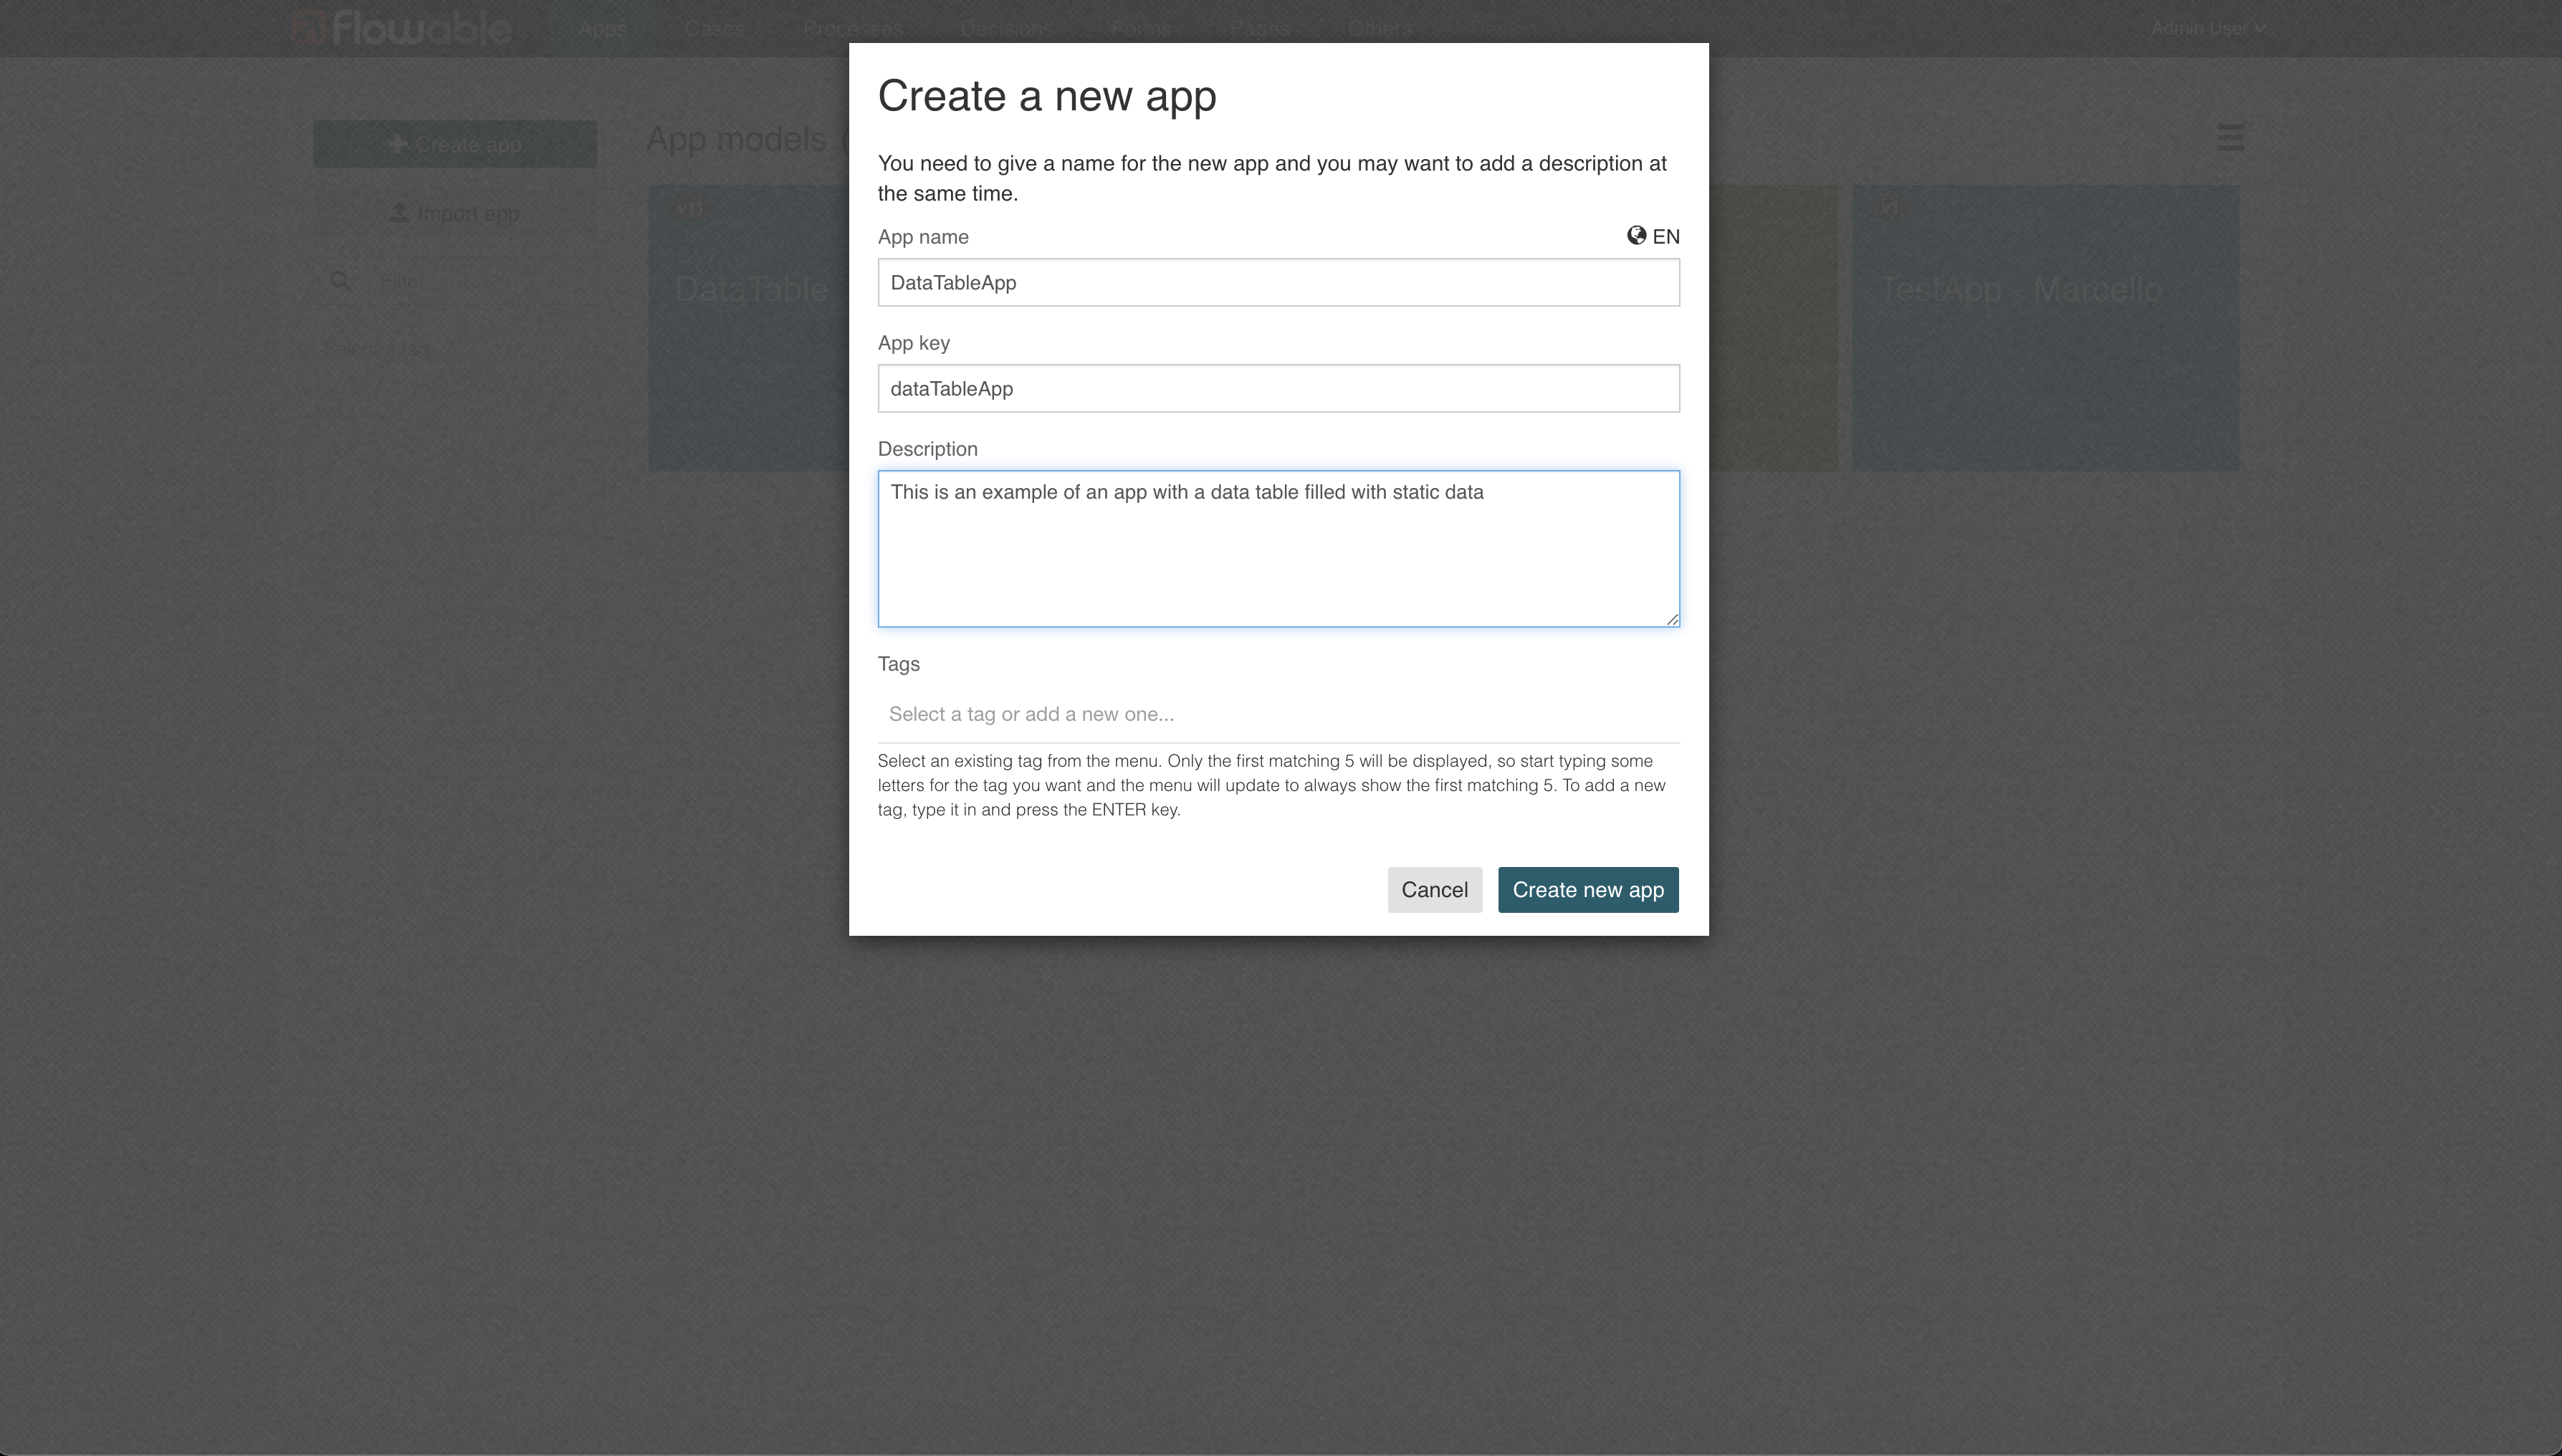
Once there, press on Create App and insert an App name e.g.: DataTableApp.
Check that the field App key will be automatically filled (feel free to edit it, if needed).
Add a Description and press on Create new app at the bottom right corner of the popup.
The main menu of the recently created app will automatically appear:
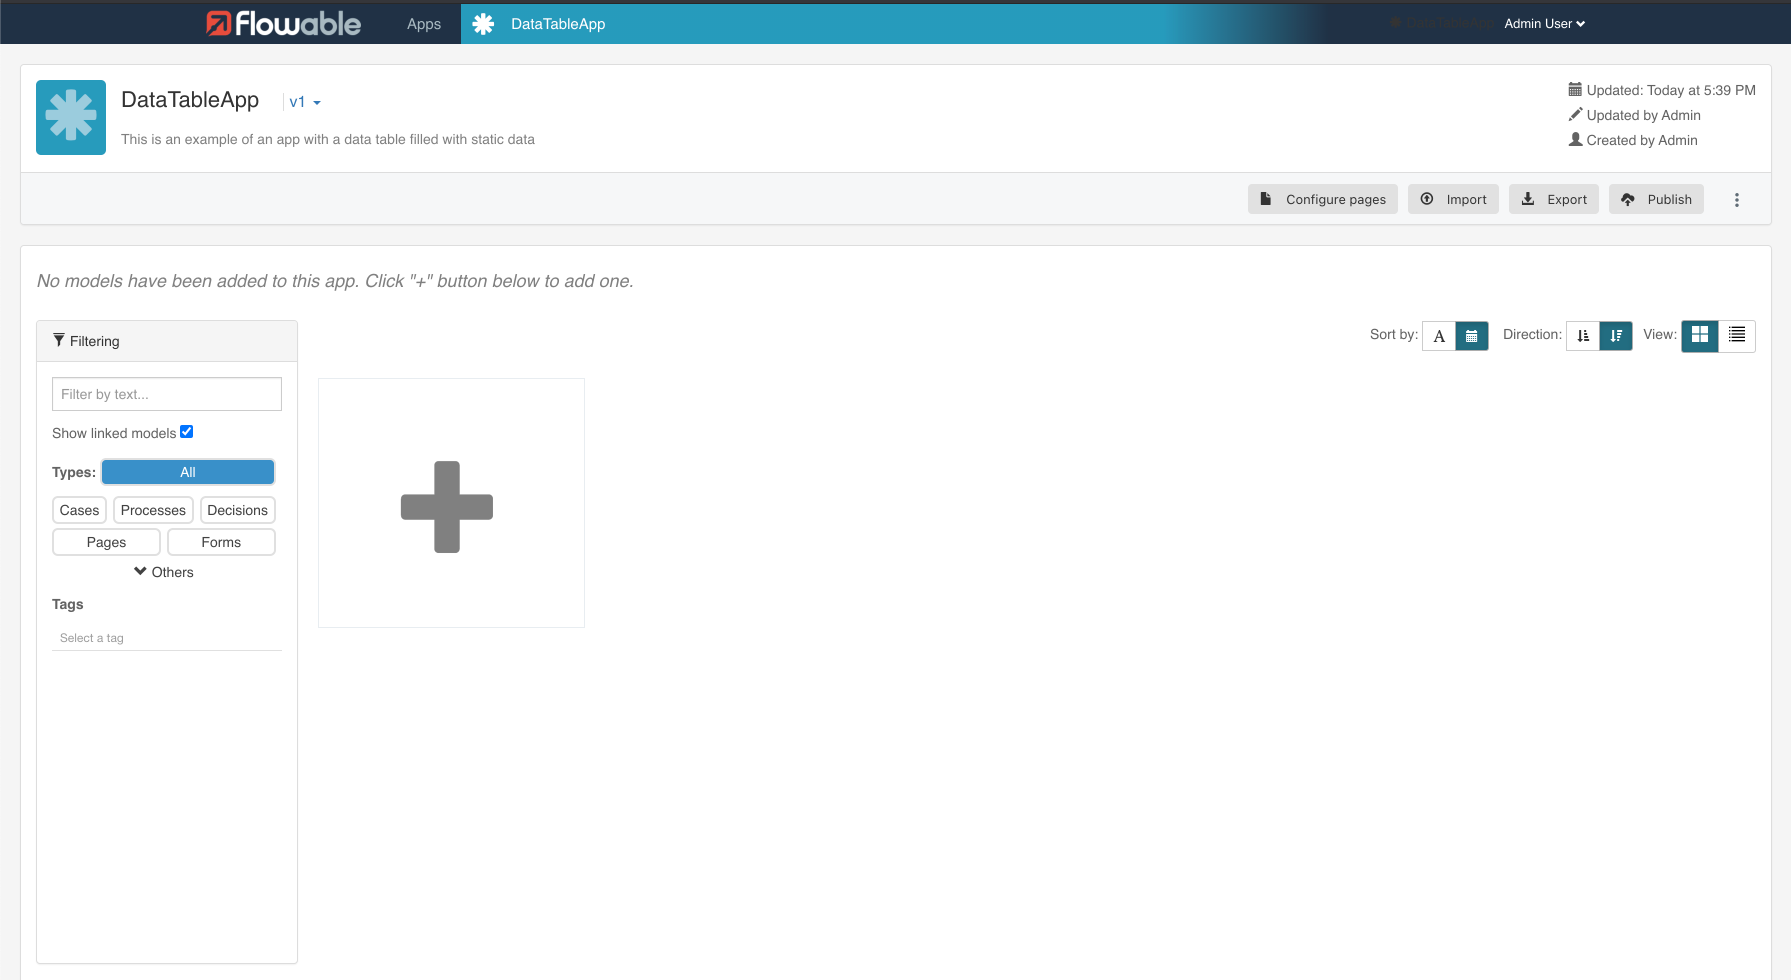
In order to get our data table working, the first thing to do will be to create a simple process.
So, press on the big plus button in the middle of the screen and another popup (What would you like to do?) will show up.
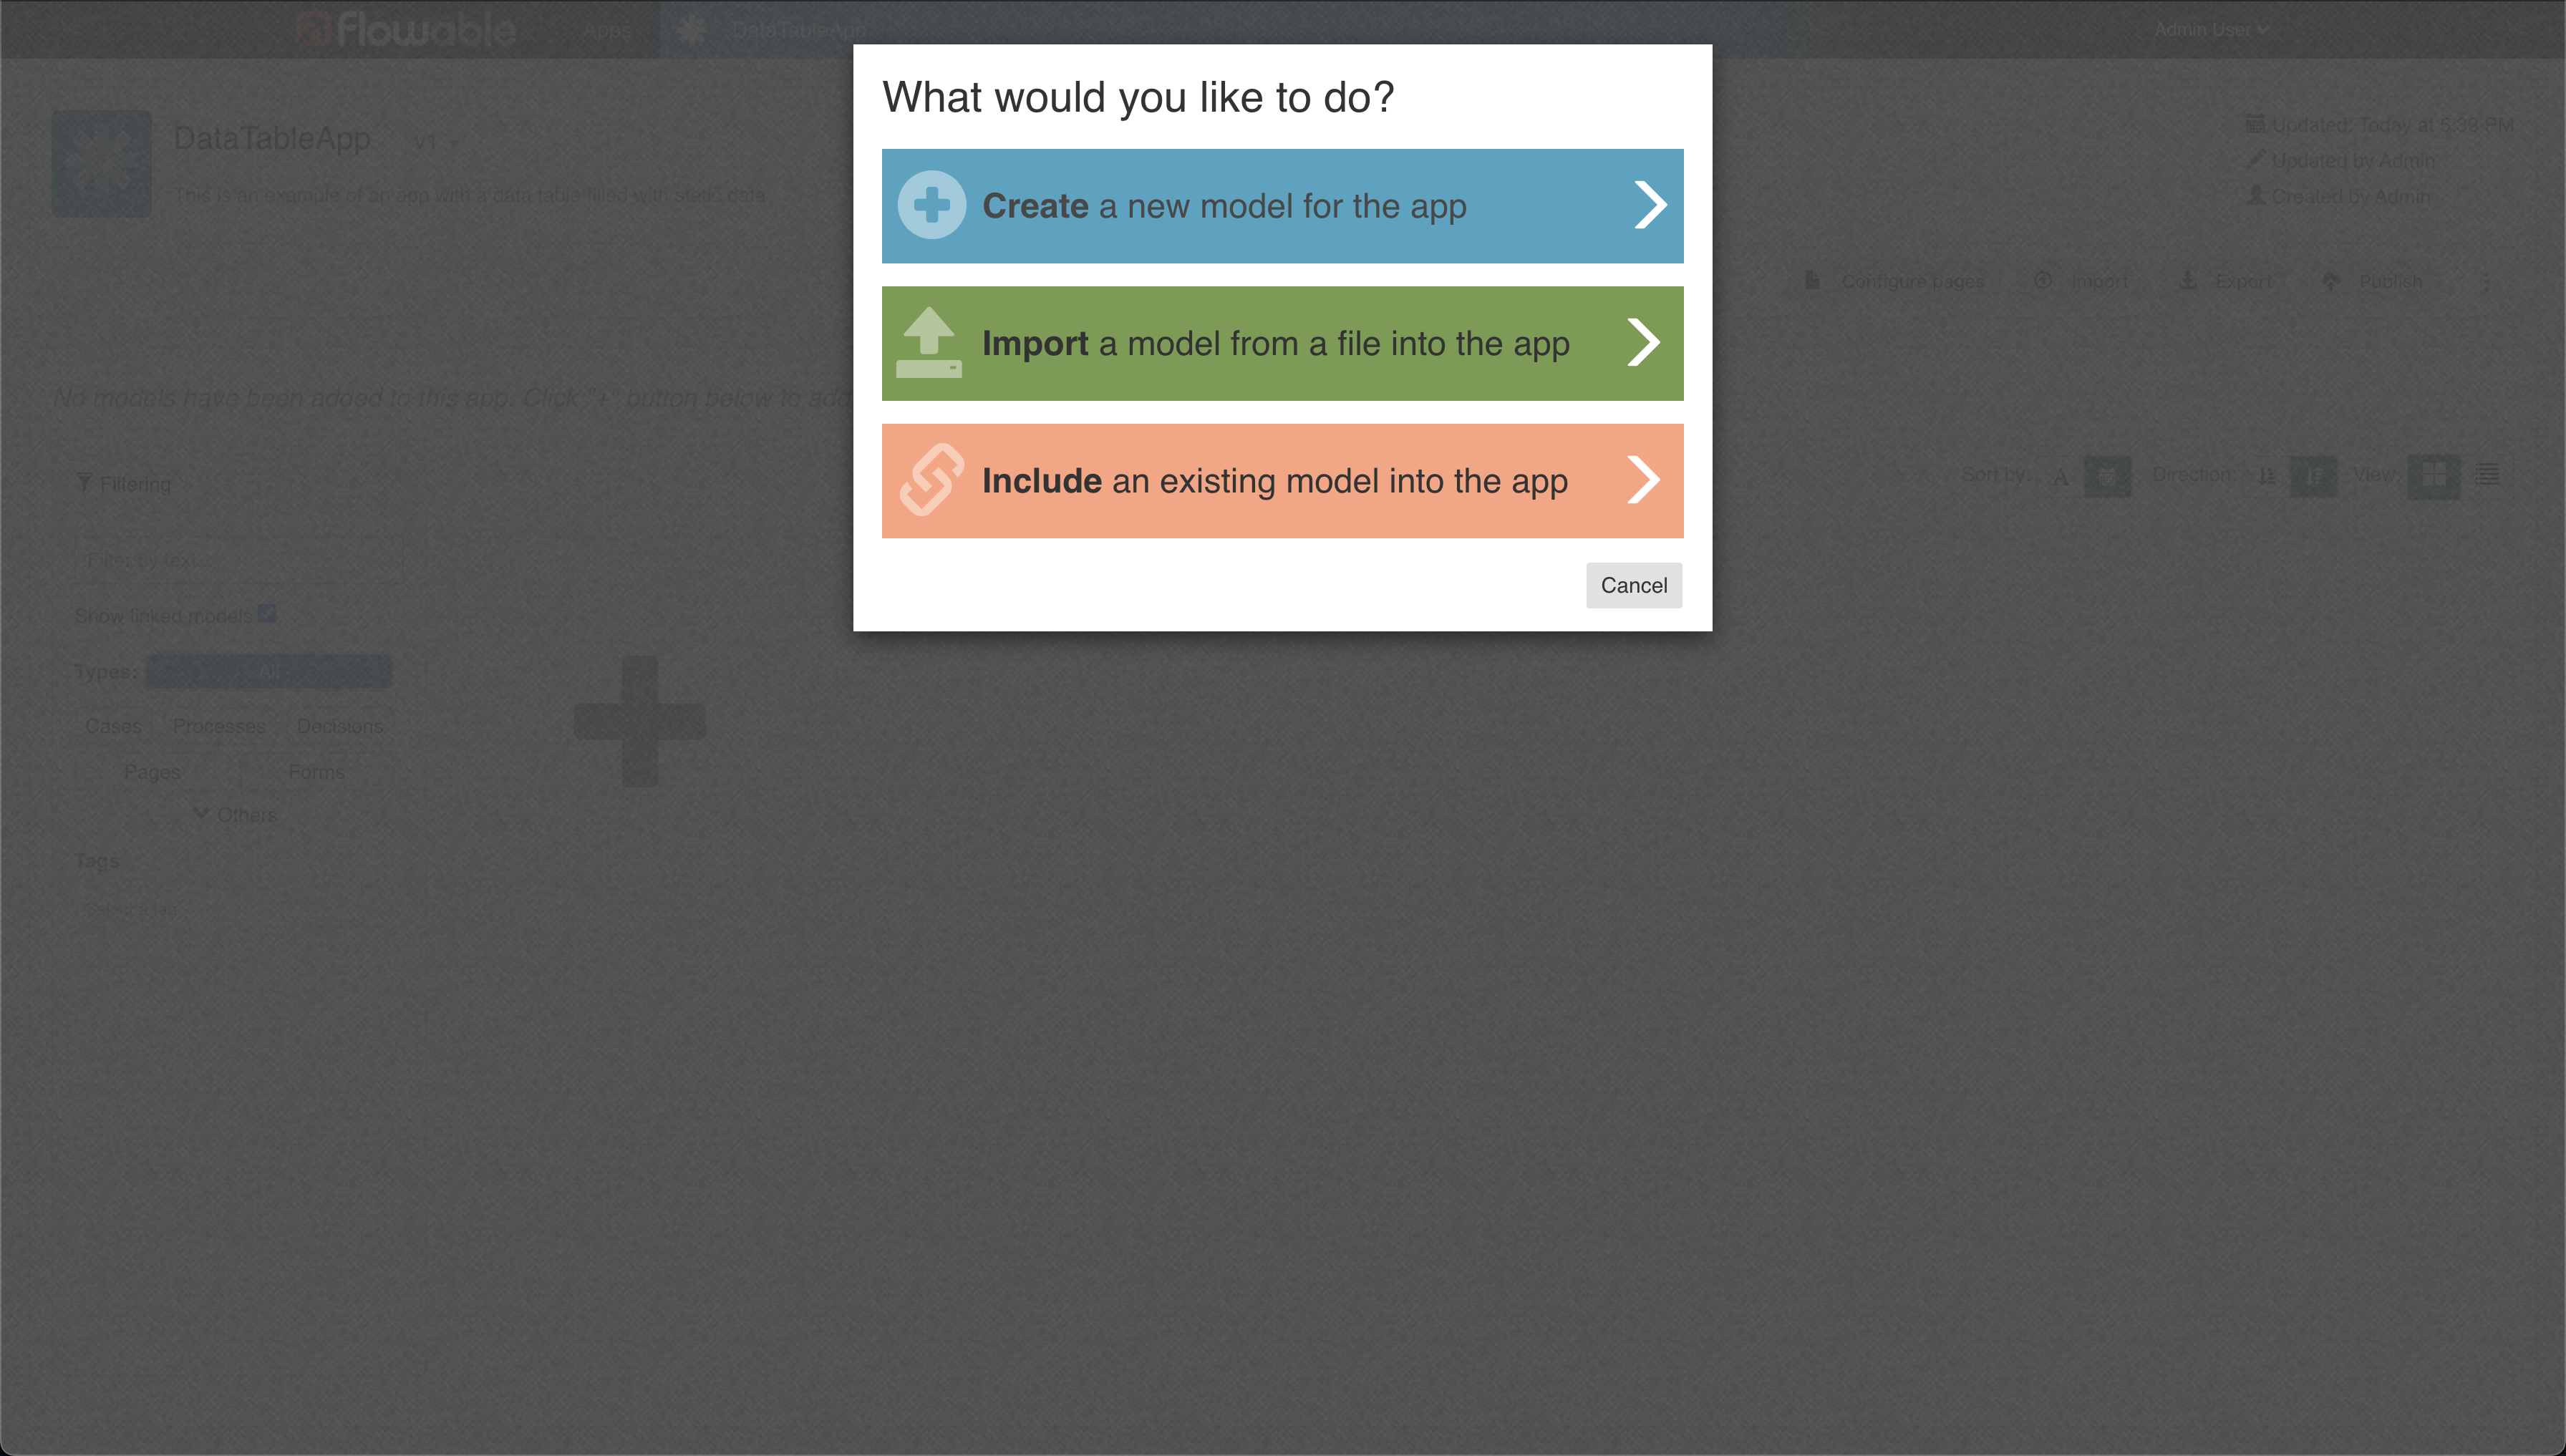
Press on the first option Create a new model for the app and then What type of model do you want to create? will slide in , once there select Process.
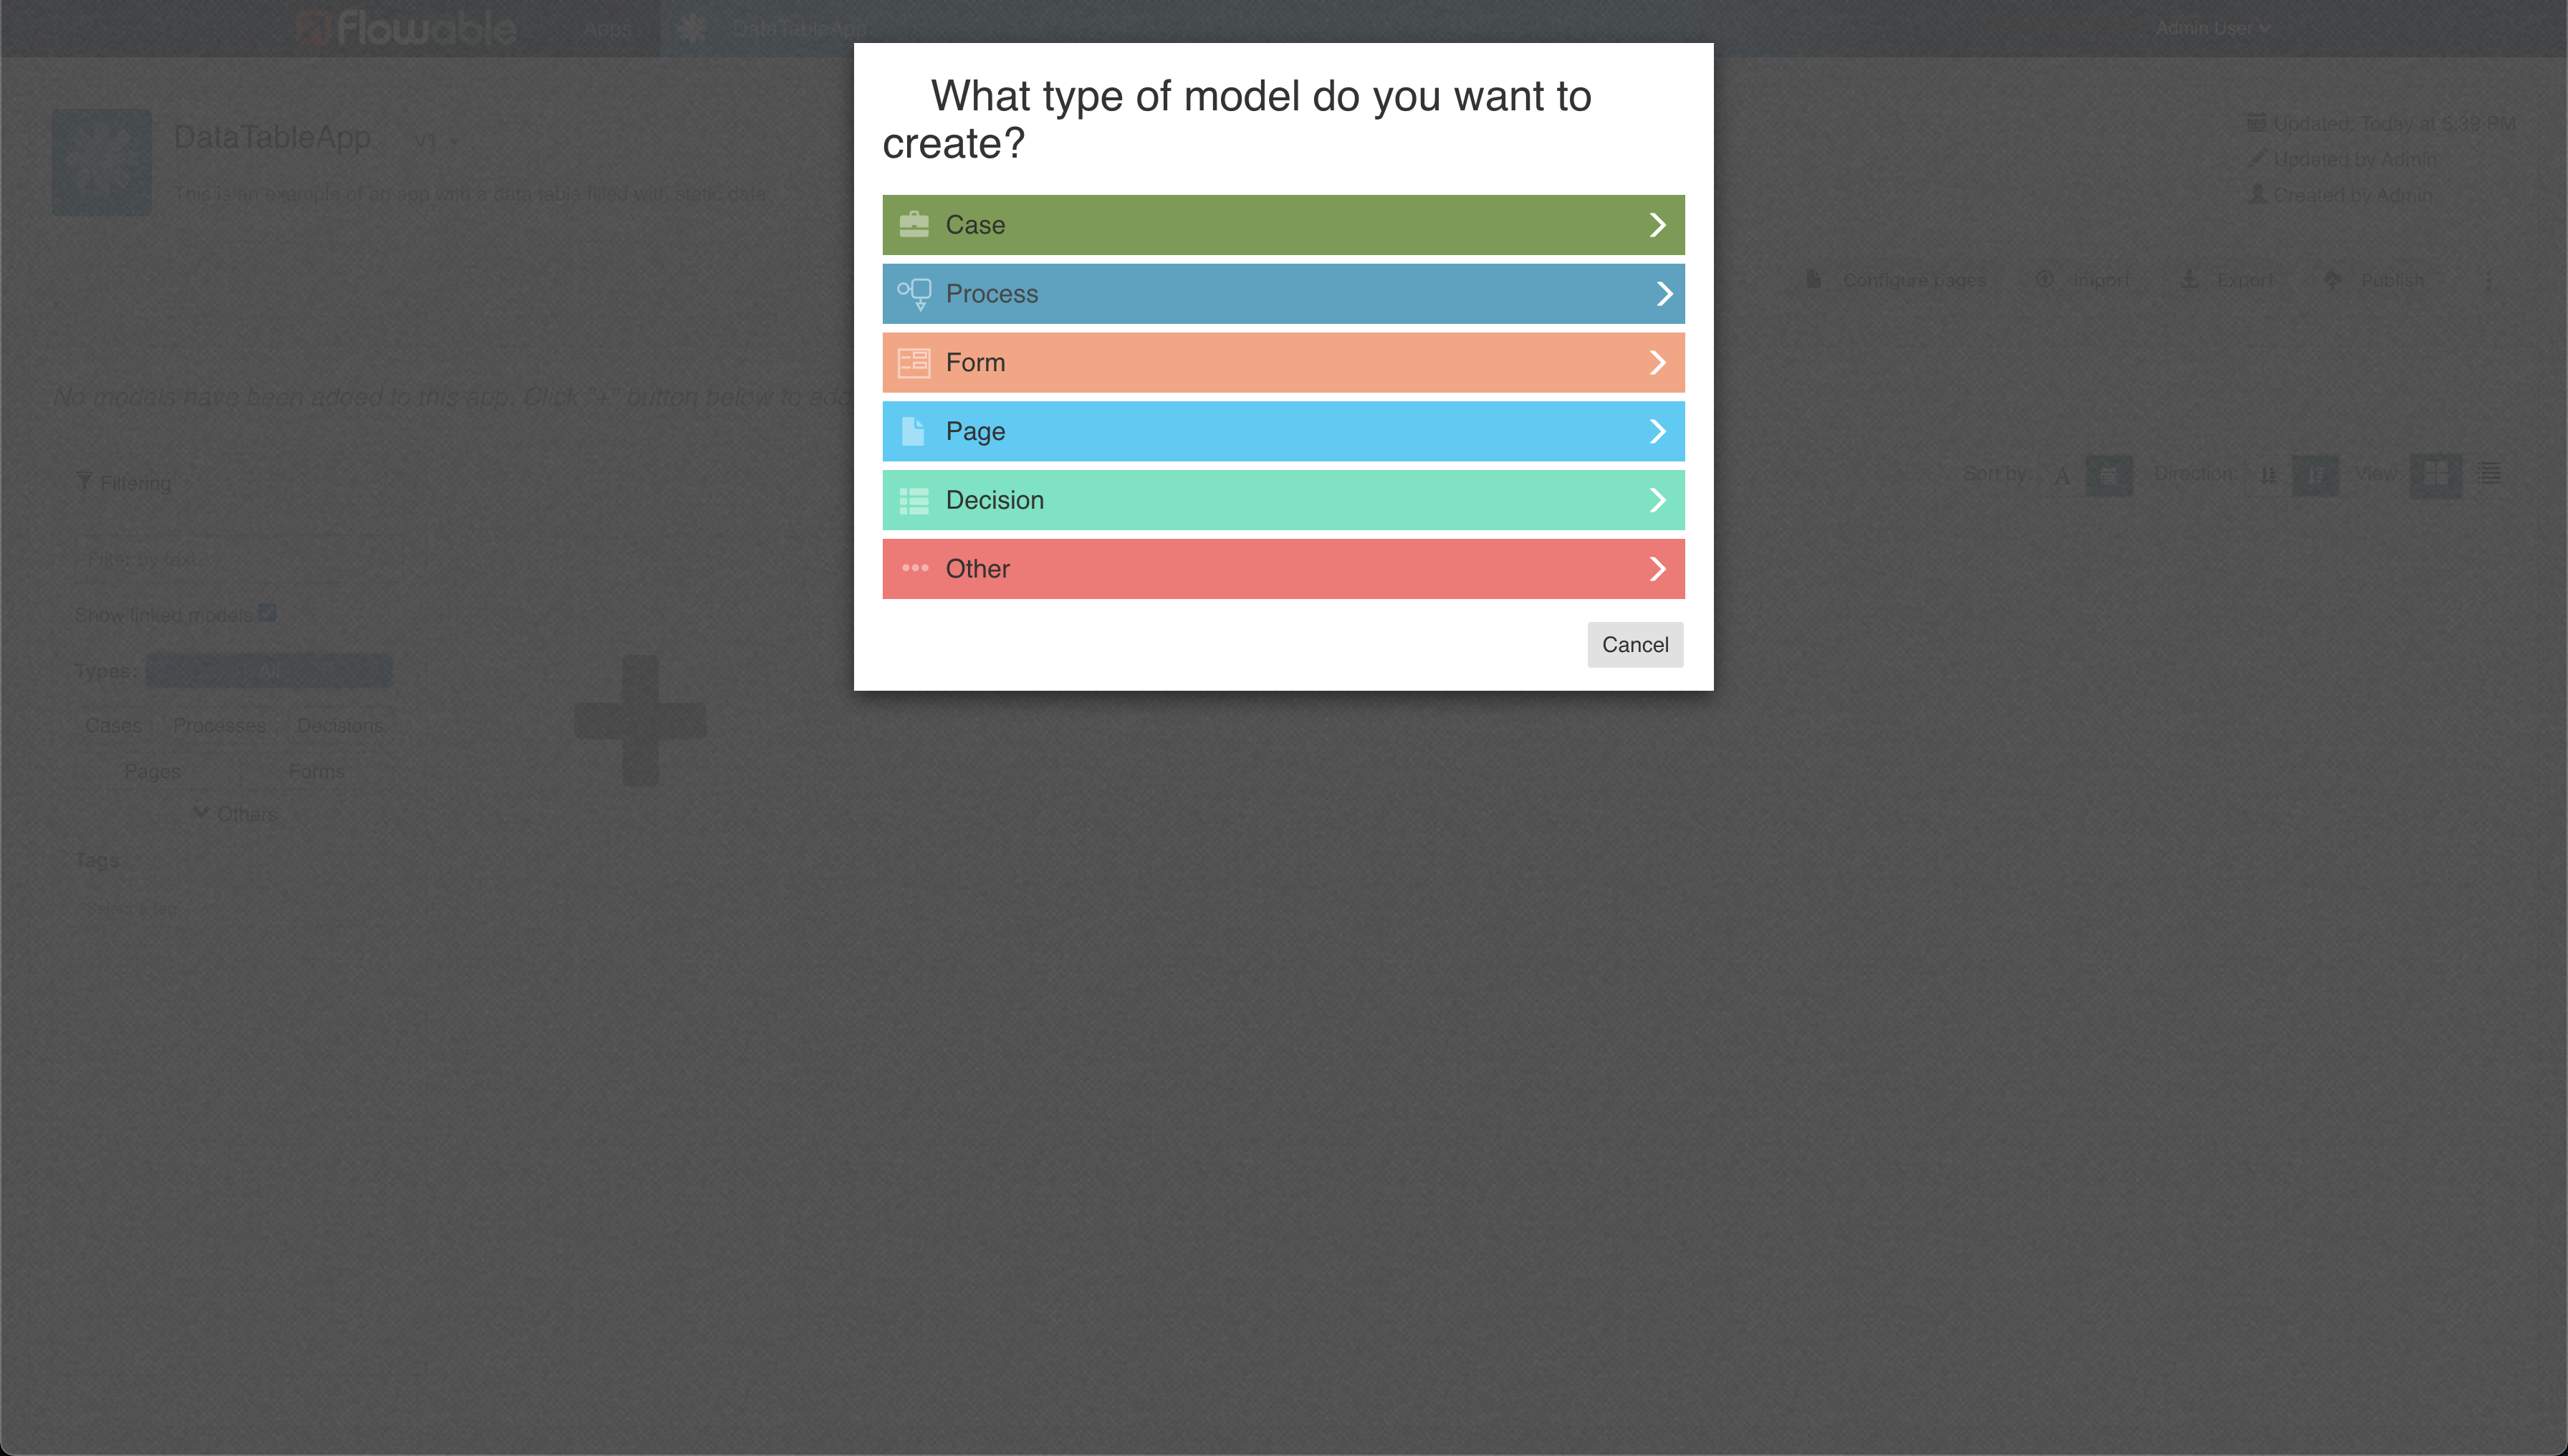
A similar form like the one for the creation of the app will pop up, so fill in the requested data as before, giving the process model a name and key:
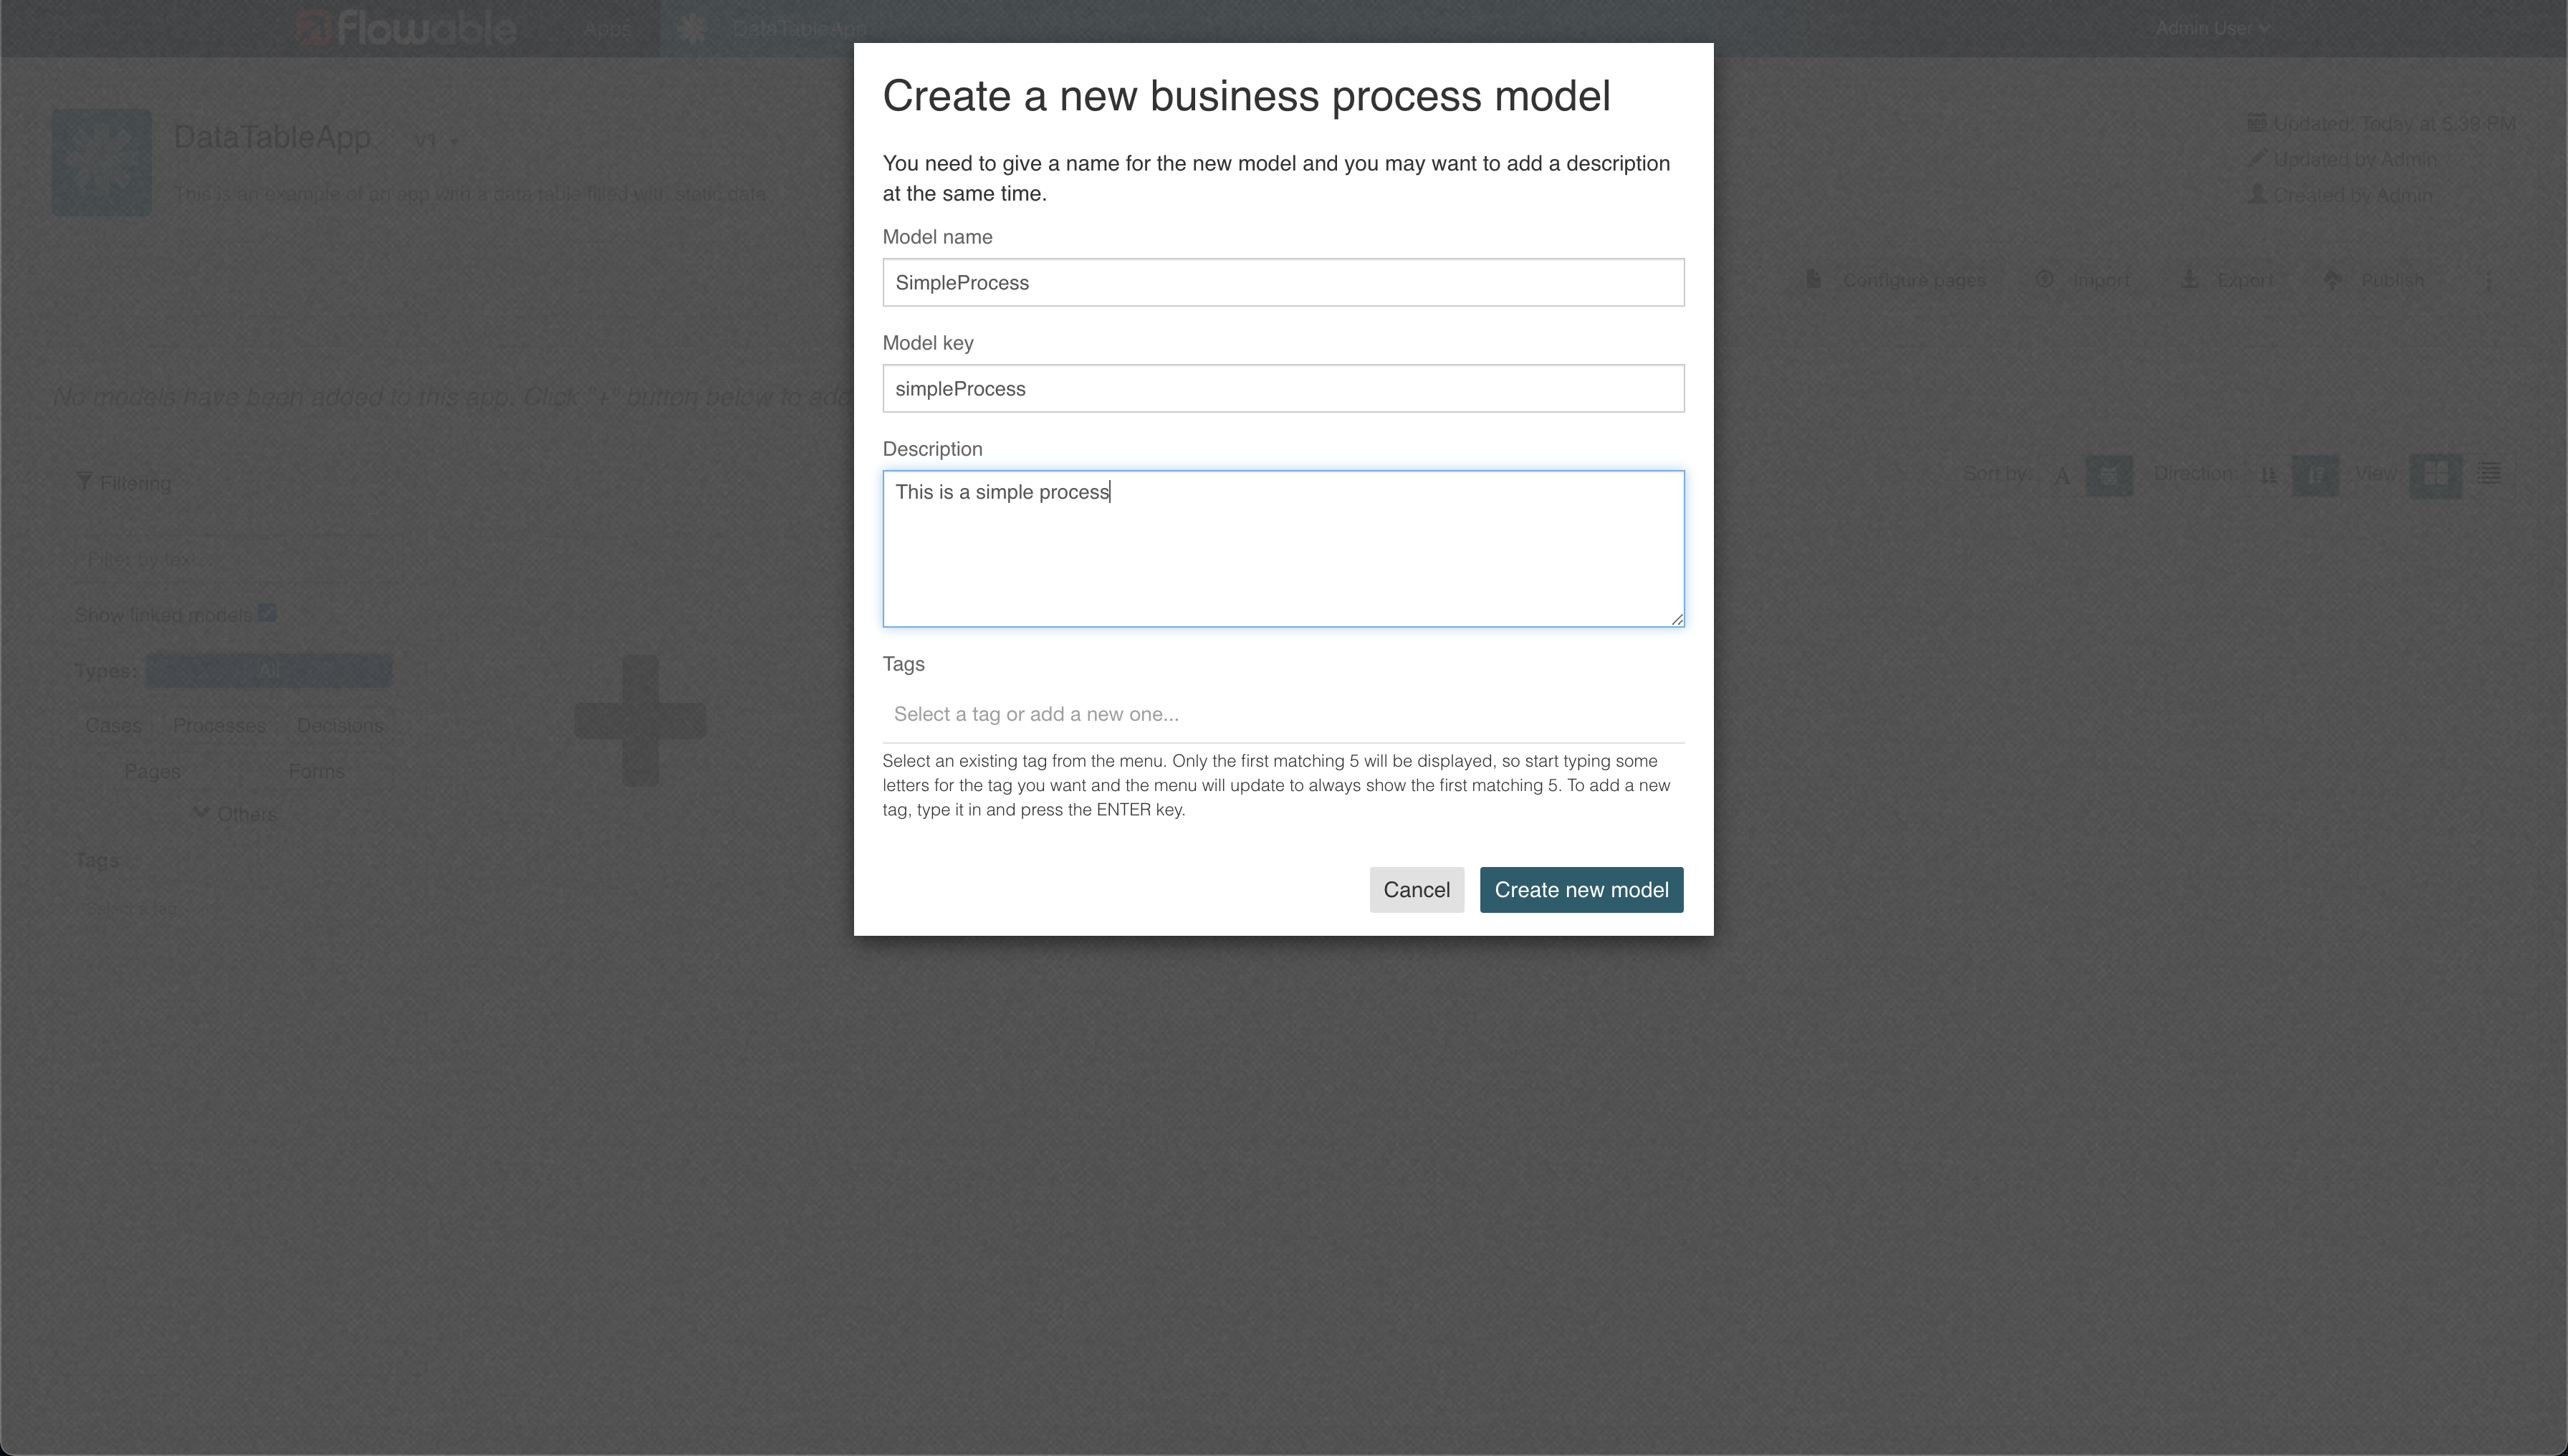
Automatically the page will redirect to the BPMN editor, so now it will be possible to create the process:
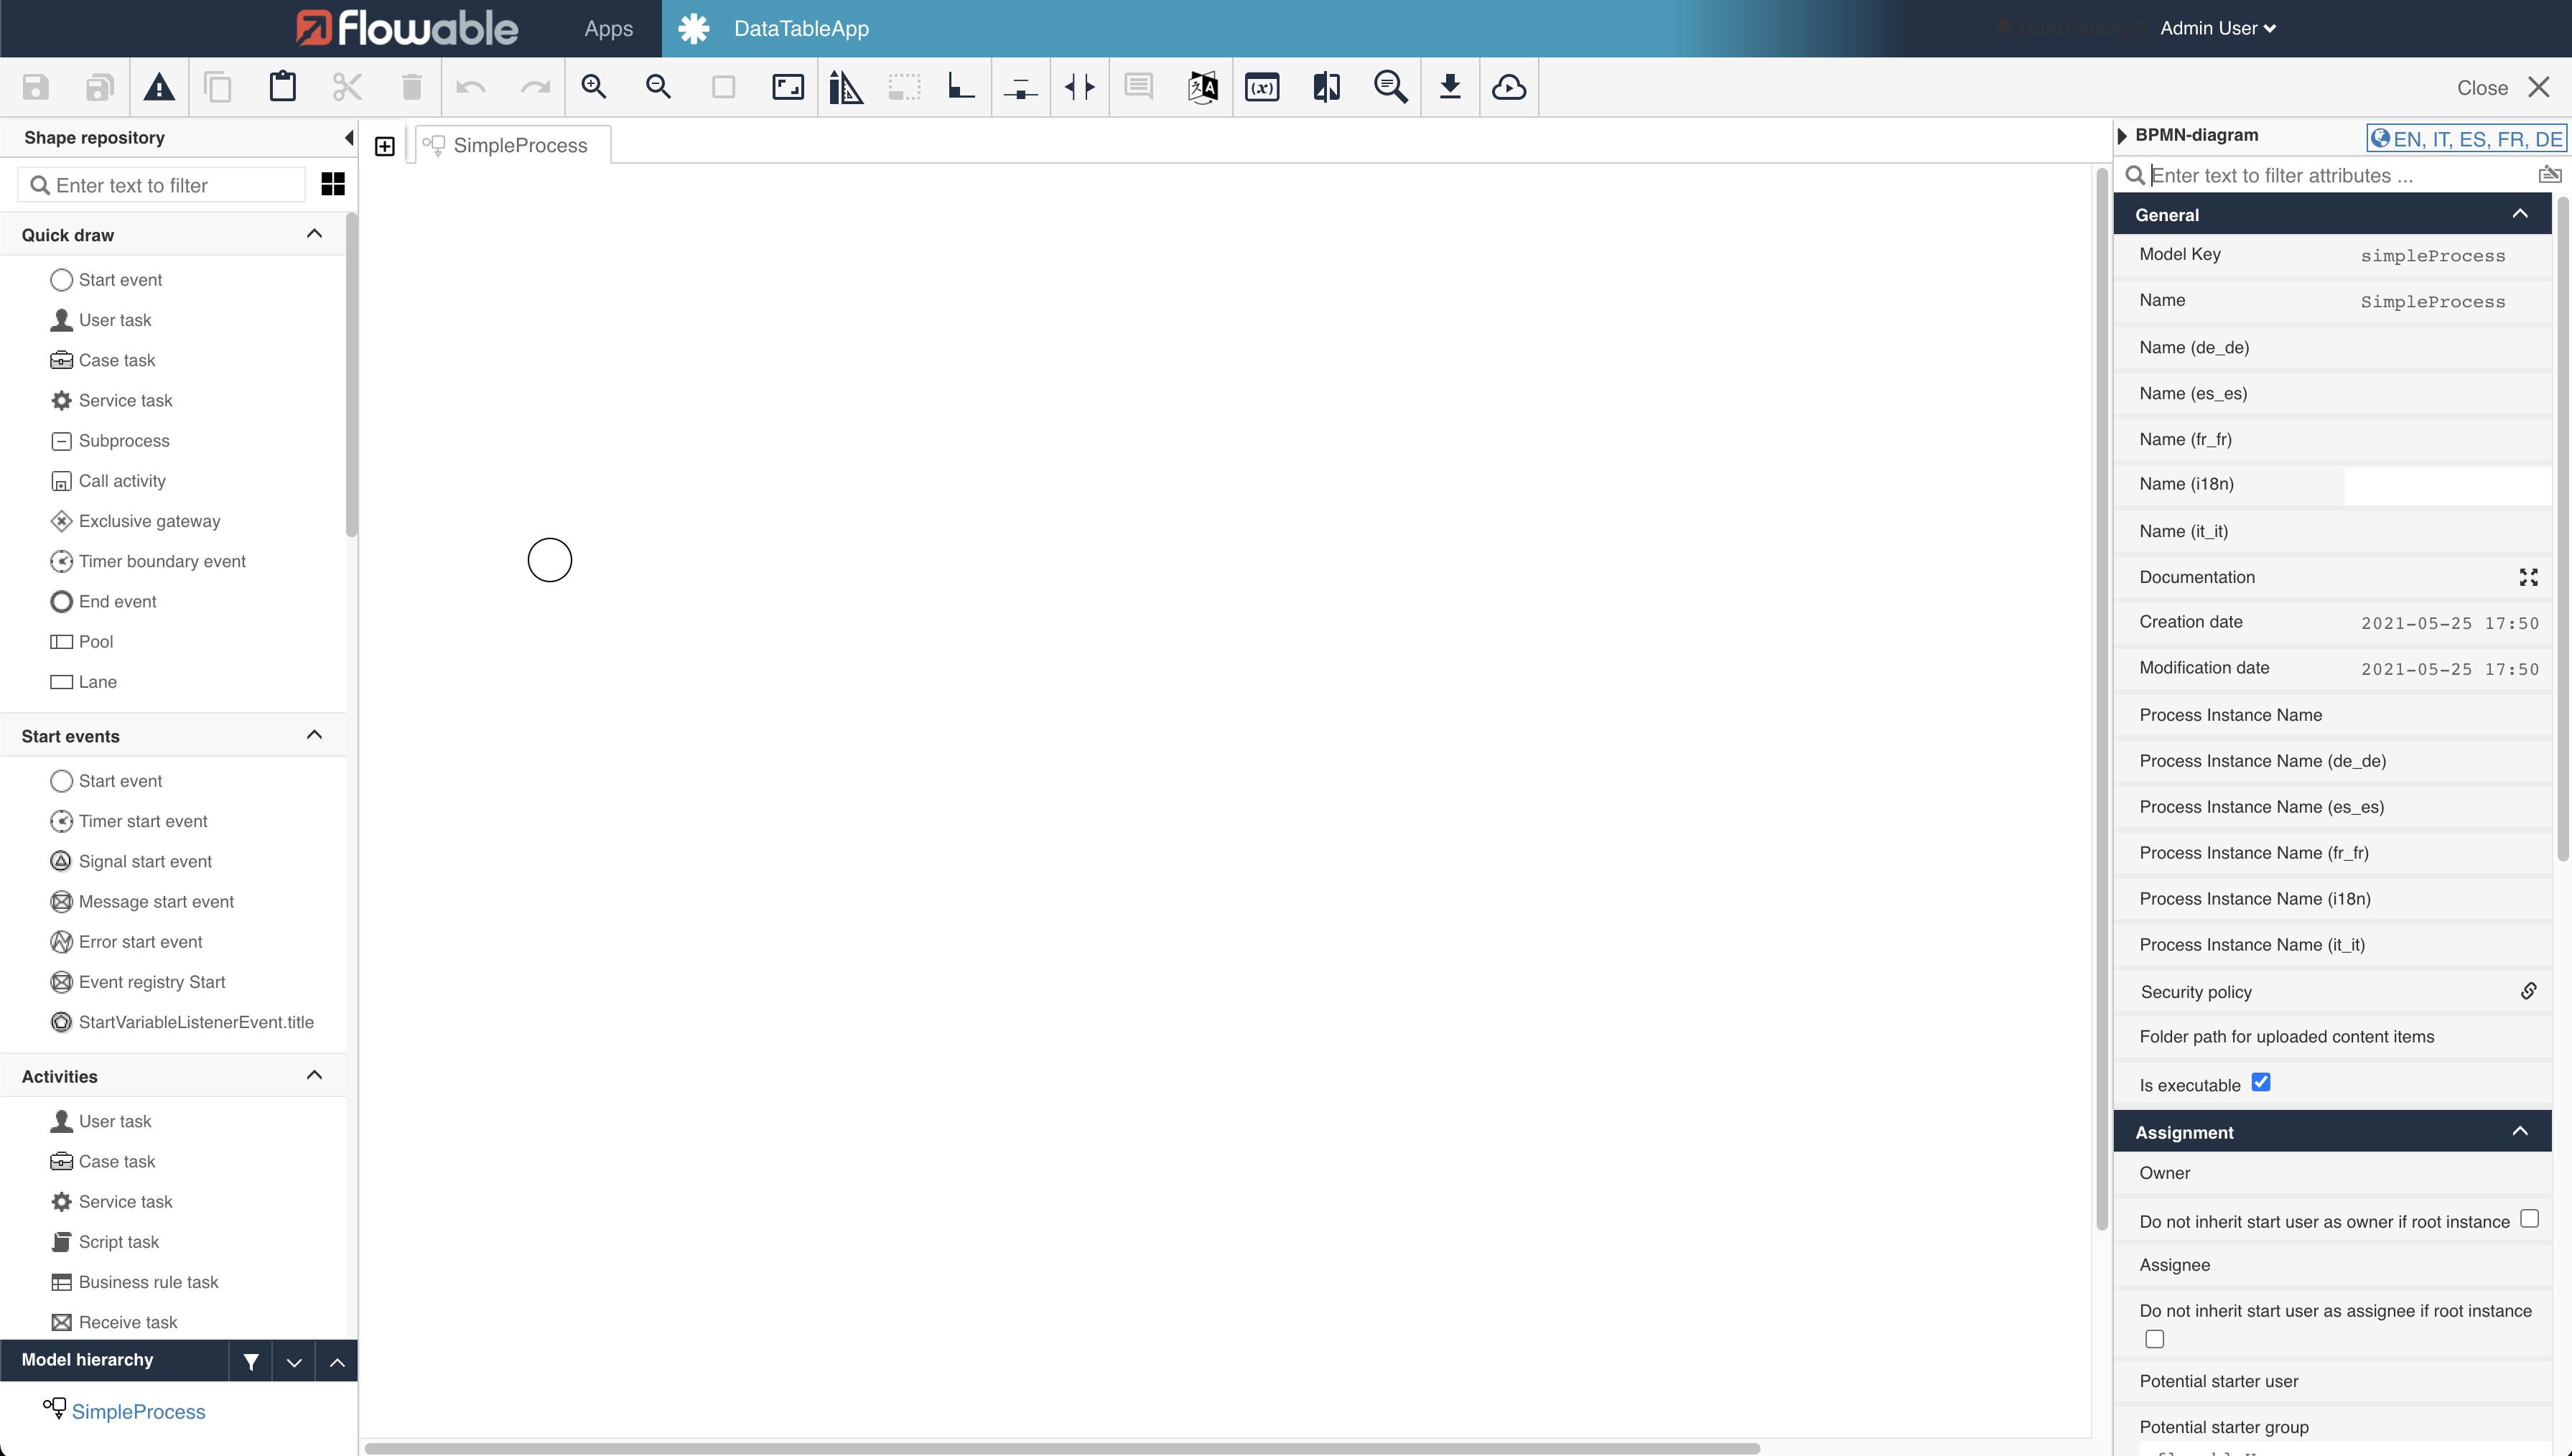
Let’s drag User Task from Quick draw in the left panel and drop it next to the circle (leave a space between the elements).
Then select End event and repeat the same steps as above.
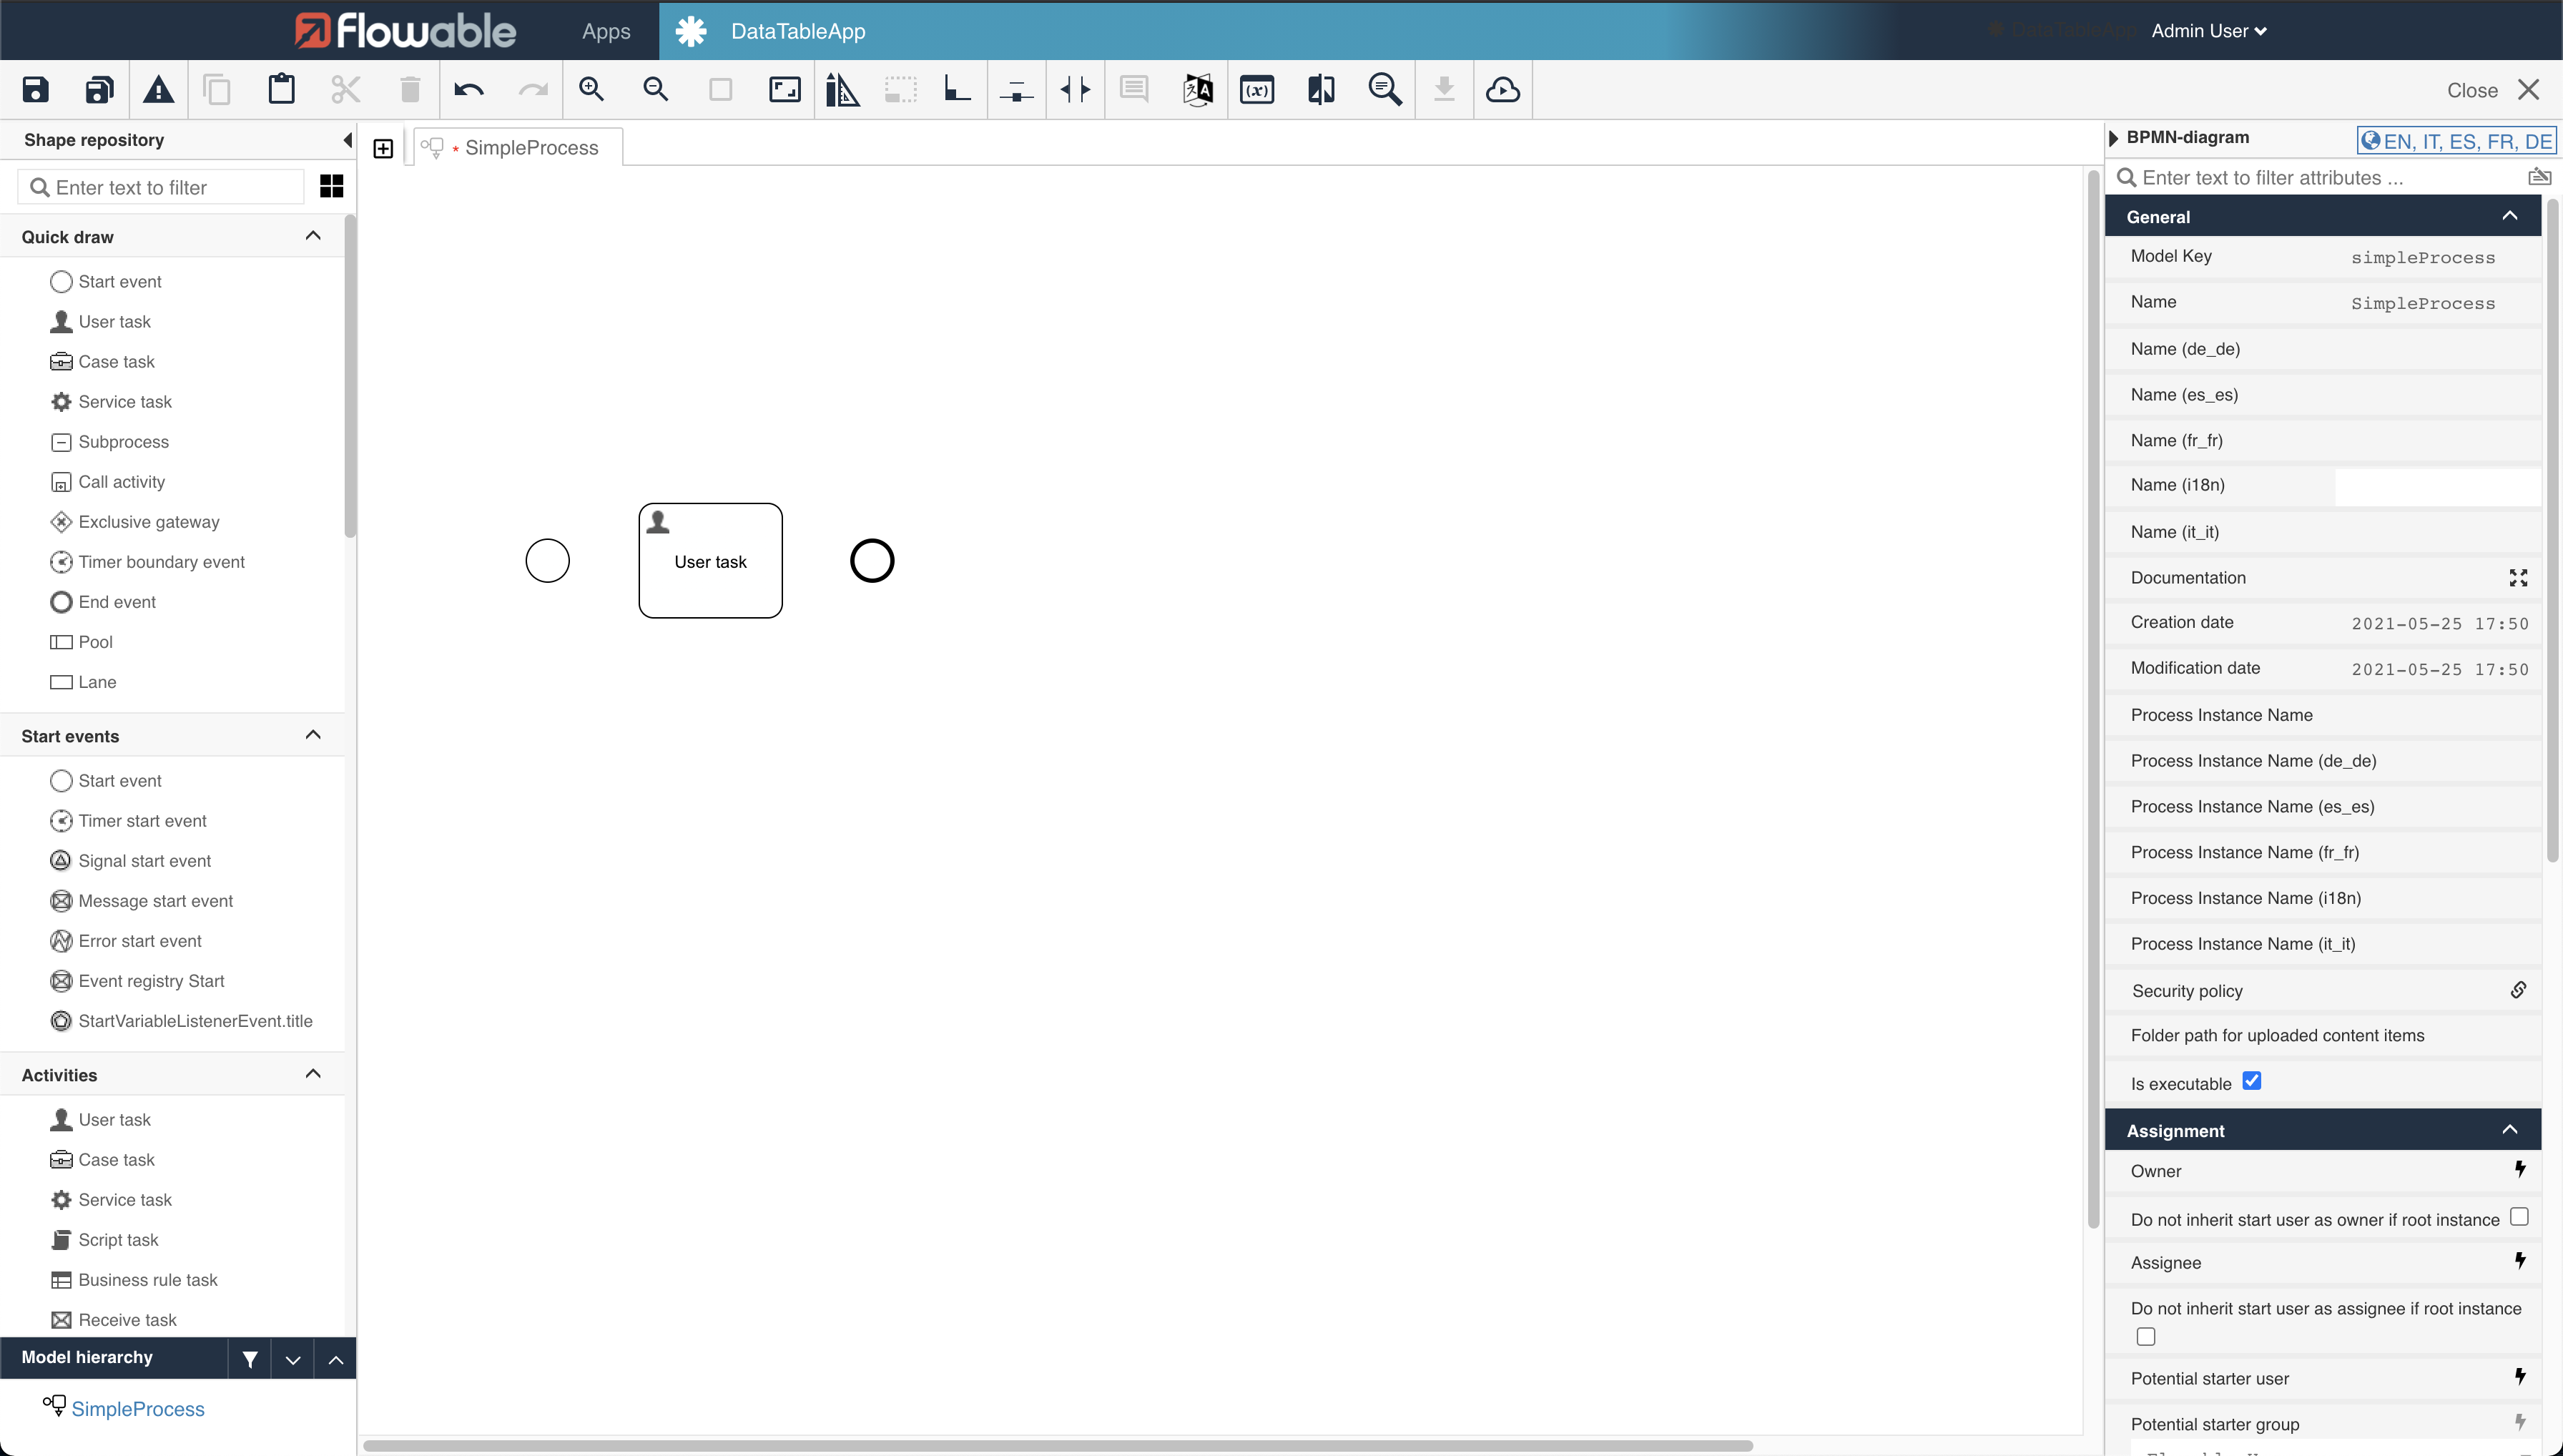
Now click on the first circle on the left of the recently created User Task and press on the double diagonal arrow called Edge – Drag and drag it over the User task. Repeat the same step as before from the User Task to the End event (circle to the right).
Alternatively, you can use the quick actions when selecting the start event and drag a user task and end event that way.
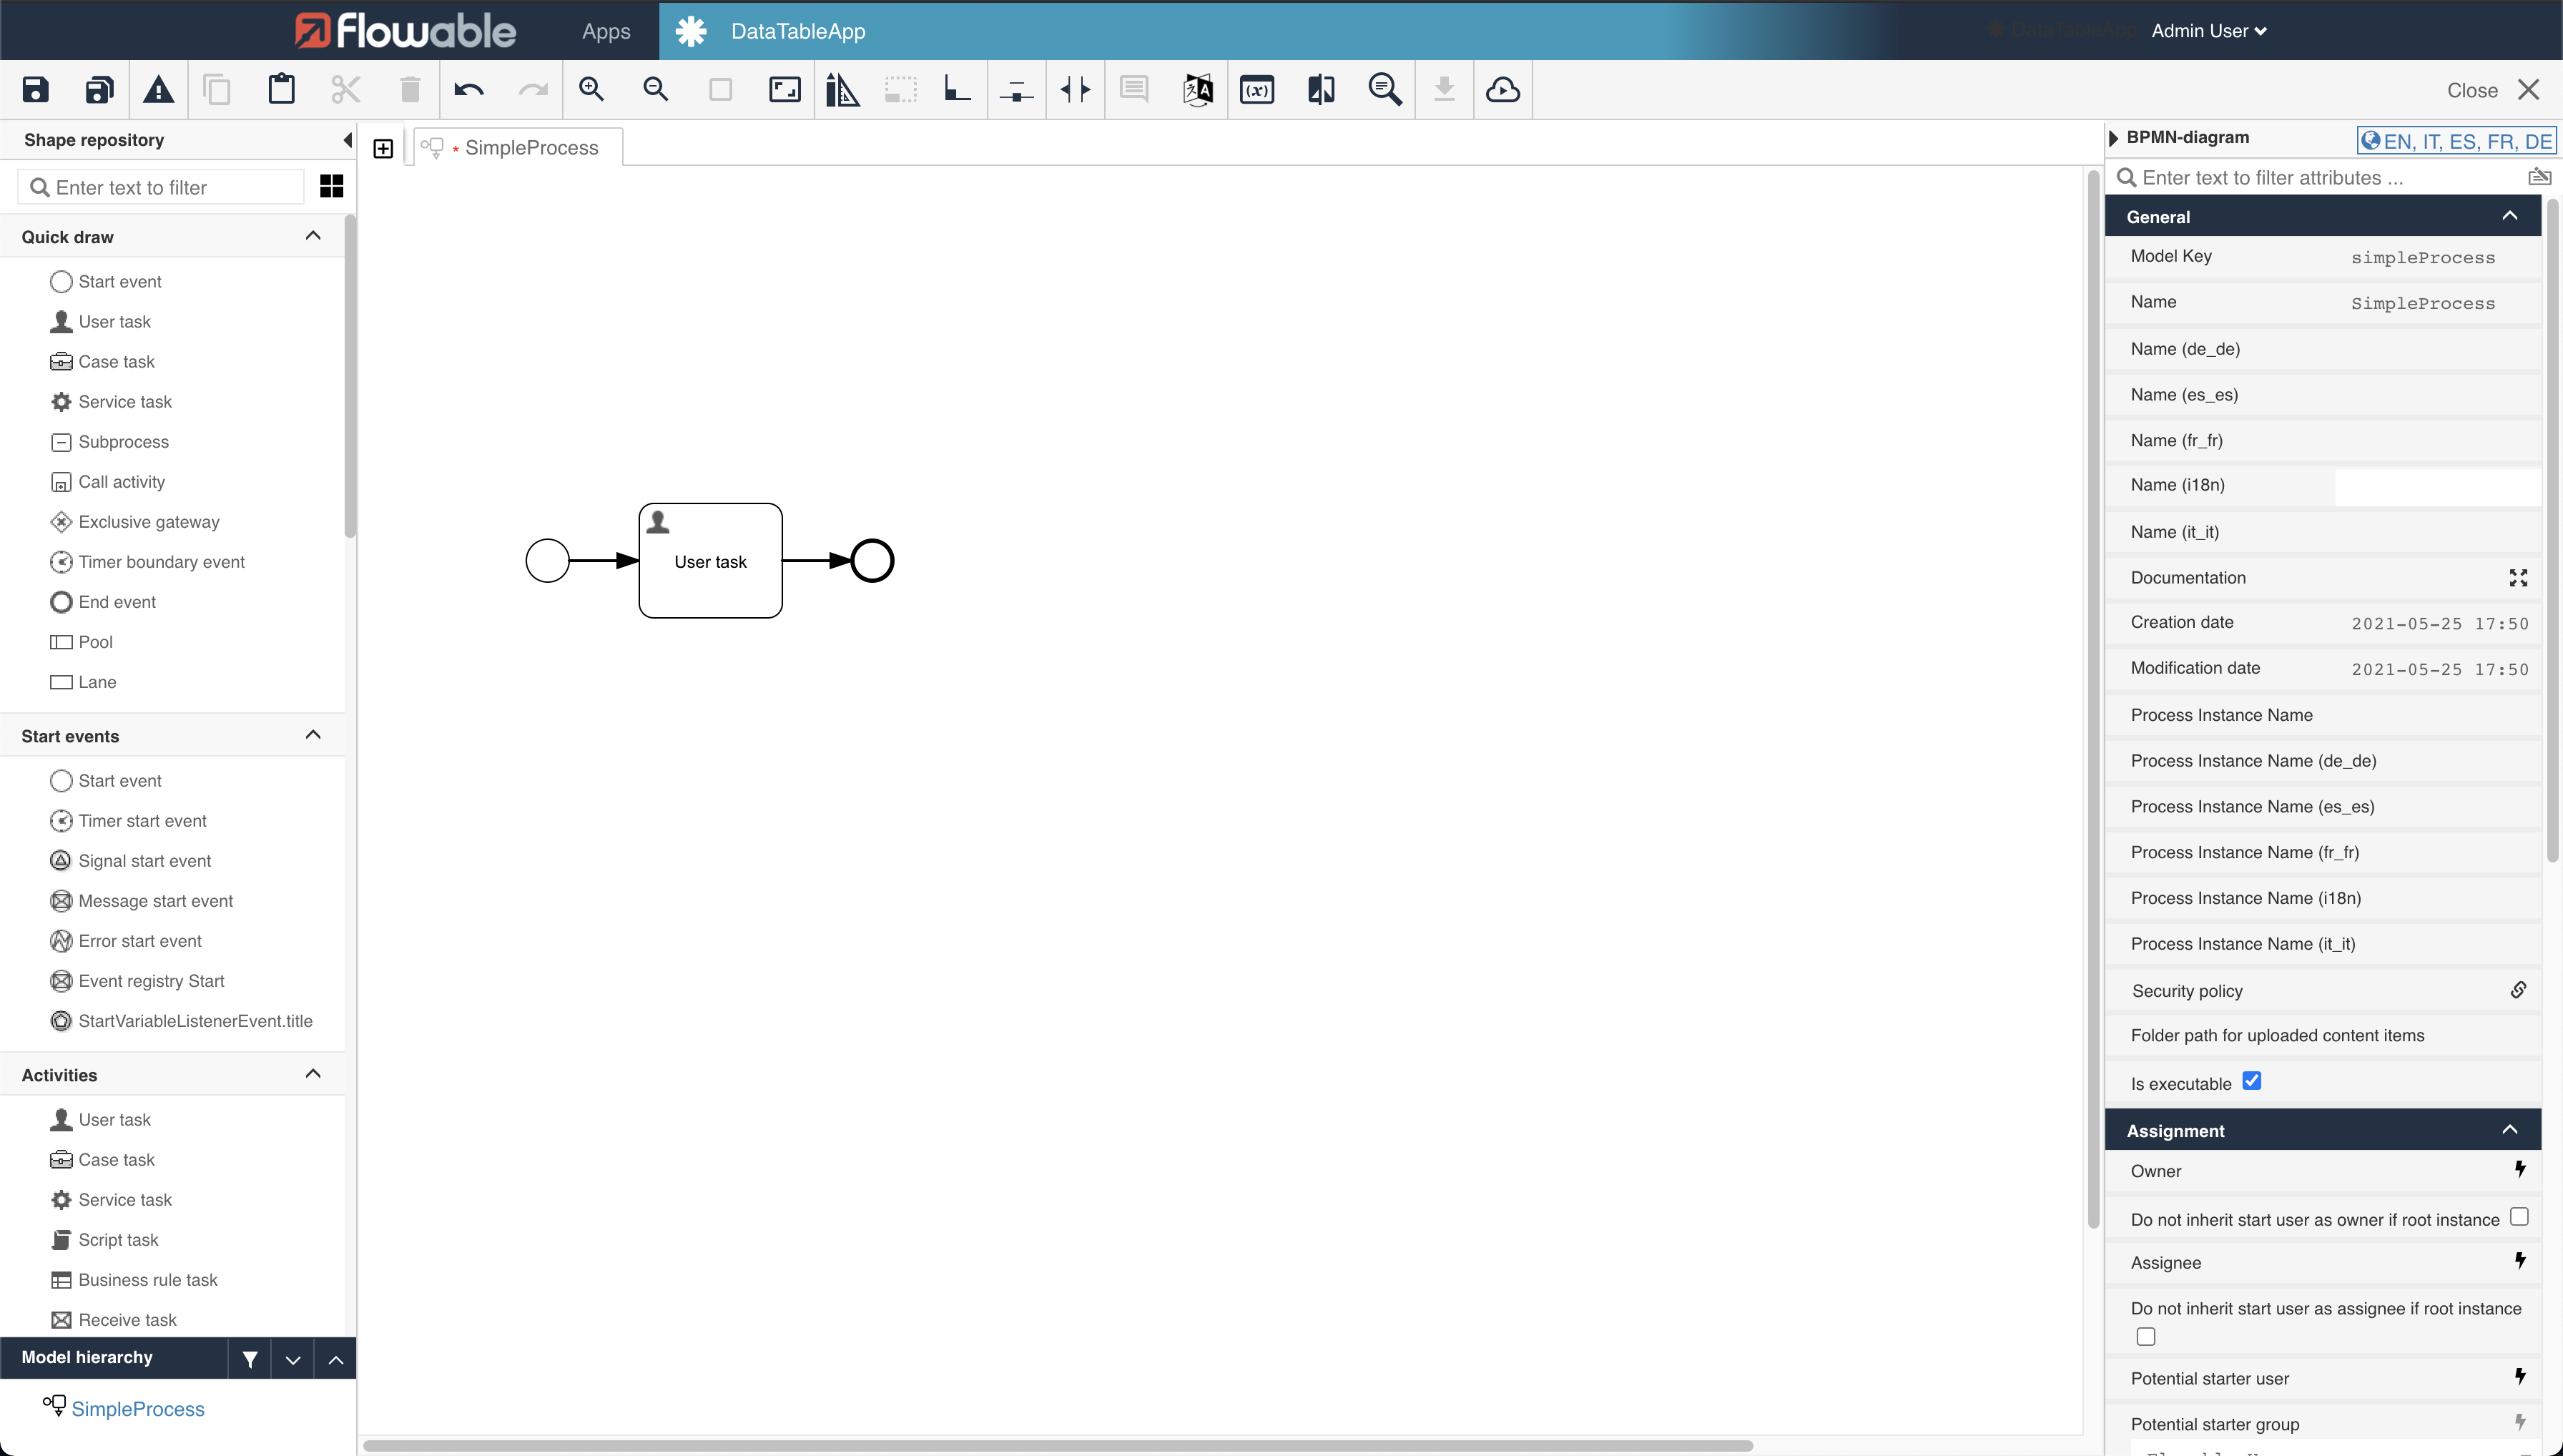
Now press on the save icon on the top left corner of the header.
Creating the Data Table
Let’s proceed with the data table creation. To do so, let’s navigate back to our app main menu pressing on DataTableApp over the editor header, just right of Flowable logo and Apps.
Press on the big plus, select Create a new model for the app but this time select Form.
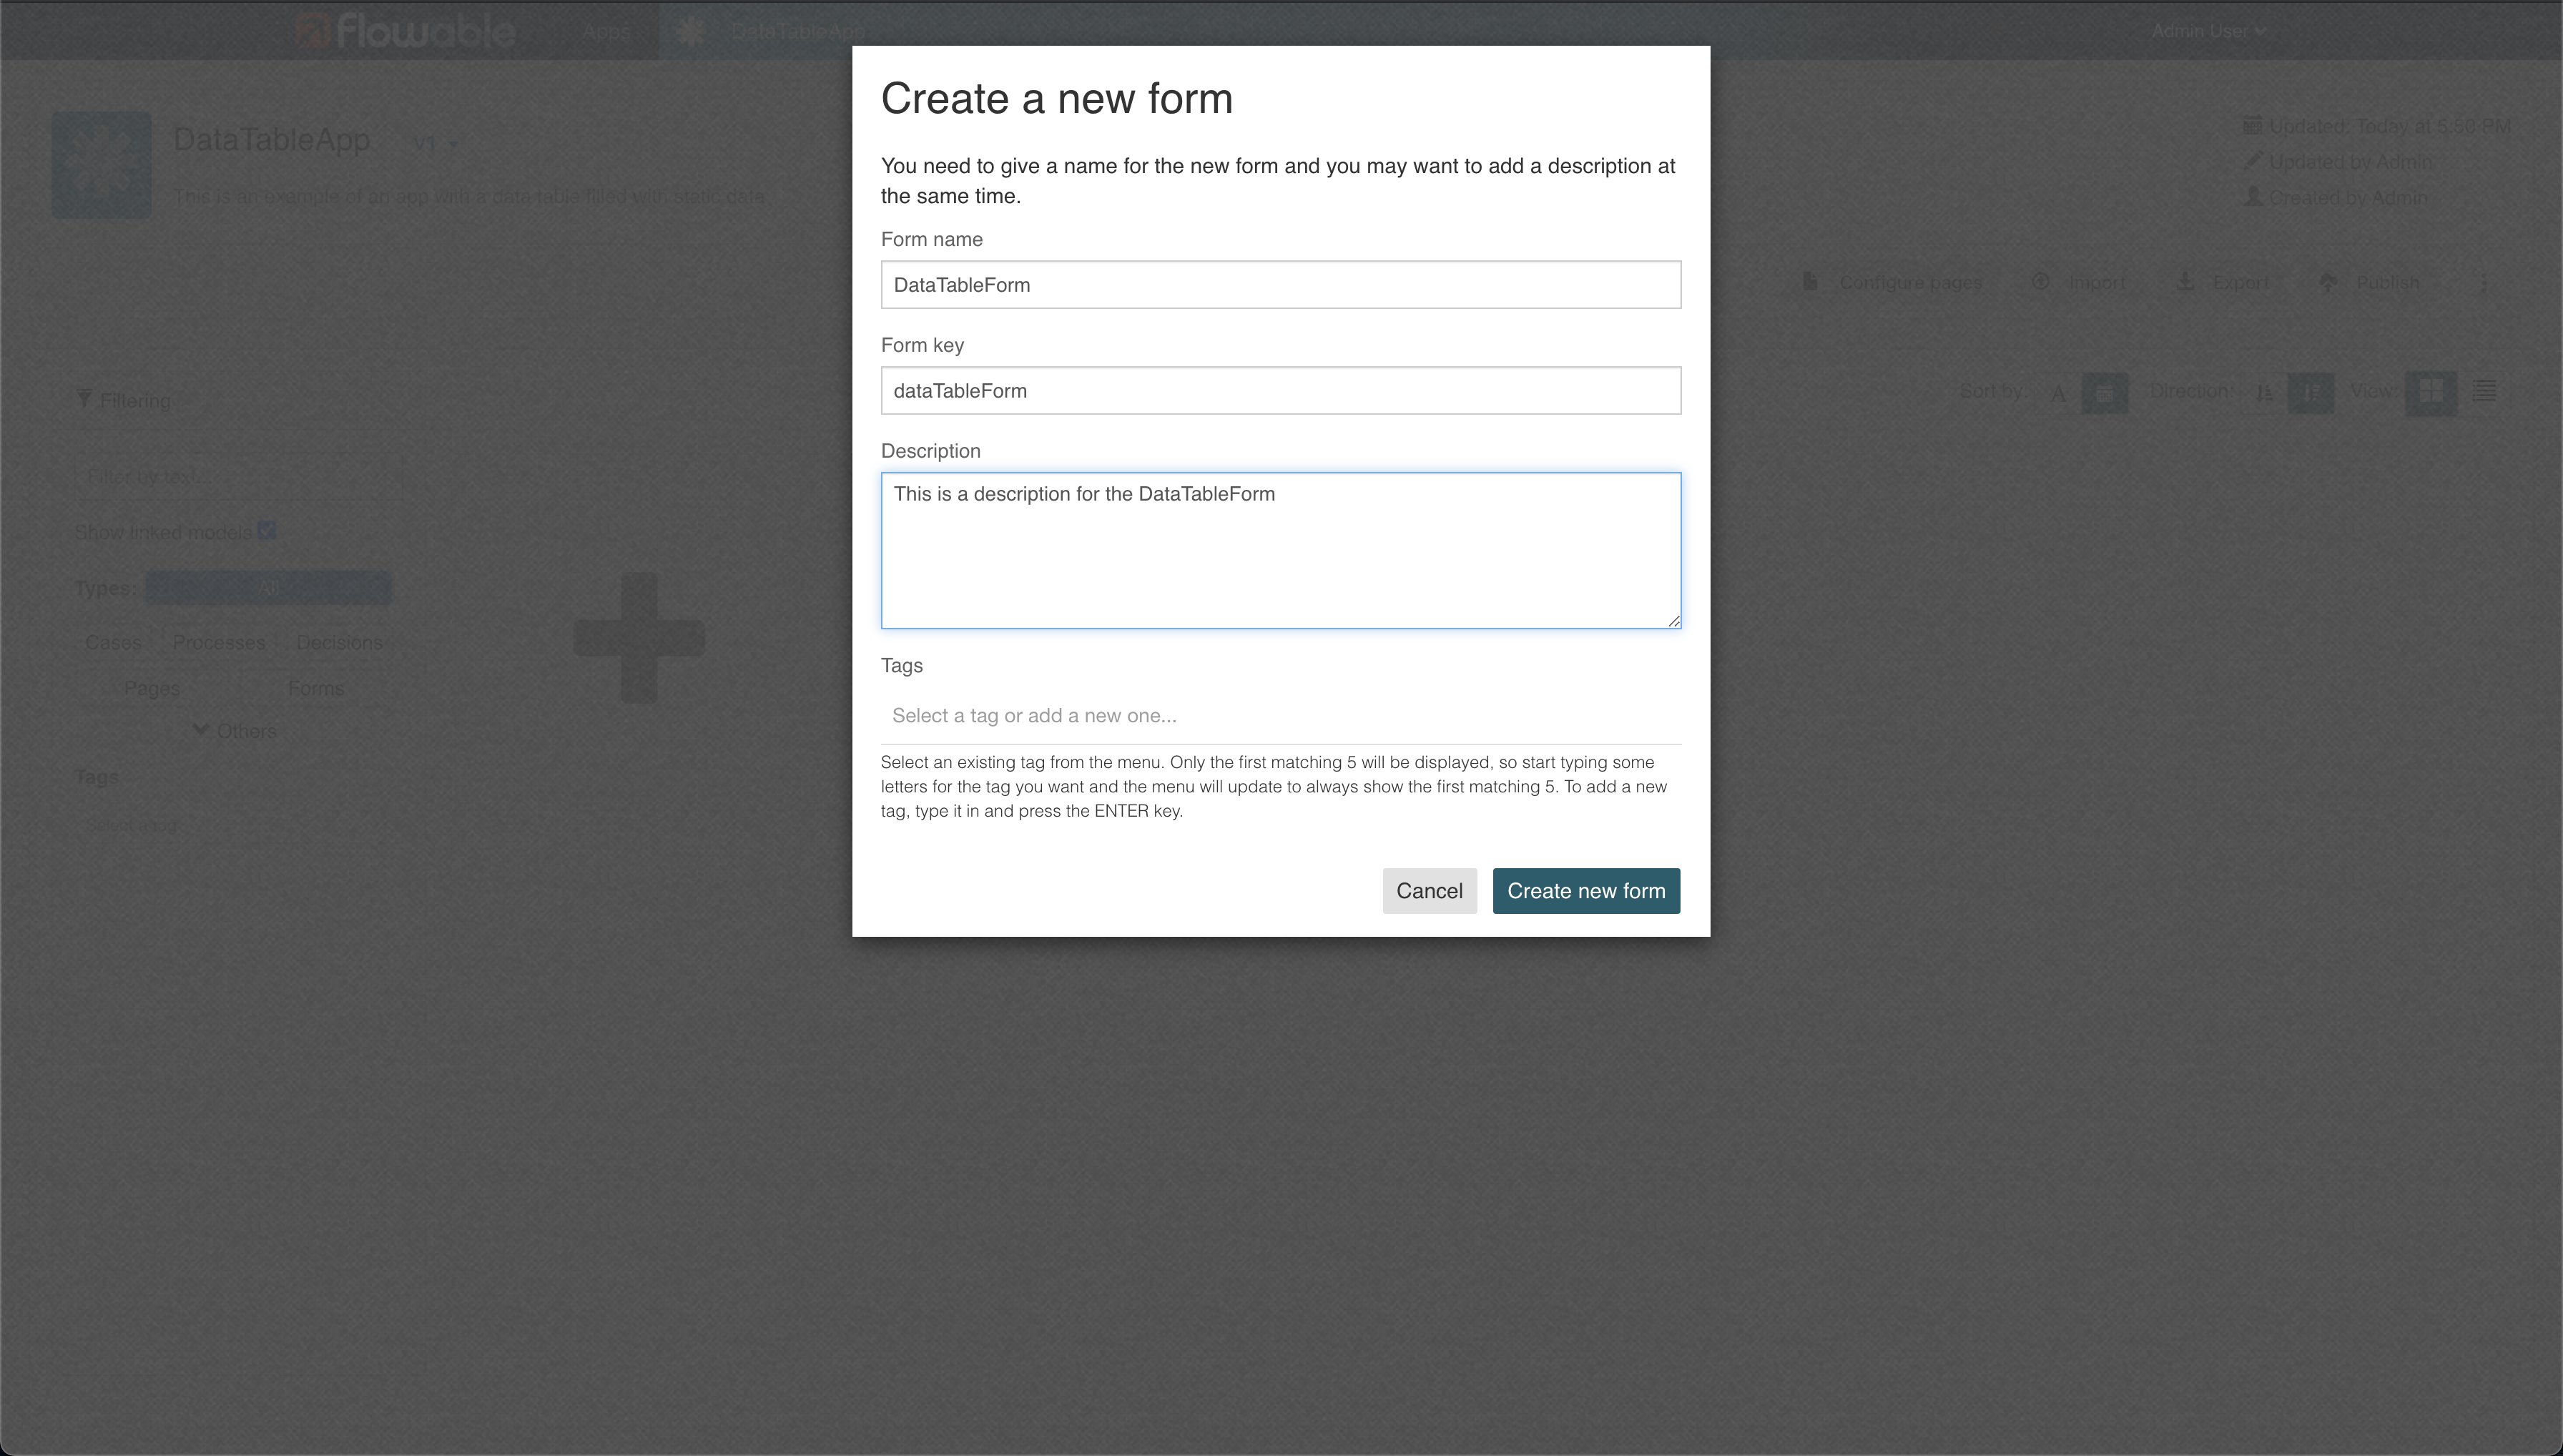
Insert DataTableForm as a name and a description then press on Create new form. (Screenshot 10)
Now the editor will look a little different than before since there’s a rectangle on the screen and no circles.
From the left hand-side menu, let’s press on Enter text to filter and search for Data table.
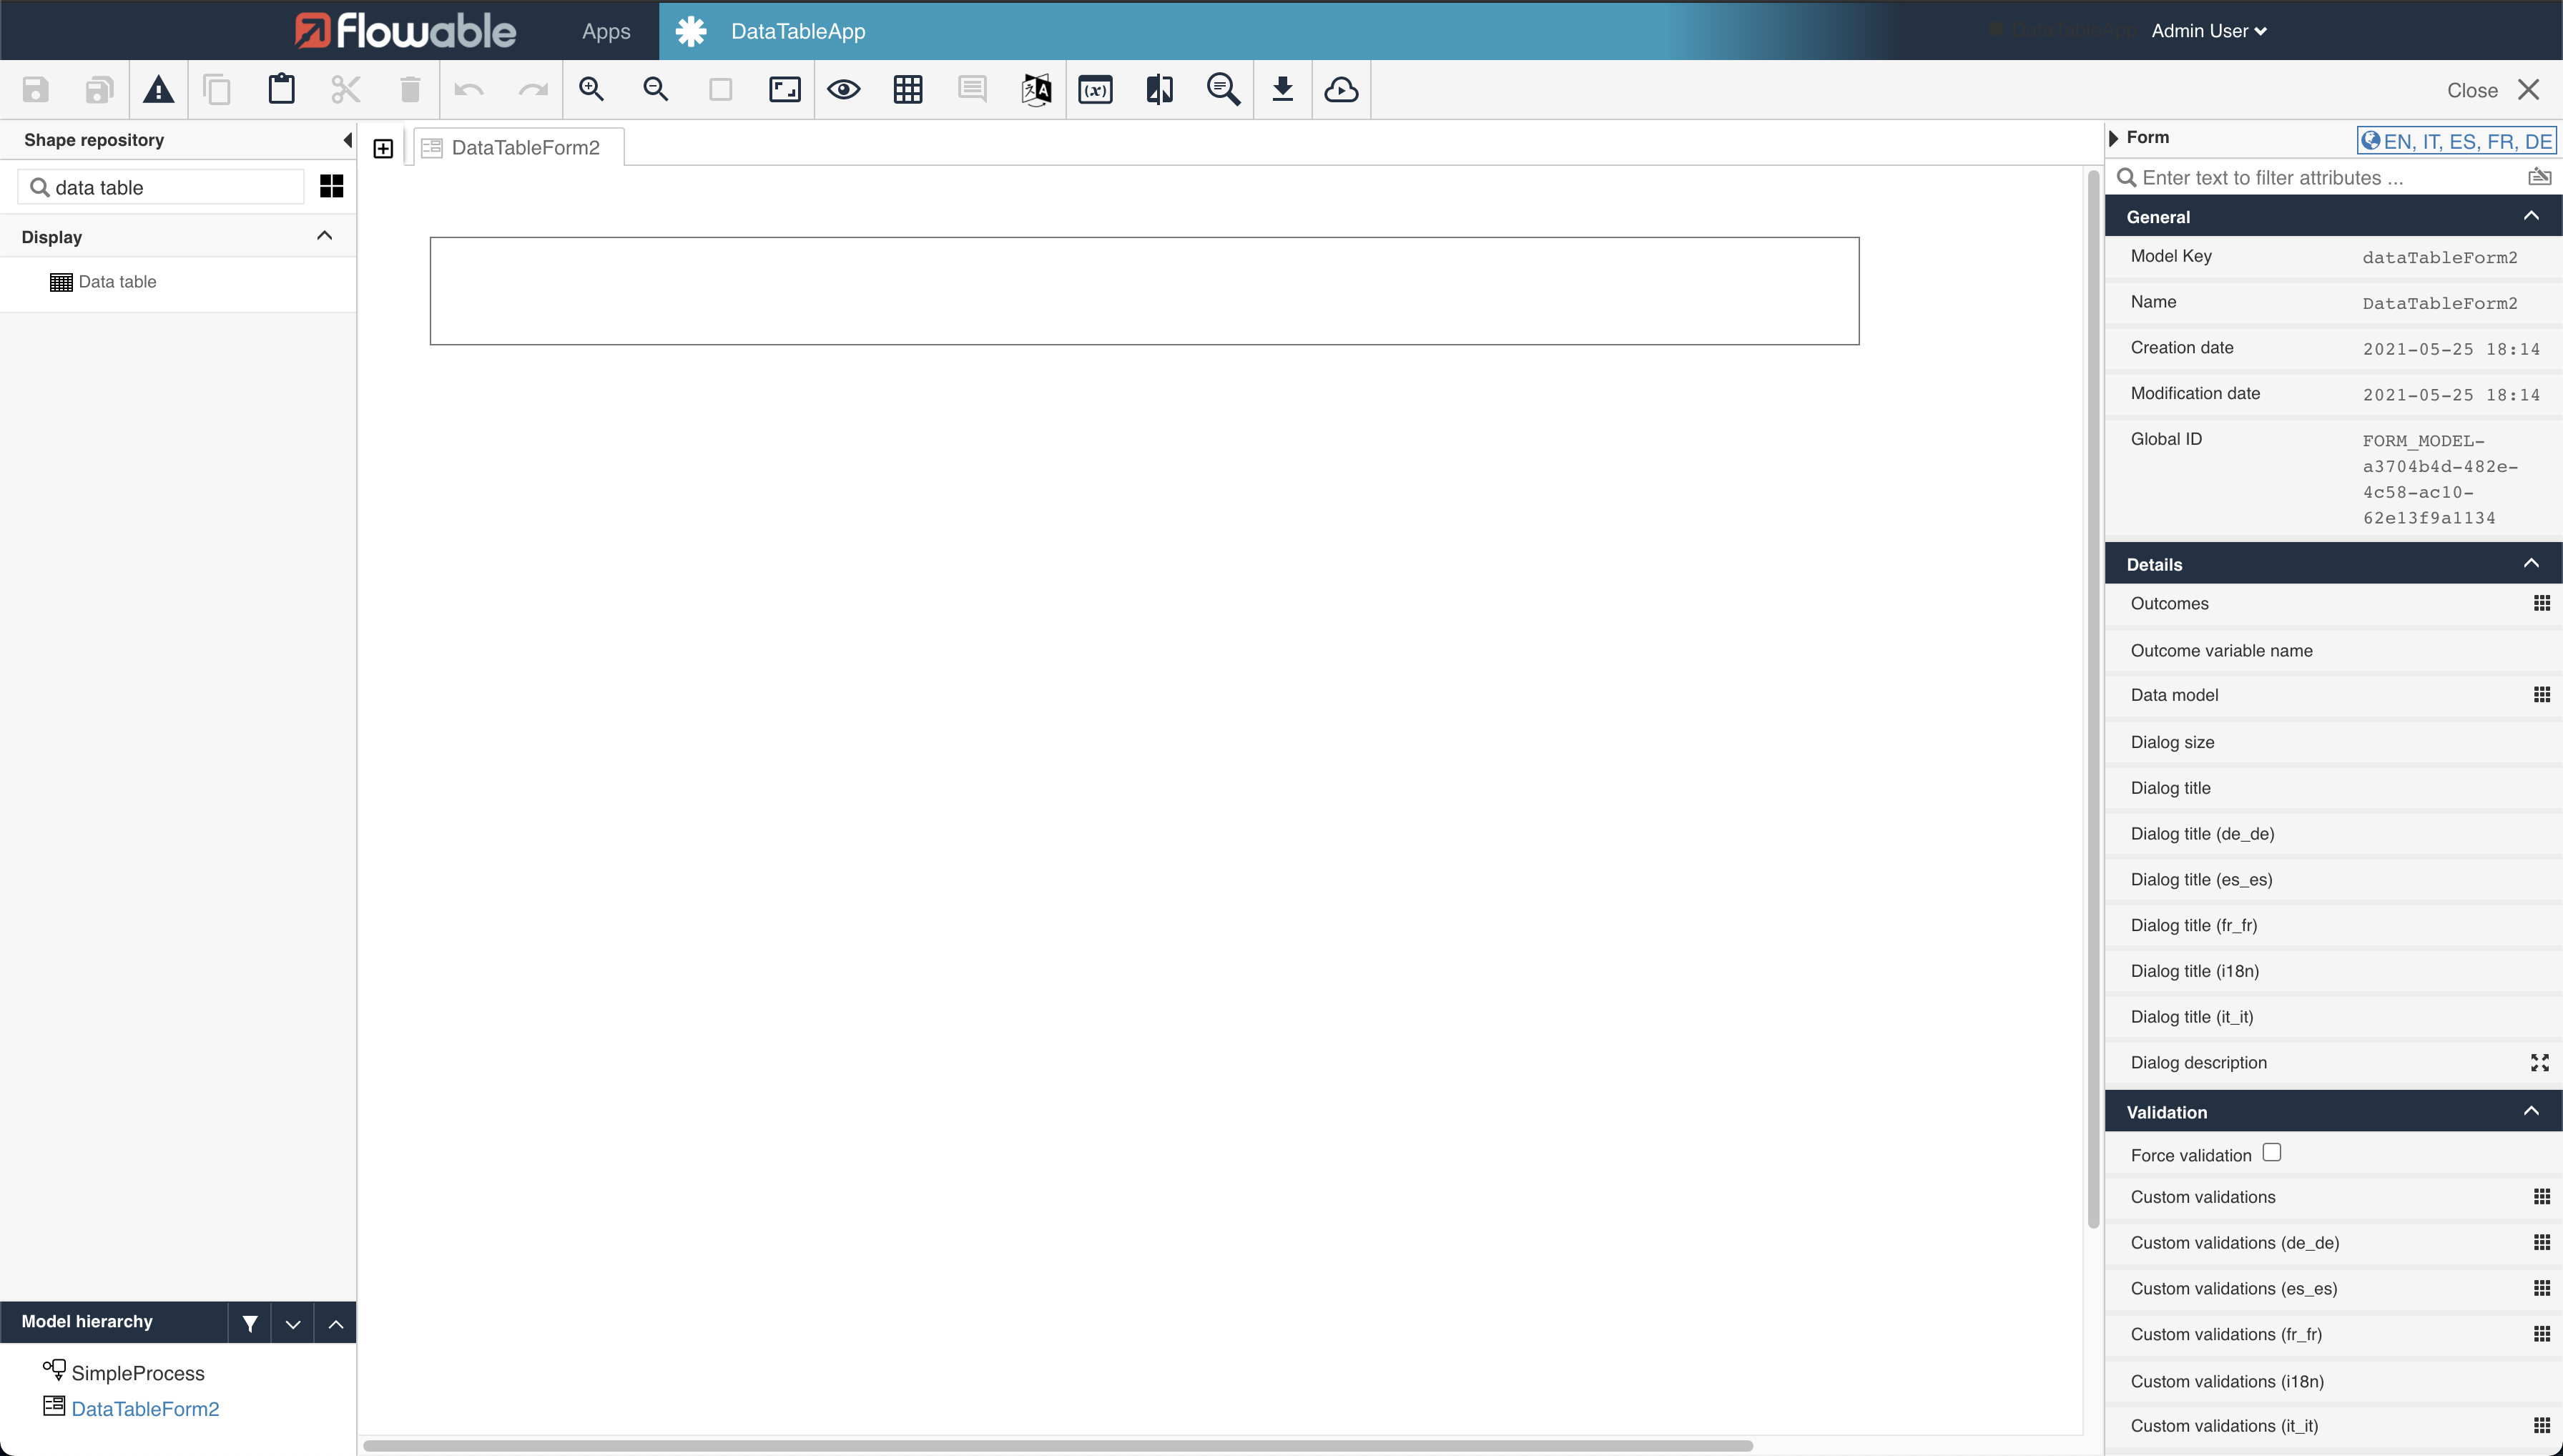
Just drag and drop the Data table element inside the rectangle in the middle of the screen.
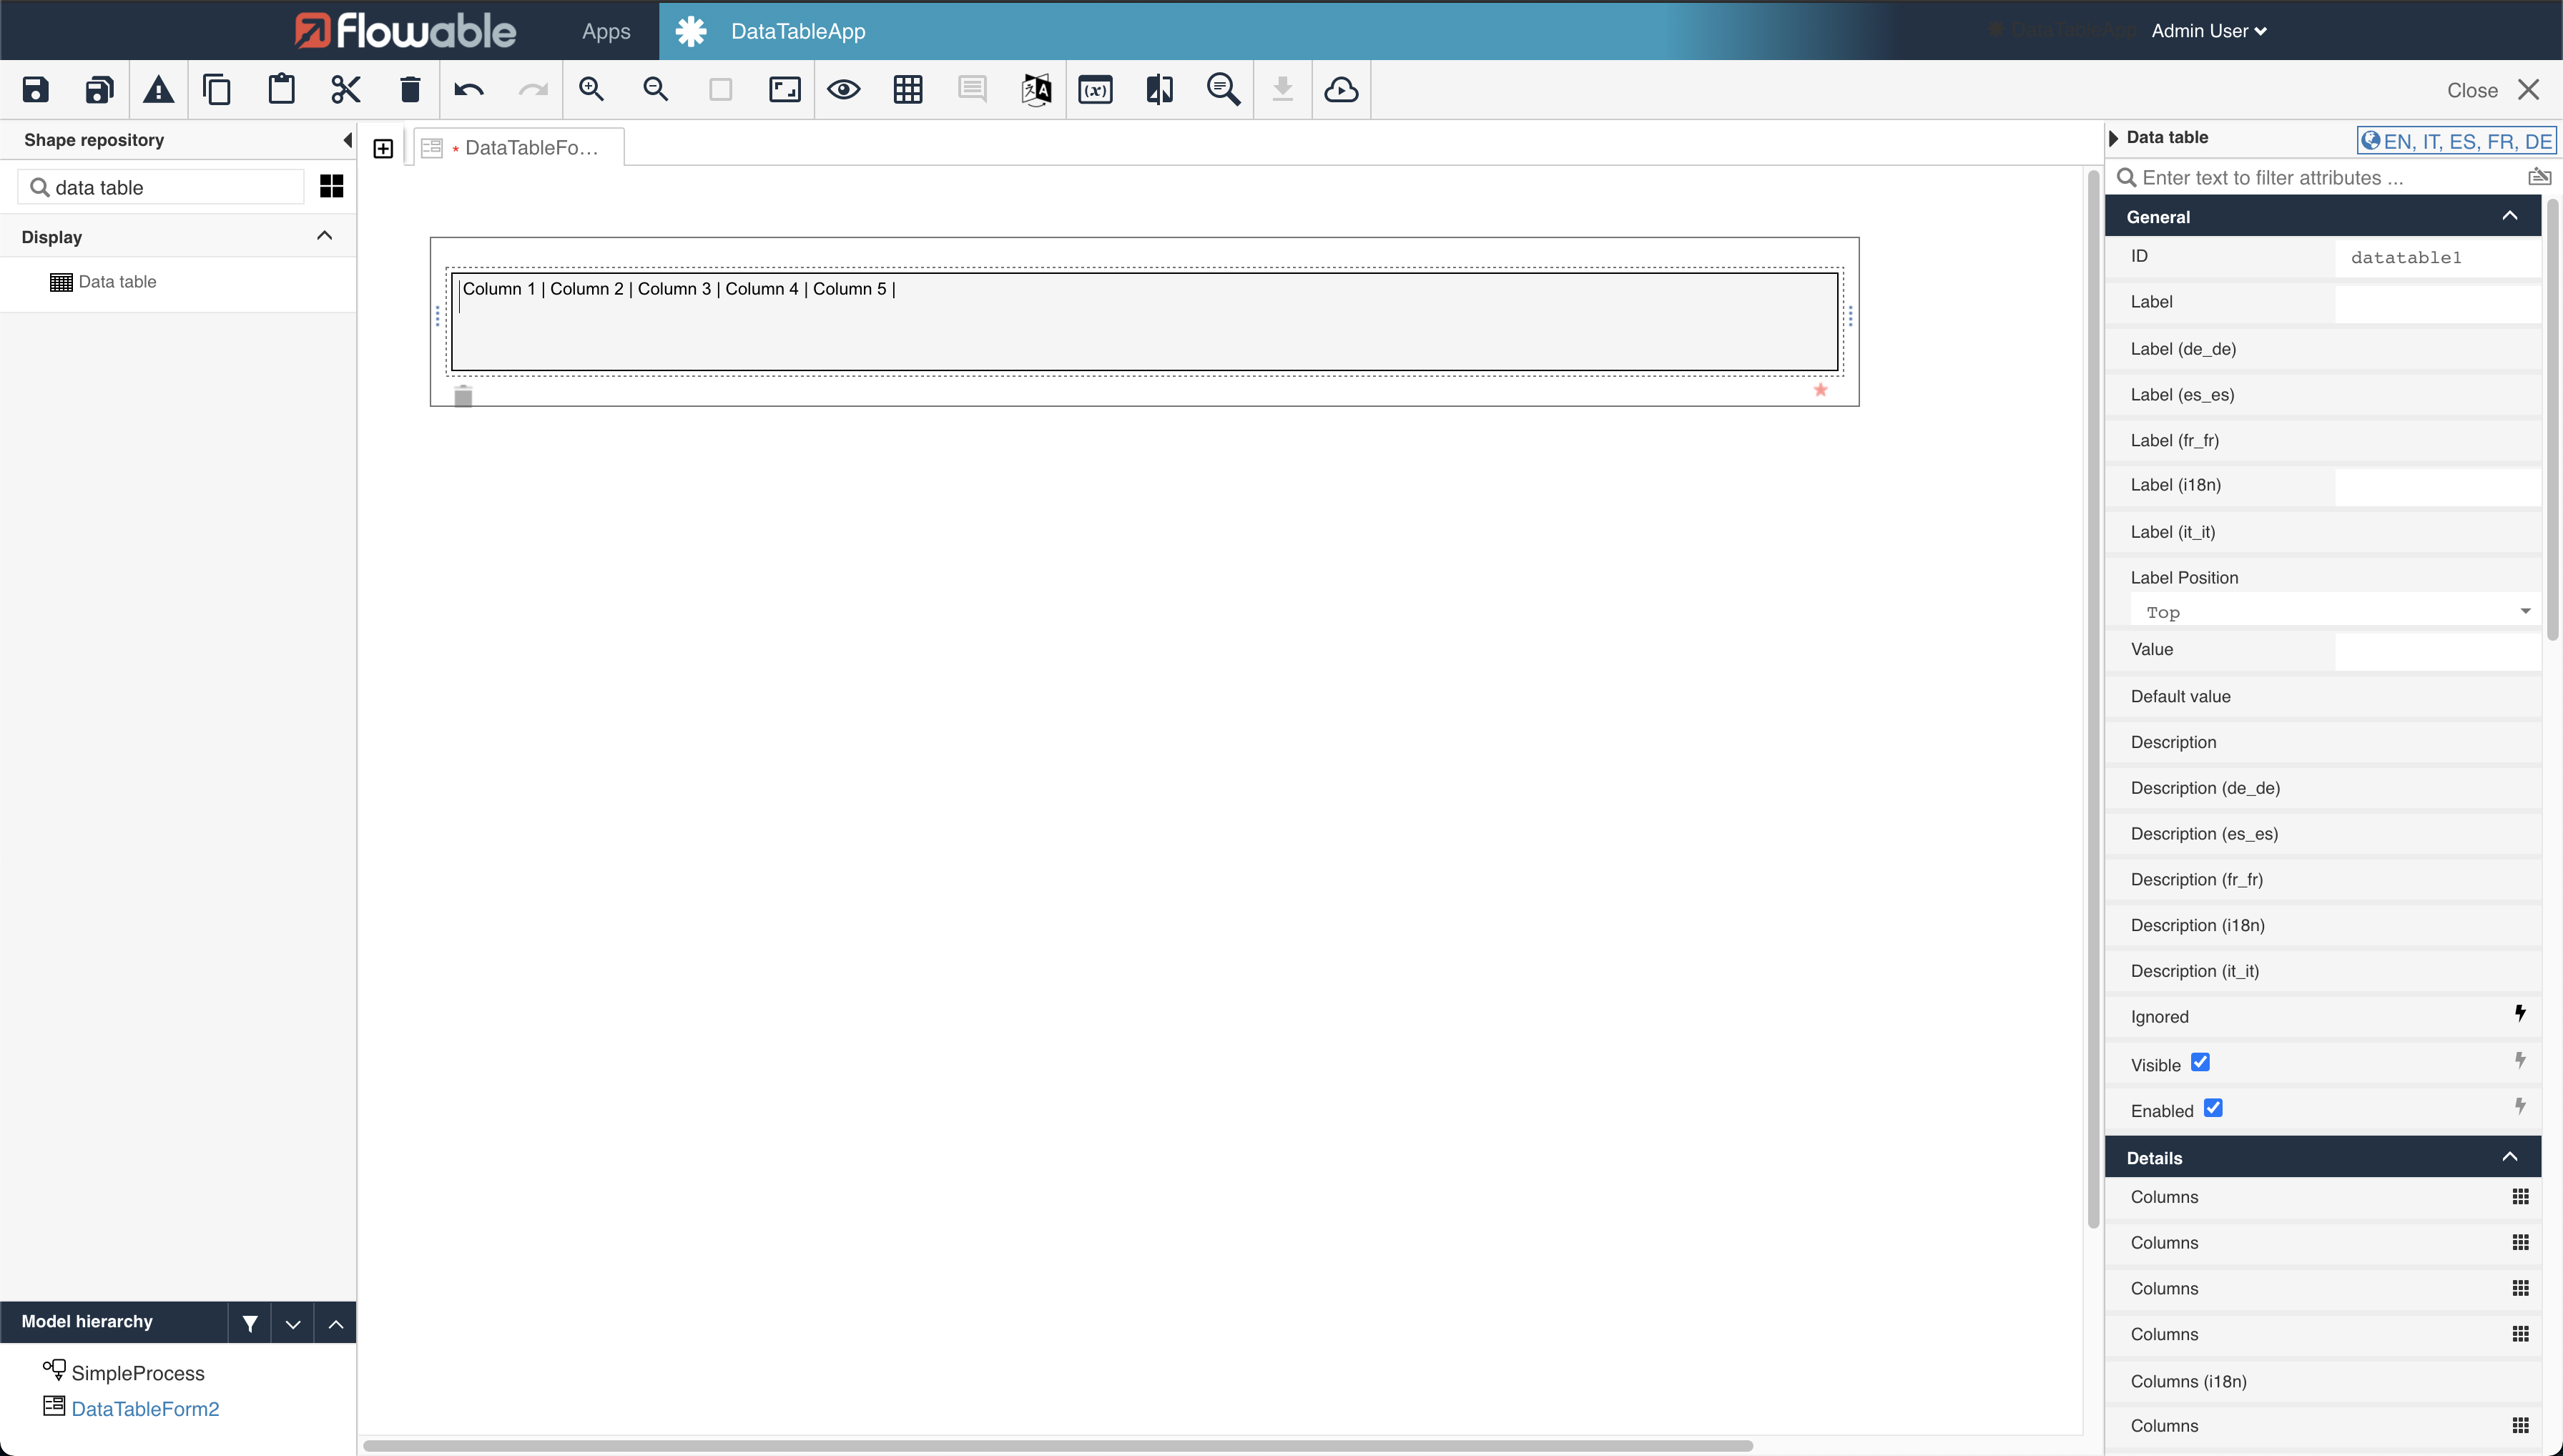
To fill the data table with static data let’s navigate the right-hand side menu and press on the first Columns element under the sub-menu Details.
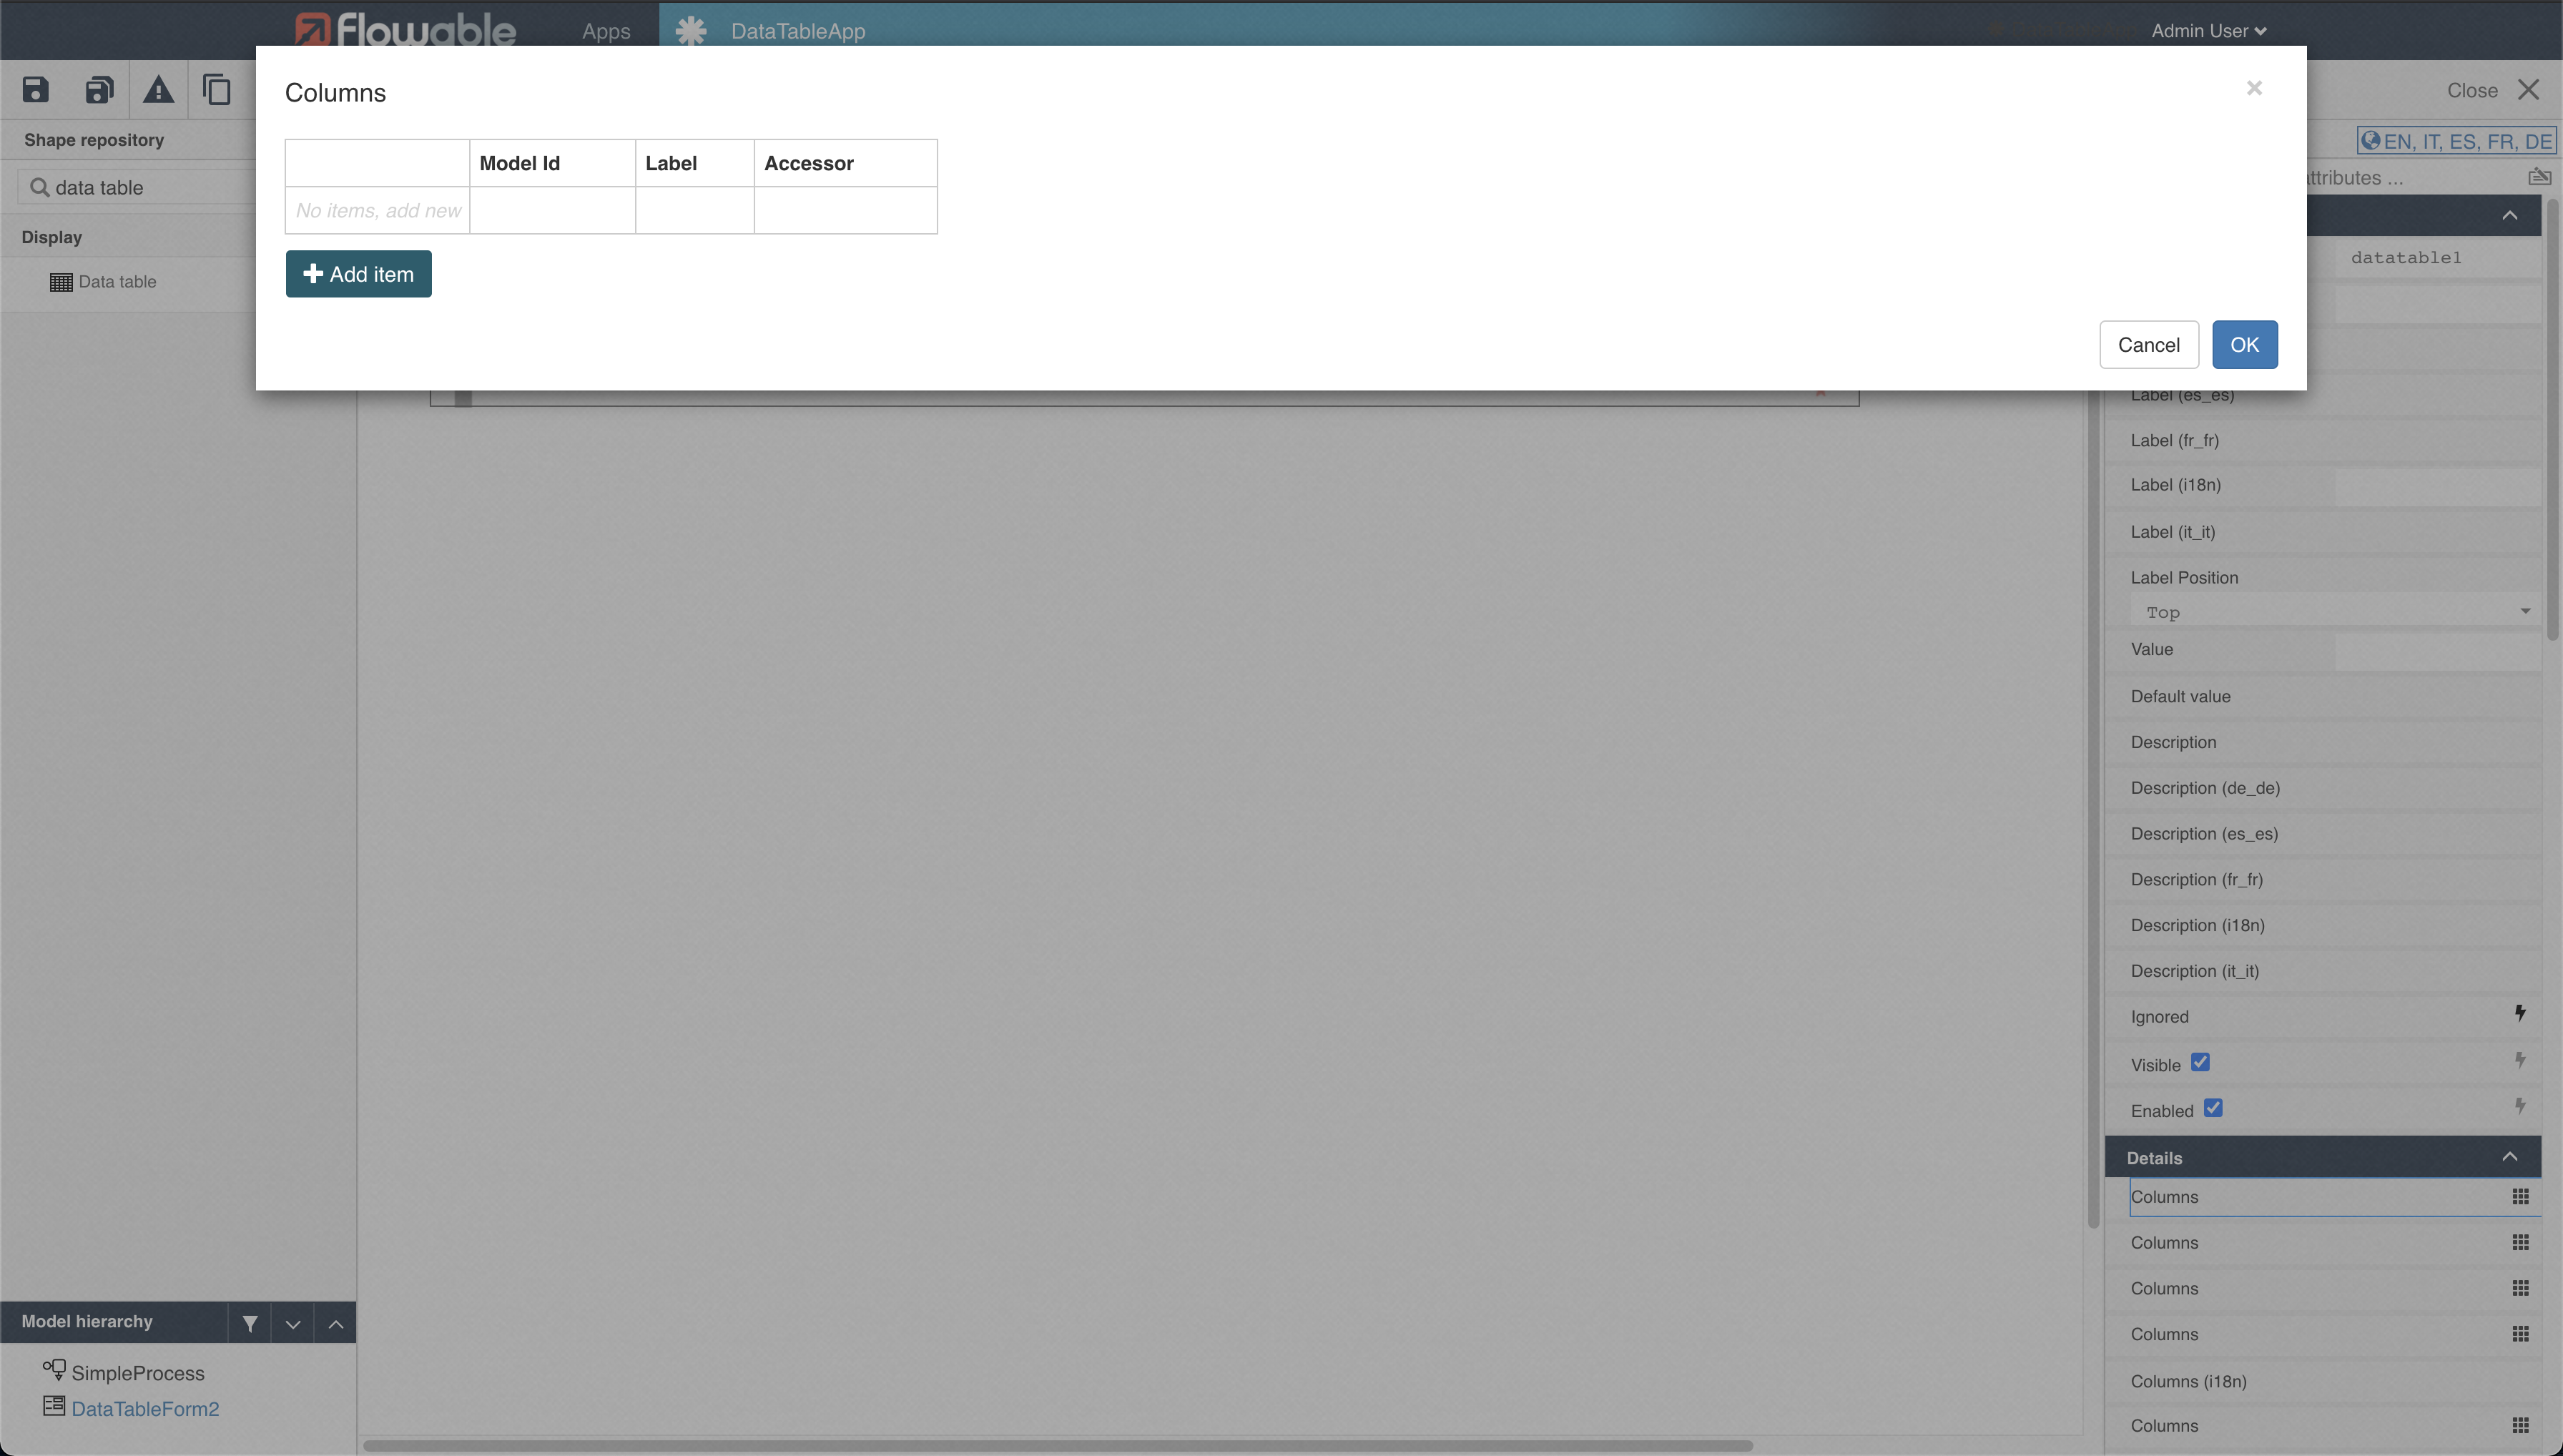
Press on Add item and insert Name as Model Id, Accessor and Label also select true for Filterable and Sortable:
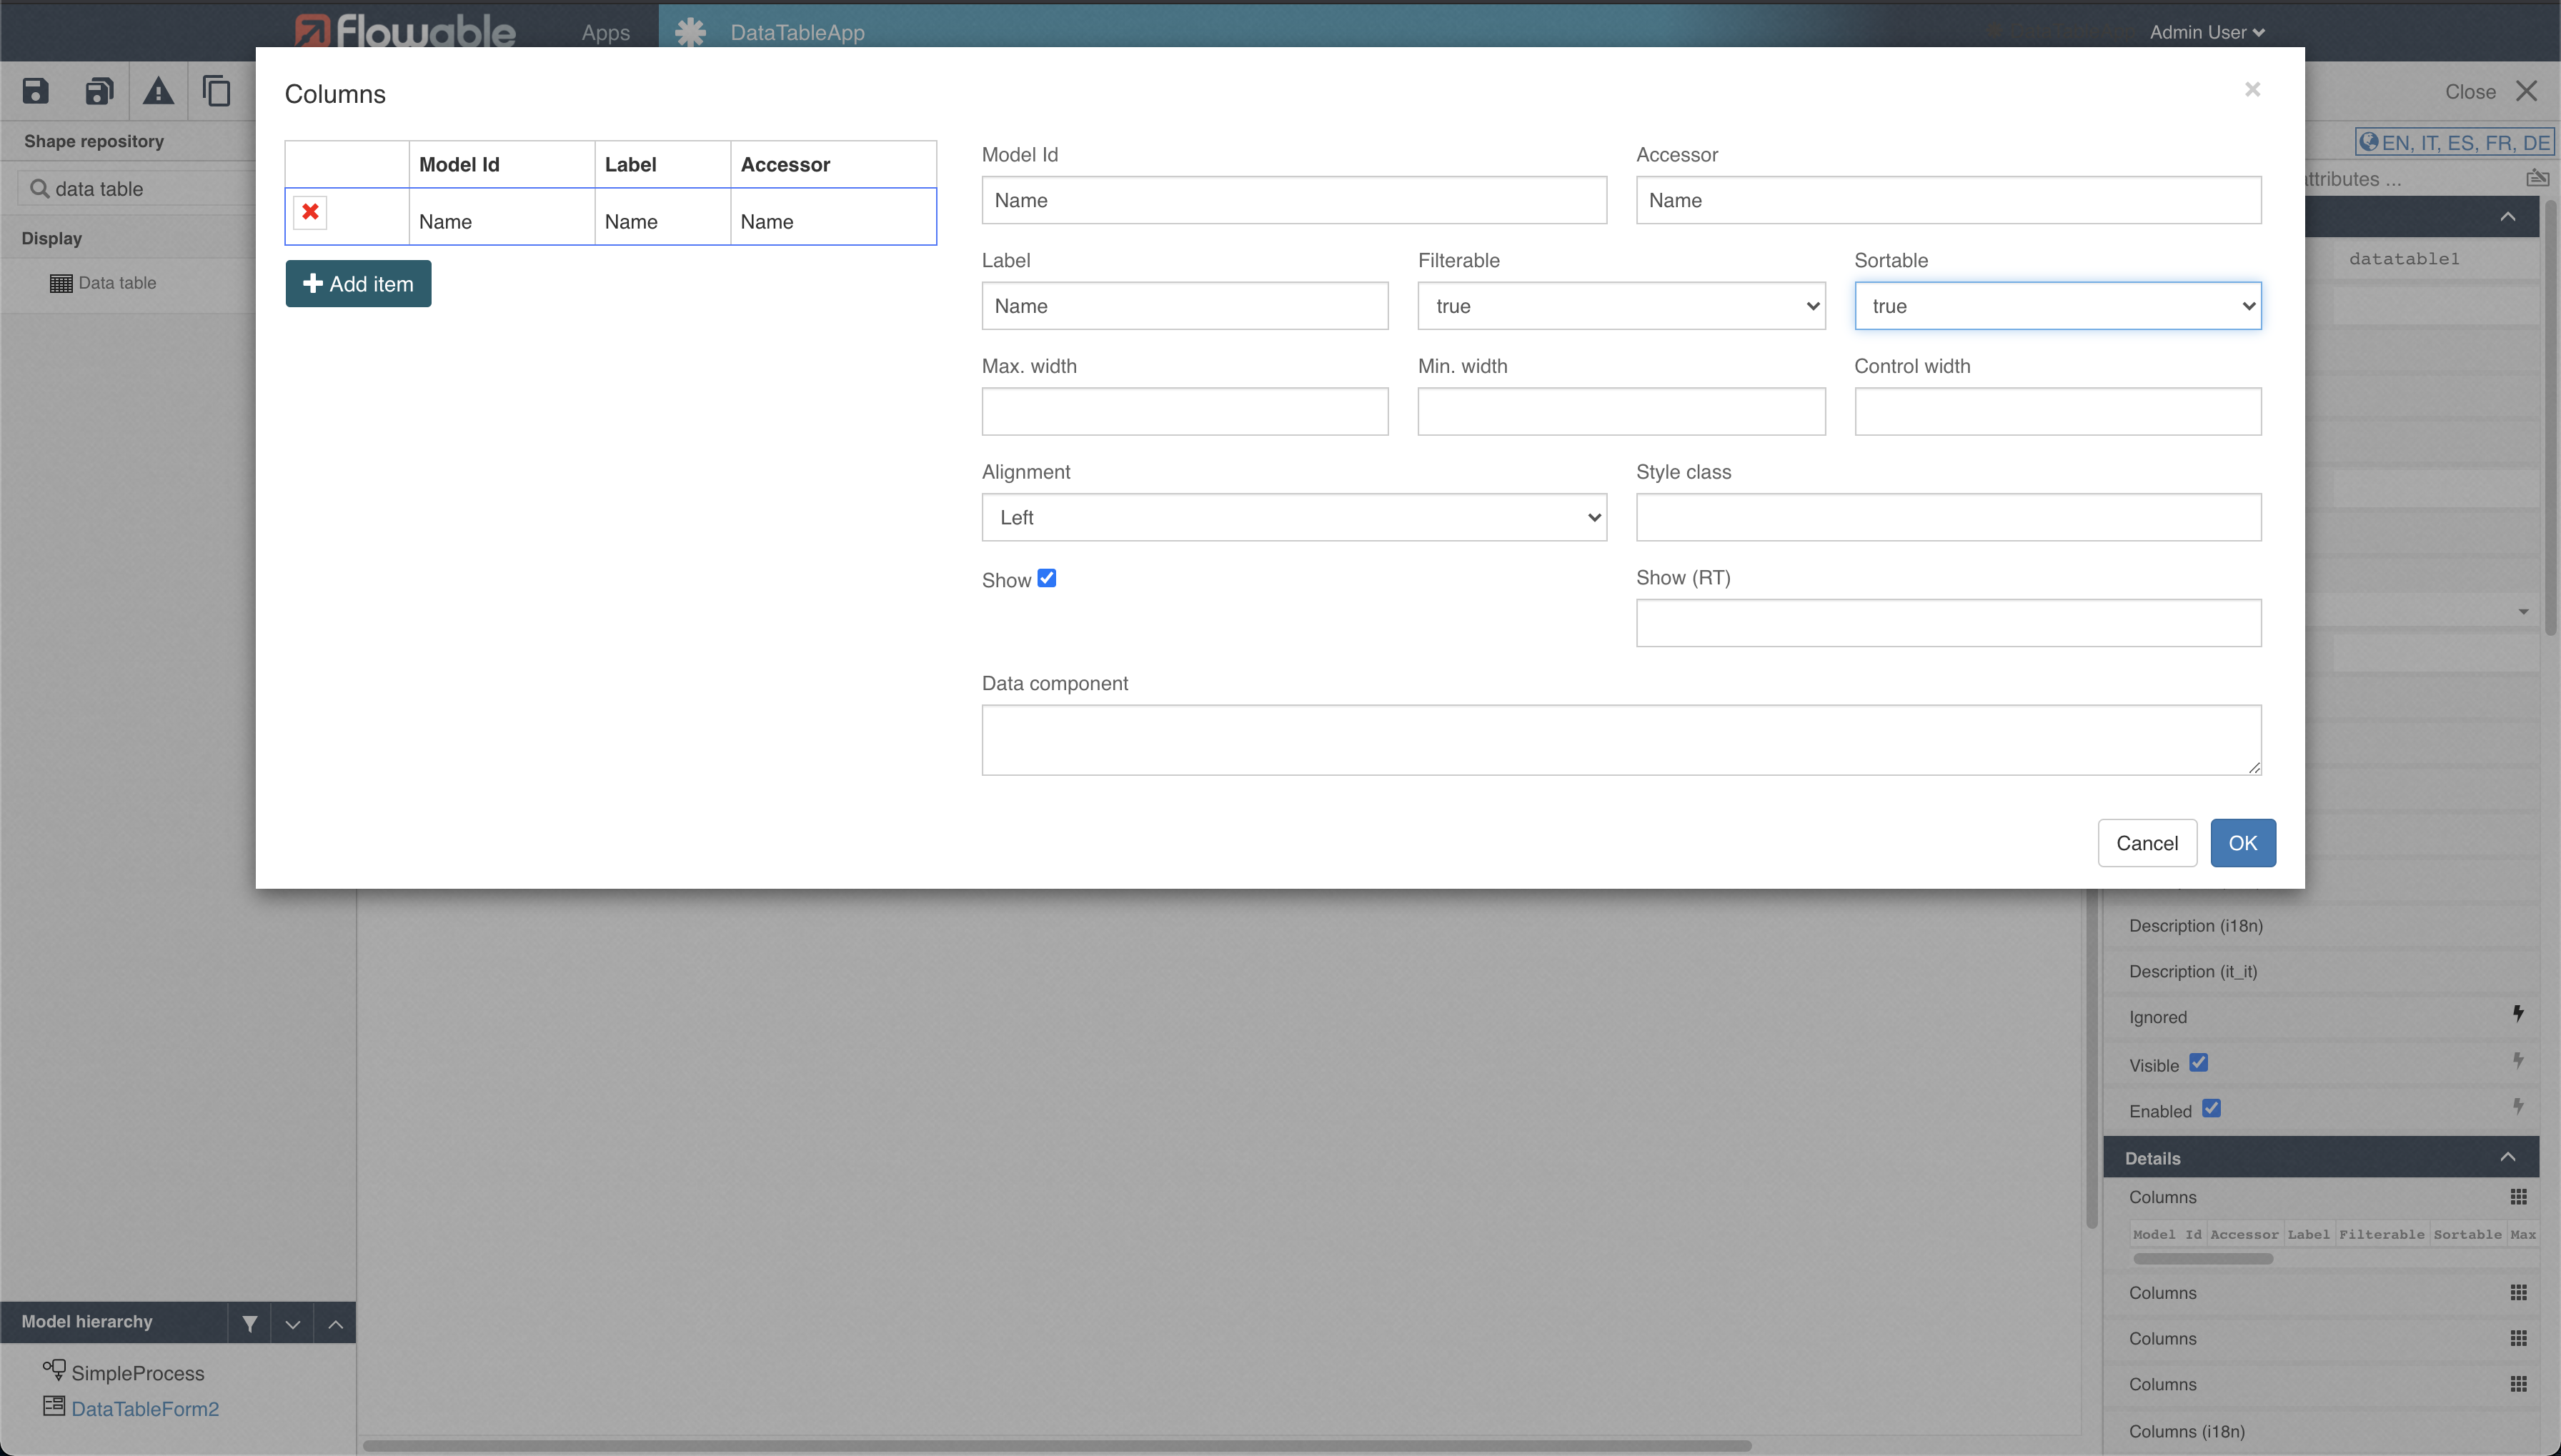
Add as many items as needed then press OK.
The amount of configuration may look daunting, but it allows for much flexibility:
- The label is the easiest, this is what is displayed to the user
- The Accessor is how the data is accessed in the data. For a static datasource, this is the same as the model id, but for real datasources (e.g. over REST) this is the way the data needs to be accessed.
- The model id identifies the particular property in elements of the list that is displayed. For a static datasource, this isn't really important.
- The other settings (width, alignment, etc.) allow to configure the way the columns are visualised
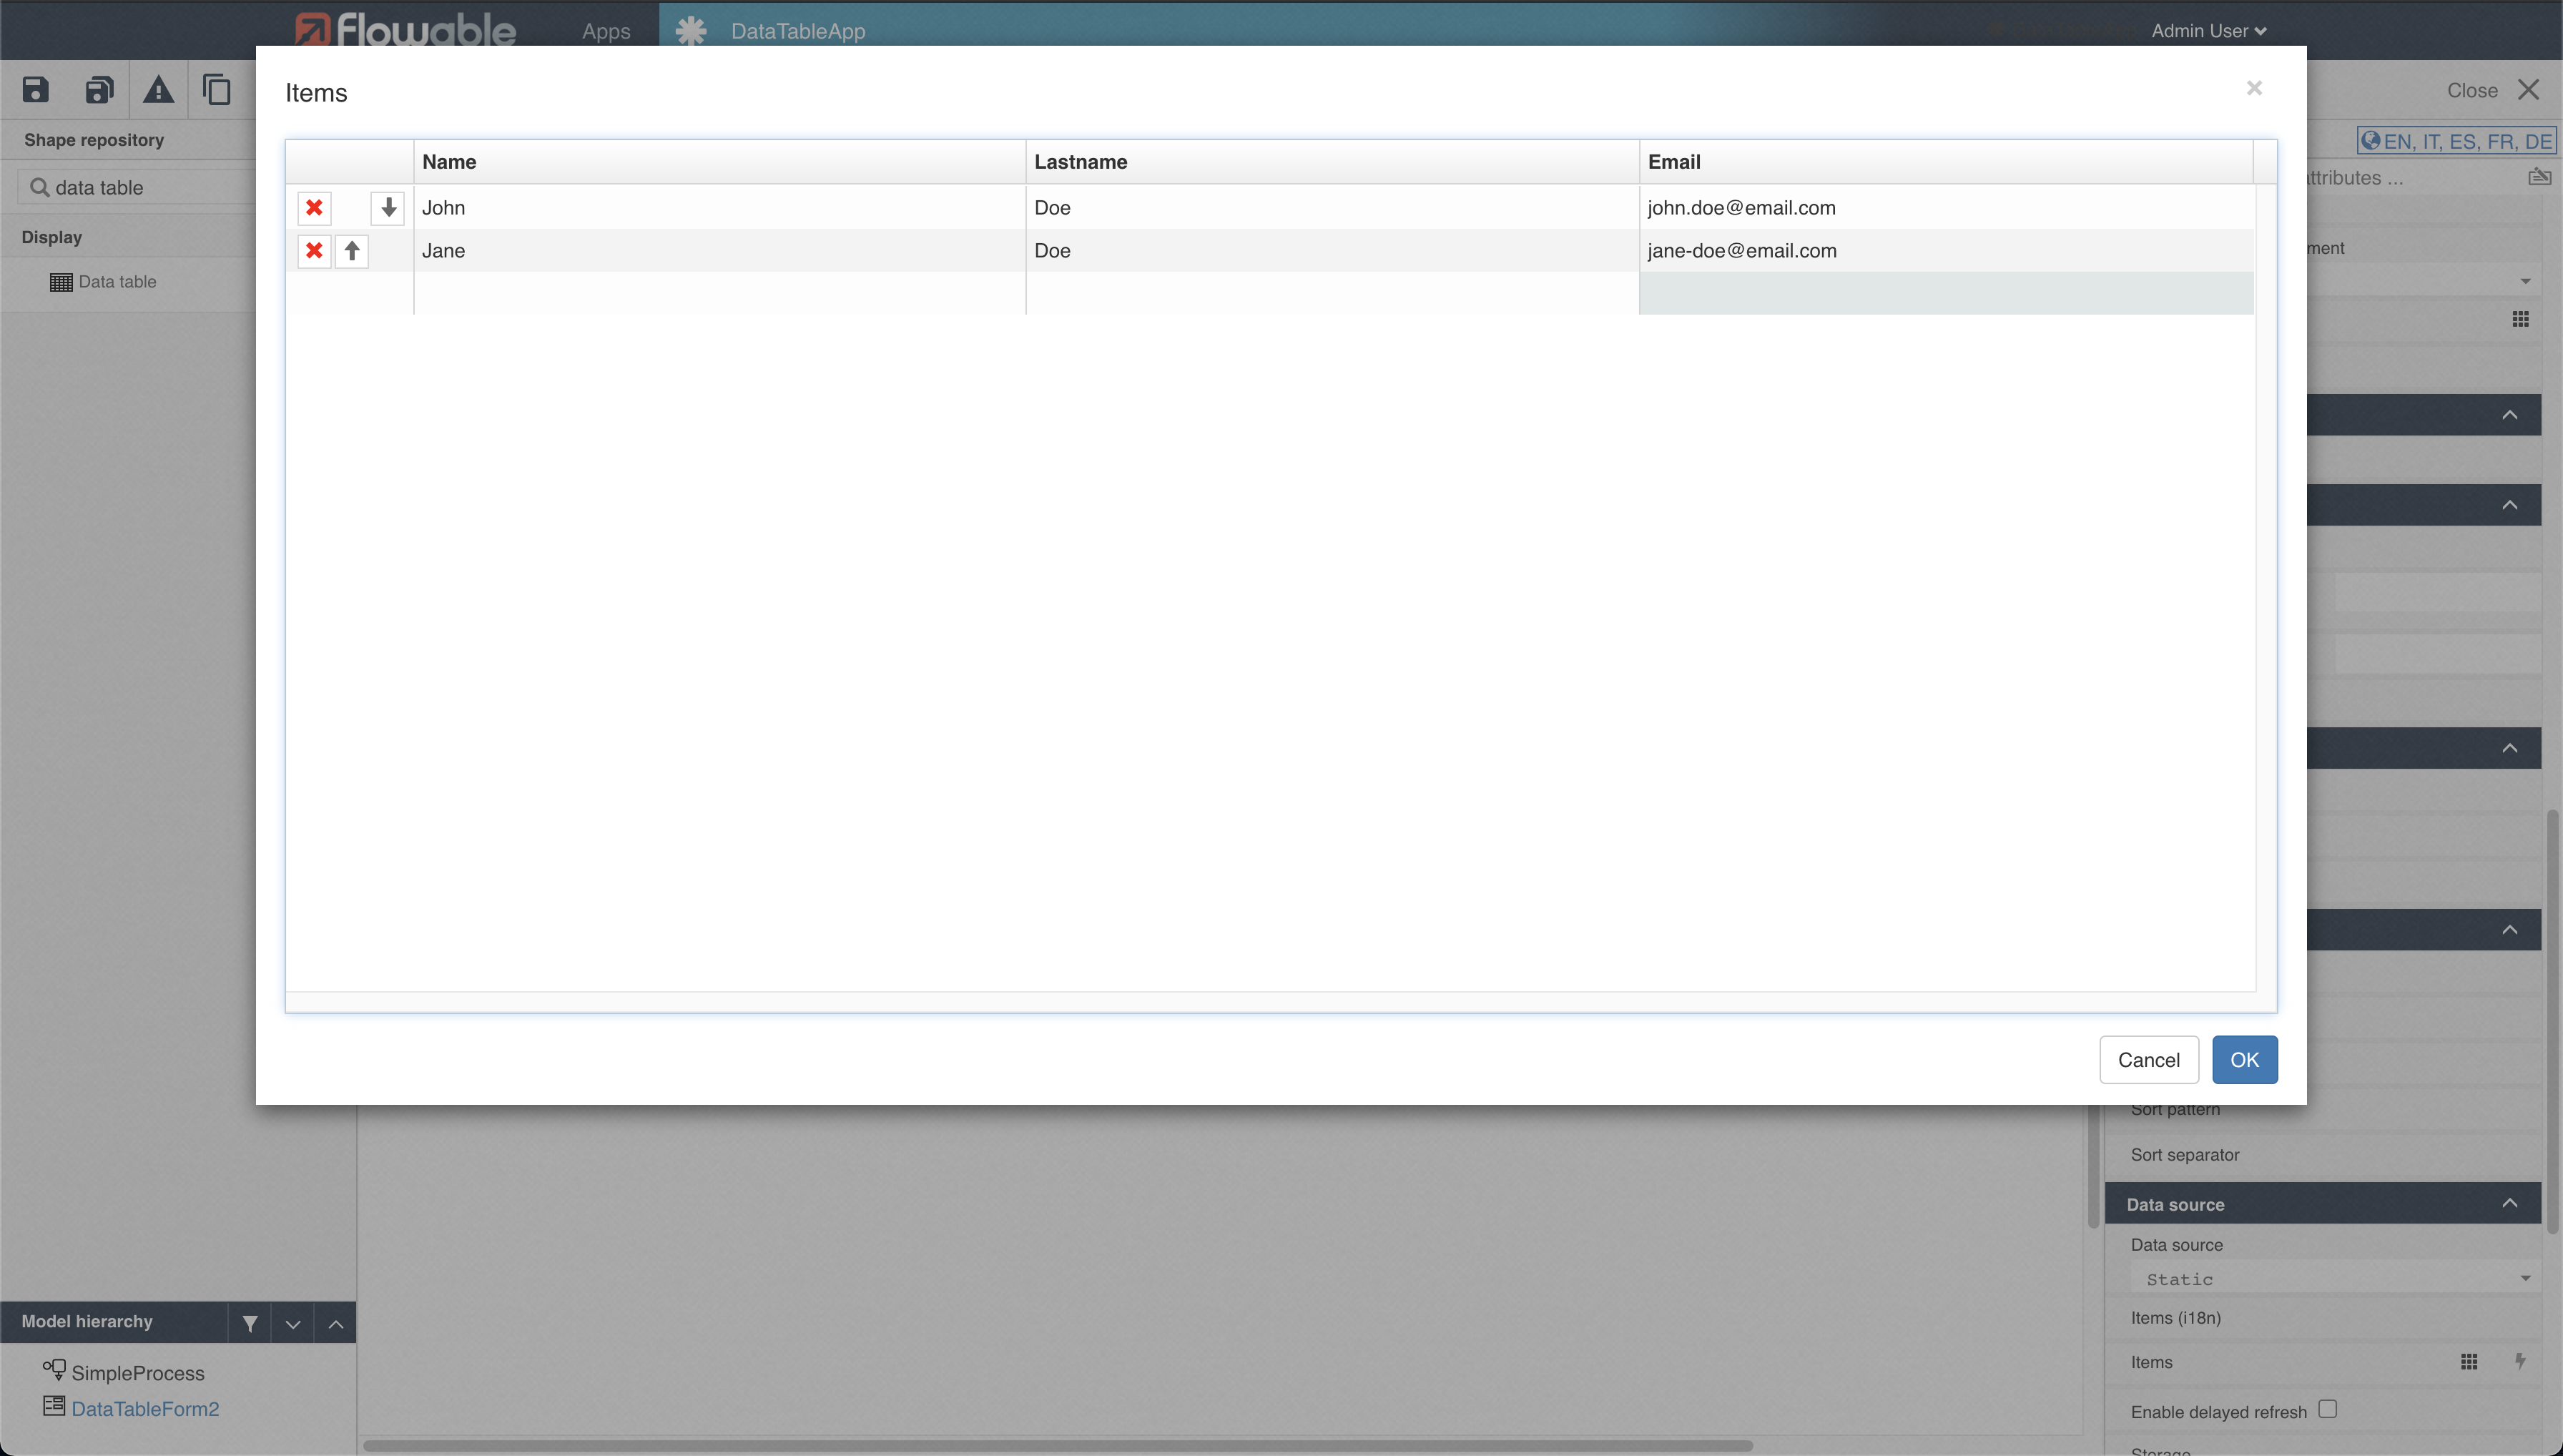
Now still from the right-hand side menu scroll down a bit more until Data source sub-menu and press on Items.
Fill the items with the desired data and when done press on OK.
Press on Save from the top left corner and navigate back to DataTableApp main menu.
Open Simple Process and press on the User task, then from the right panel select Form reference (sub-menu Details) and select the second tab called Reference then select DataTableForm.

It's also possible to directly create a new form reference from the BPMN model by selecting New in the form reference.
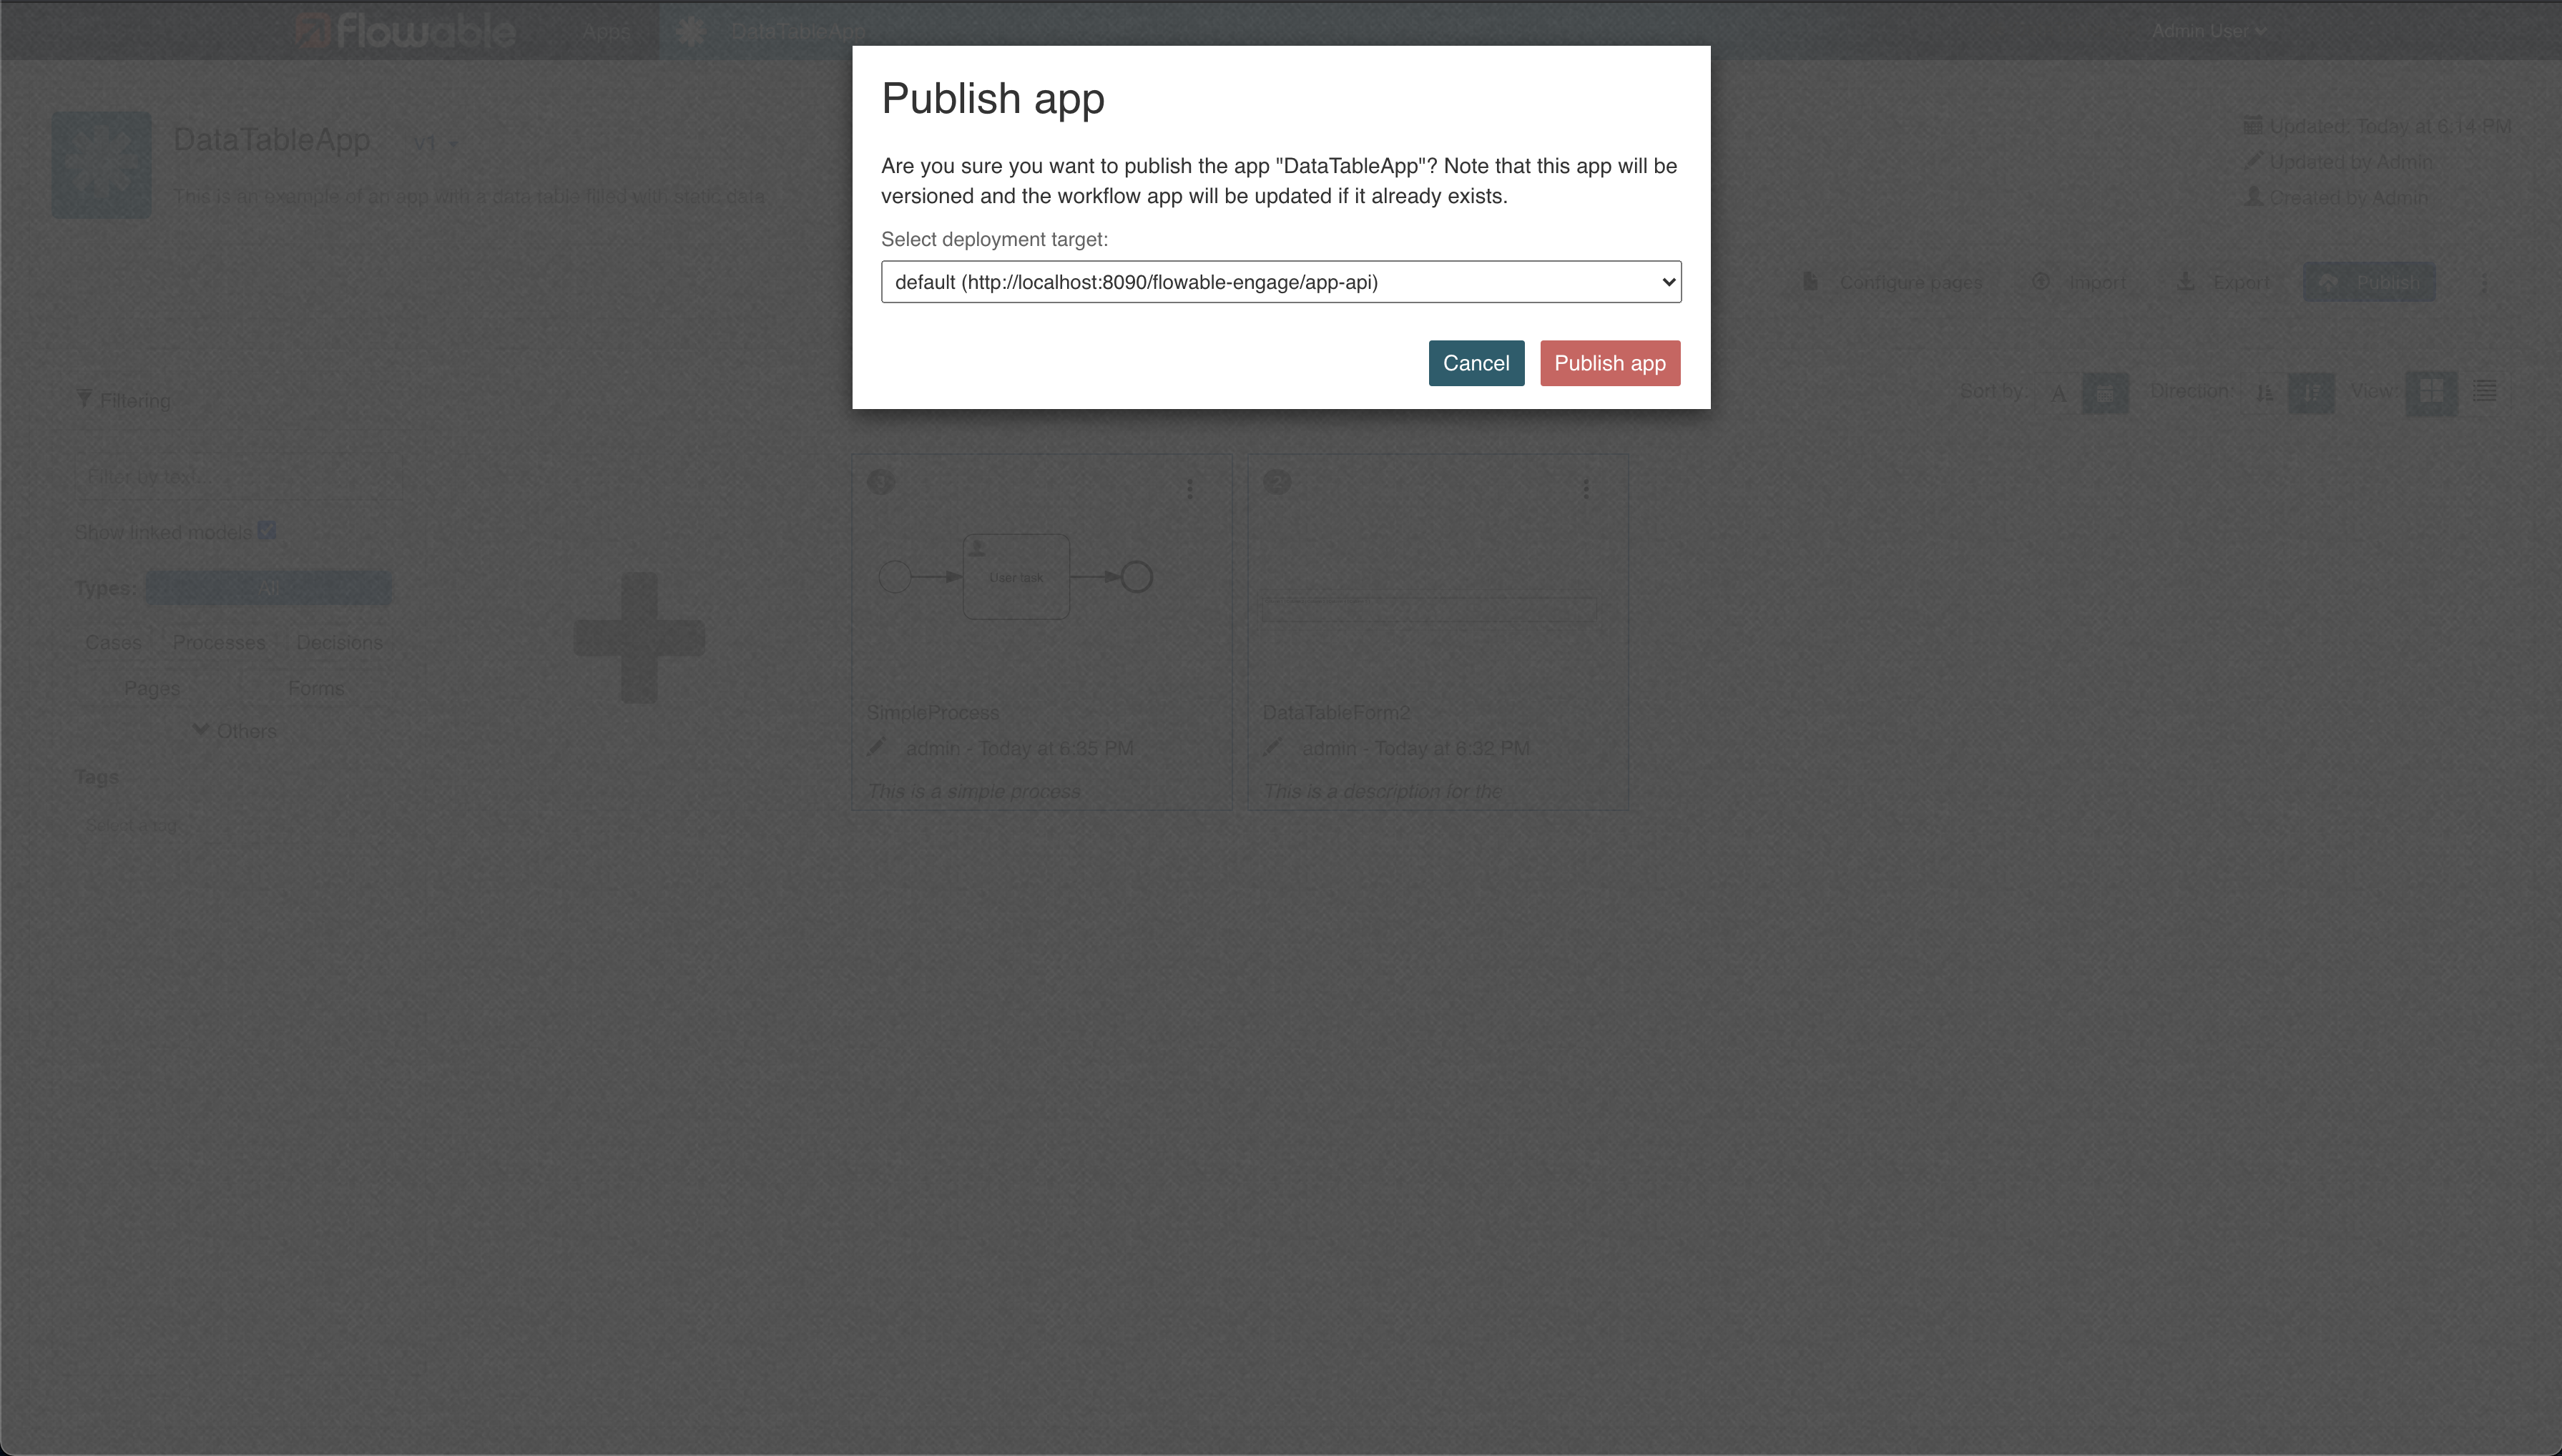
Now save and go back to the main menu of the app and press on Publish on the top right corner. A publish app popup will appear, press on Publish app.
Navigate to Flowable Work and refresh the page (in case it was already open) to apply the changes.
Press on New and select Work.
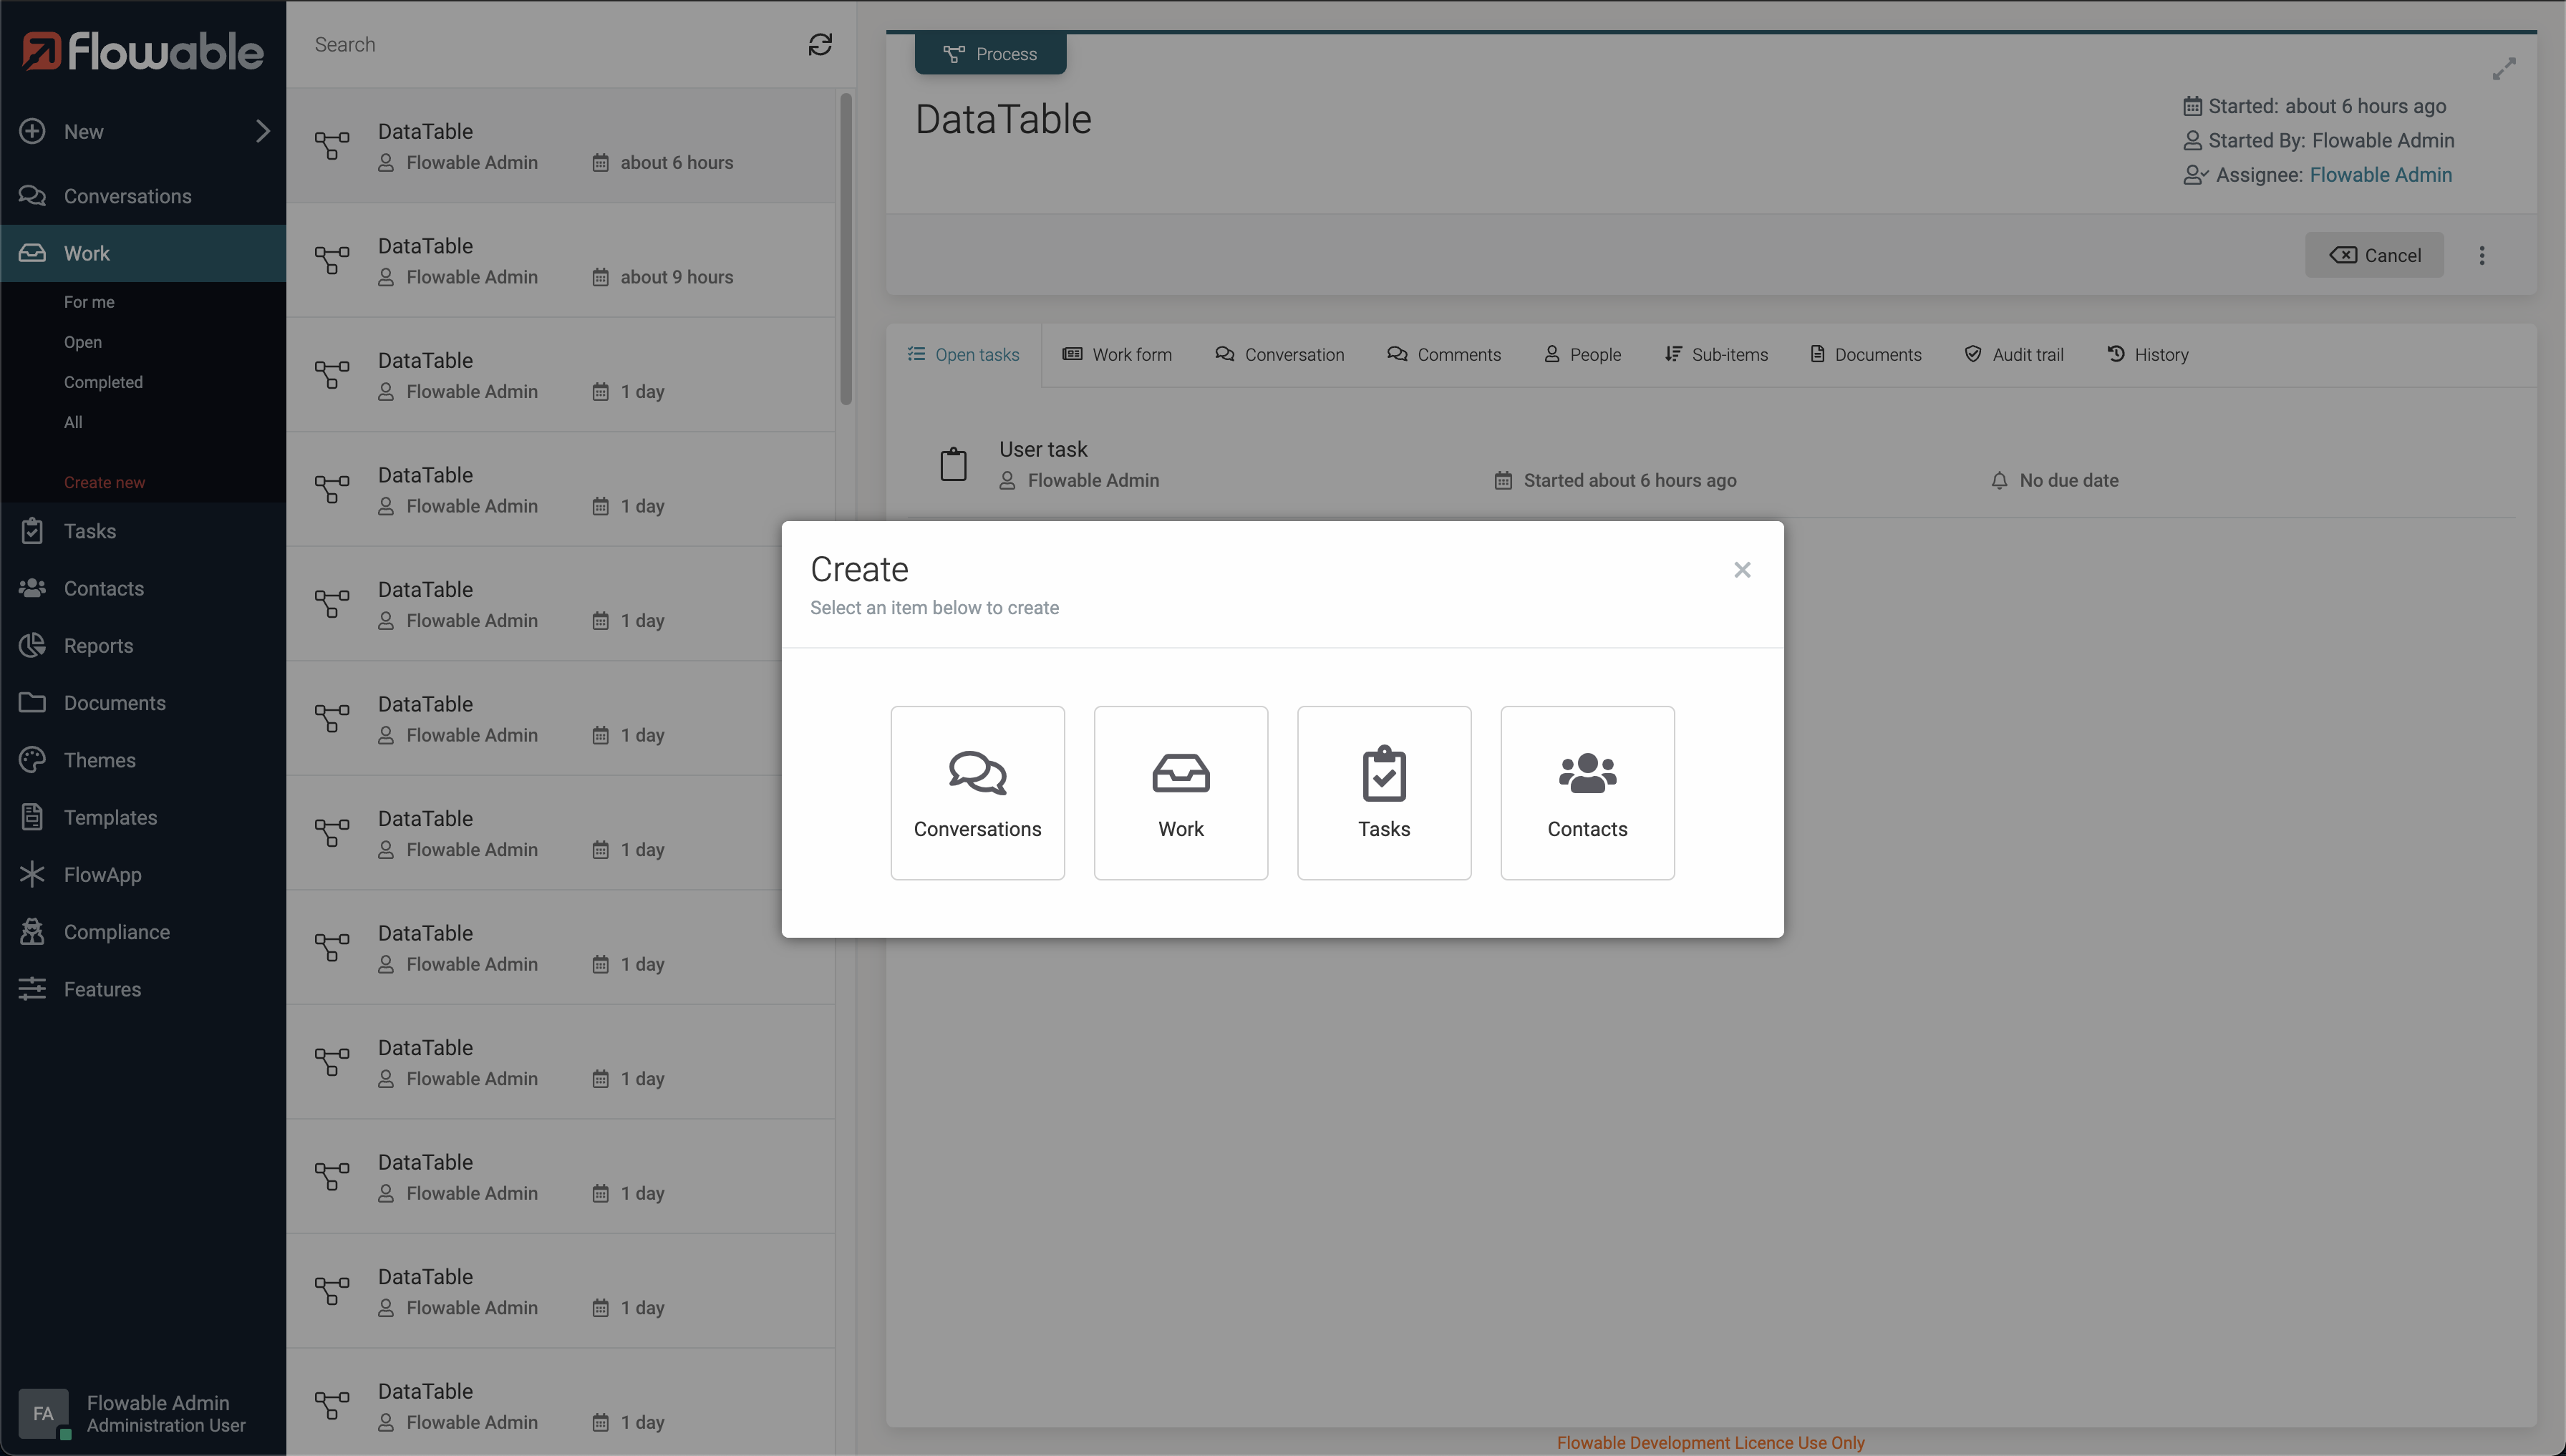
Scroll until you find the newly created app or search for it and press on it, press Continue on the confirmation popup.
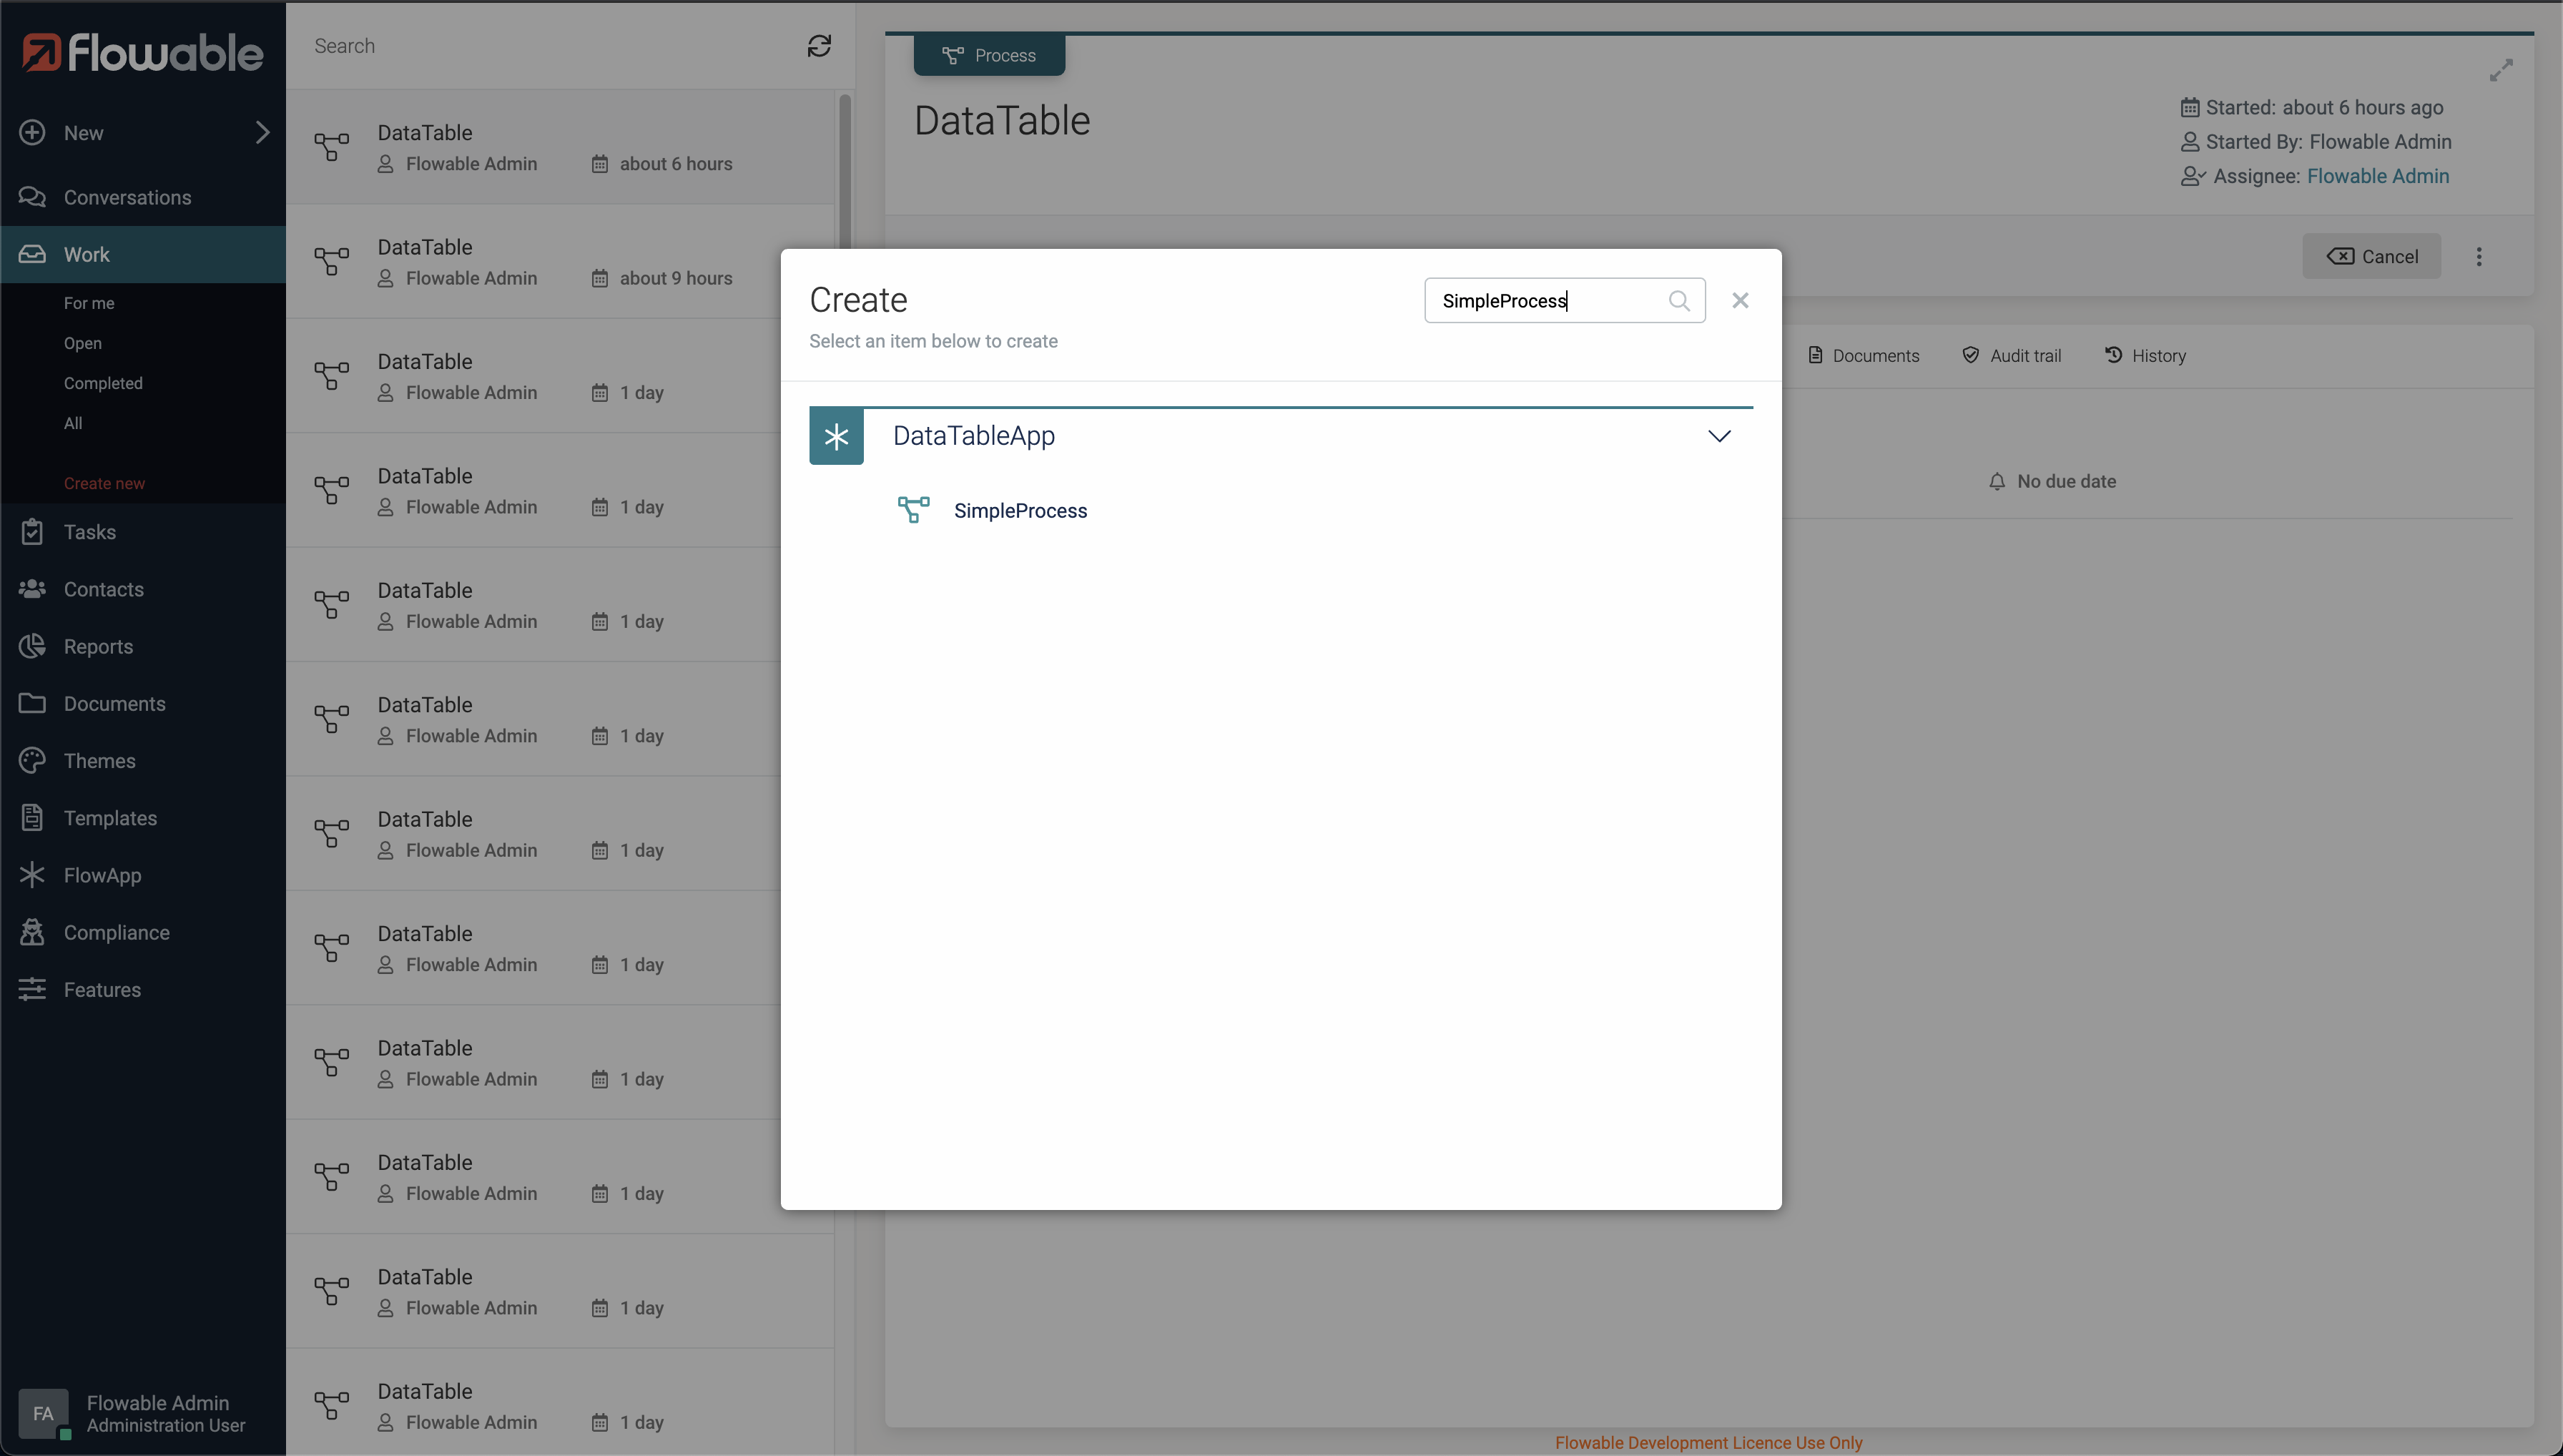
Press on User task and in the next screen the data table will be visible.
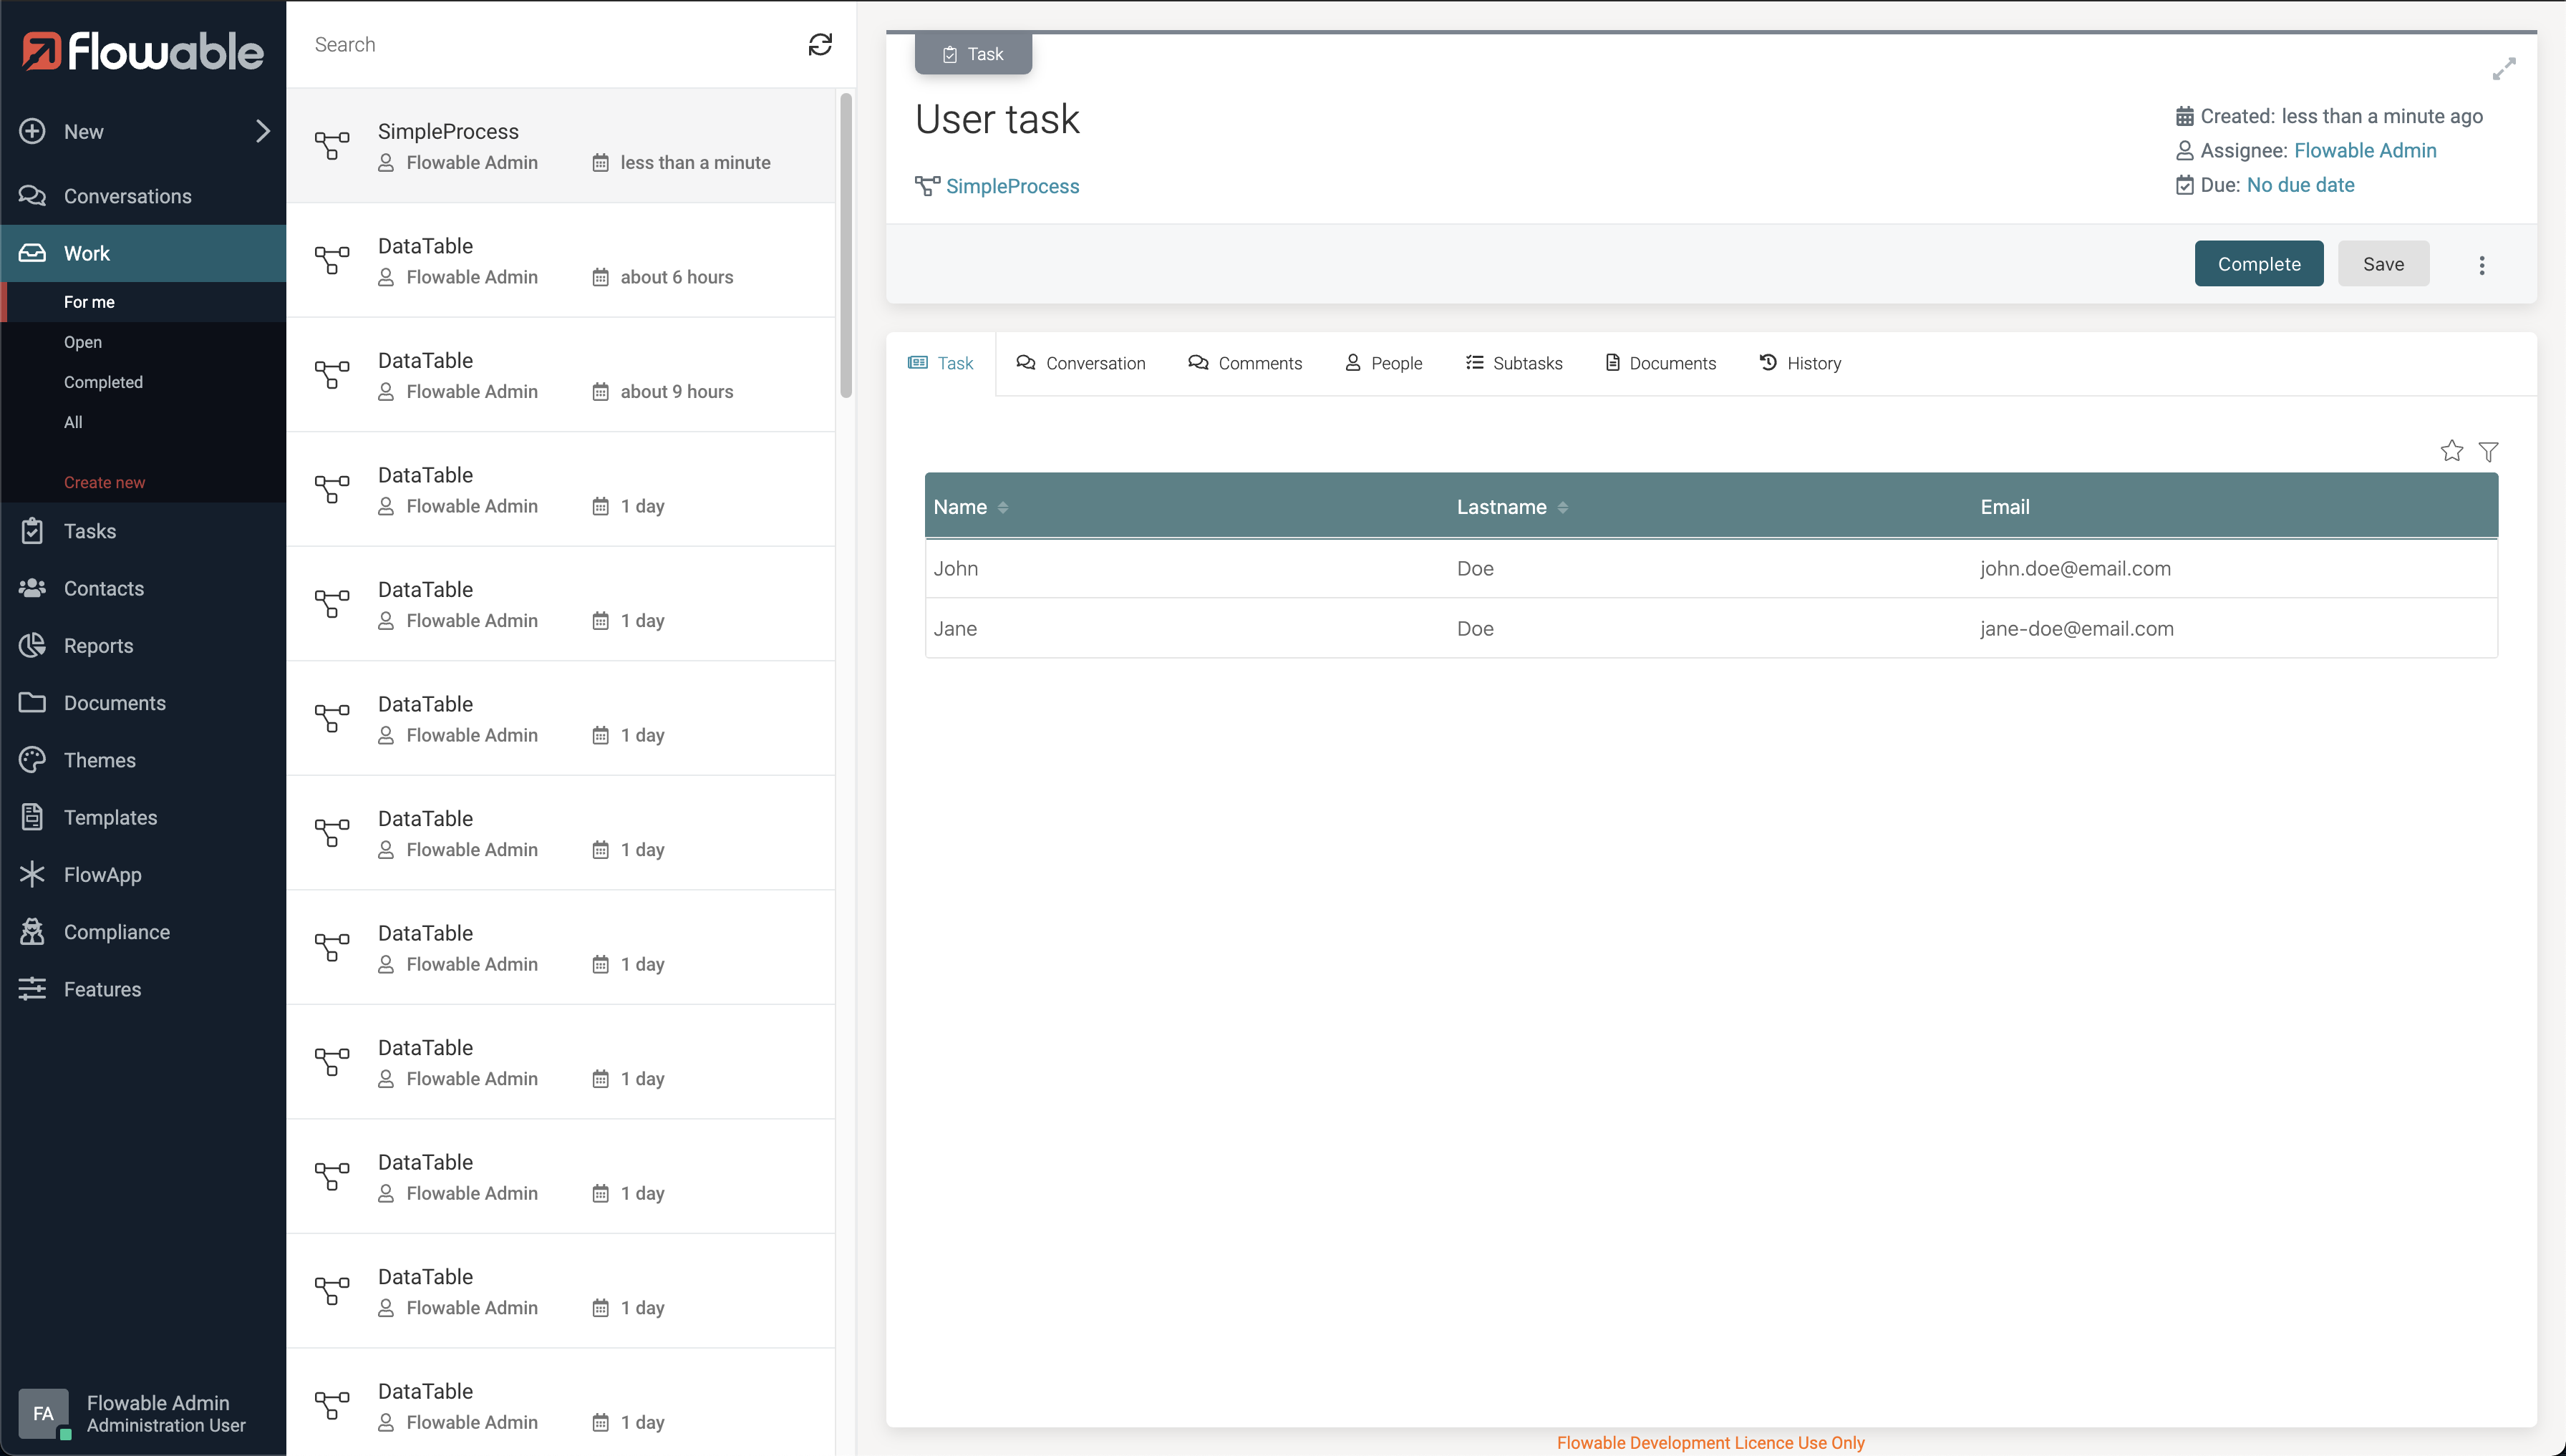
And that's all that's needed to add a data table to Flowable form!