Loan App: First experience with Flowable
This page is out of date and will be removed in the future. Cloud and self-managed trial documentation has been merged
Overview
The purpose of this guide is to give you a hands-on quick demo of some features of Flowable Work, and then to lead you into exploring its capabilities in more depth. Our goal is that within 10 minutes, you will have run your first demo that includes case, process, decision and content management!
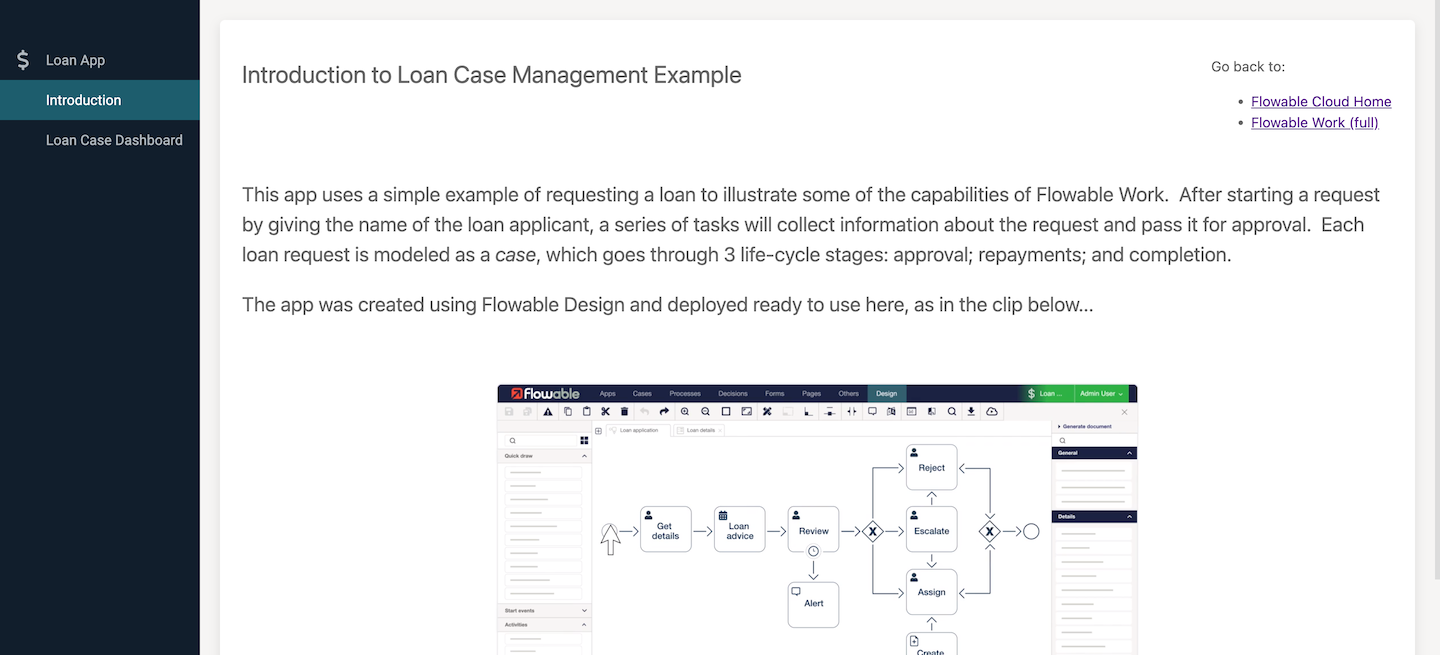
The landing page for the example app has some introductory information as well as a short video clip to set the context.
Your first case
To make it easy to work with active loan cases, there is a custom dashboard that allows you to start a loan request case and then track its progress. The dashboard shows a list of open loan cases and a list of tasks that have been assigned to you.
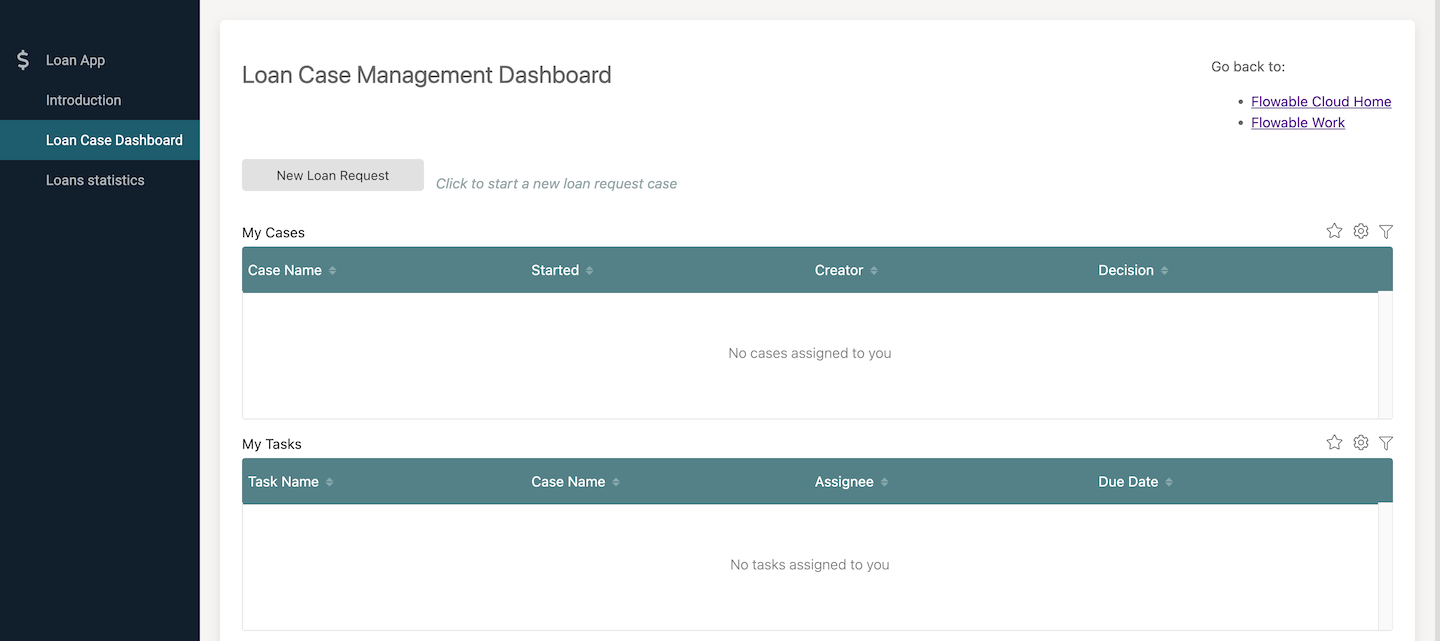
Click the New Loan Request button. The case has a start form, which means you’re prompted for some information before the case is actually created. In this instance it’s just requesting the full name of the applicant, so fill in some name.

Congratulations, you have created your first case! For the purposes of this tutorial, all the tasks are assigned to you, so you can see how it progresses without having to keep signing in and out to switch between users.
You should now see the open tasks view for the case, with a header that shows the stages of the case and indicating the current stage. You will be at the initial stage, Applying for a loan, and as you progress through the cases stages, this header gives you a quick visual cue to where things stand. This is a custom Flowable Work view, with No-Code configuration to only show the key elements needed at this stage. Once you're familiar with Flowable concepts, you can follow the same steps in the full Flowable Work user interface.
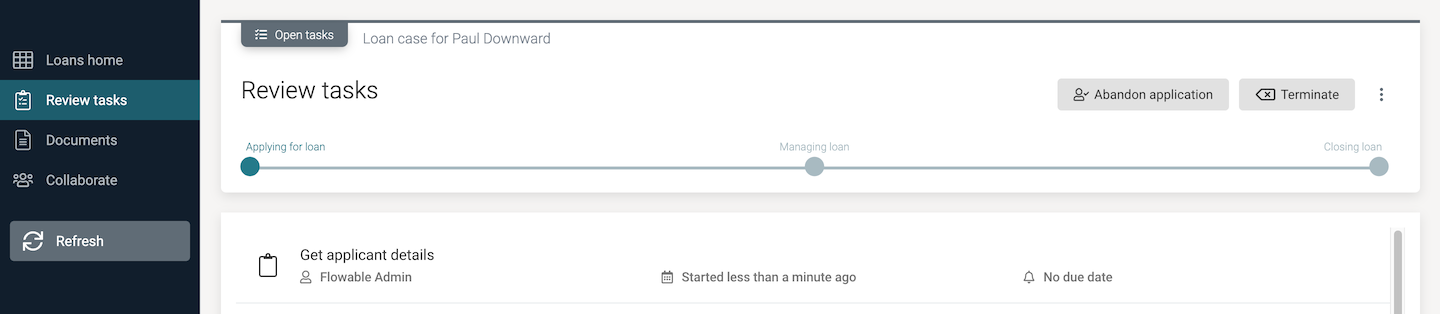
There are navigation options on the left, with Loans home that will take you back to the loans dashboard. The other options show different views of information about the current case, all defined as part of the app models.
You’ll also notice there’s an action button in the header saying Abandon application, which is part of the case model, so it’s only shown for Loan case cases. There’s a Terminate action button, which is shown for every case. Clicking it will terminate the case, effectively canceling it, although everything that was done within the case is retained in the same way as any other completed case.
The case view gives you the overall picture of the case and is typically used by someone responsible for managing it. From the Open tasks view, select the Get applicant details task. You should see a new task in the menu options on the left and a form showing in its Task view.
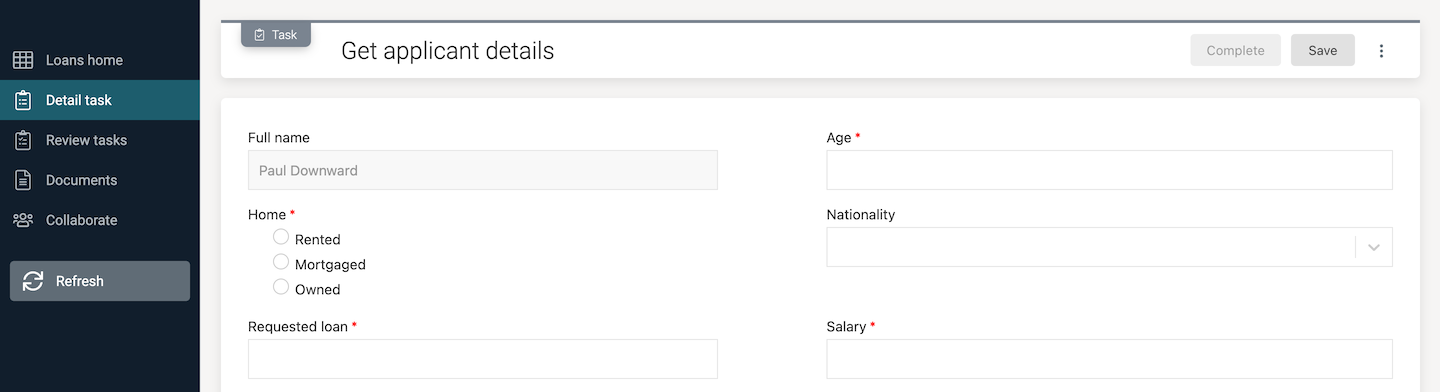
The name you entered when you created the case should be there, along with some required fields to fill in. Give Age as 62, Home as Mortgaged, Requested loan as 9200, Salary as 35000, and pick whichever Nationality you like.
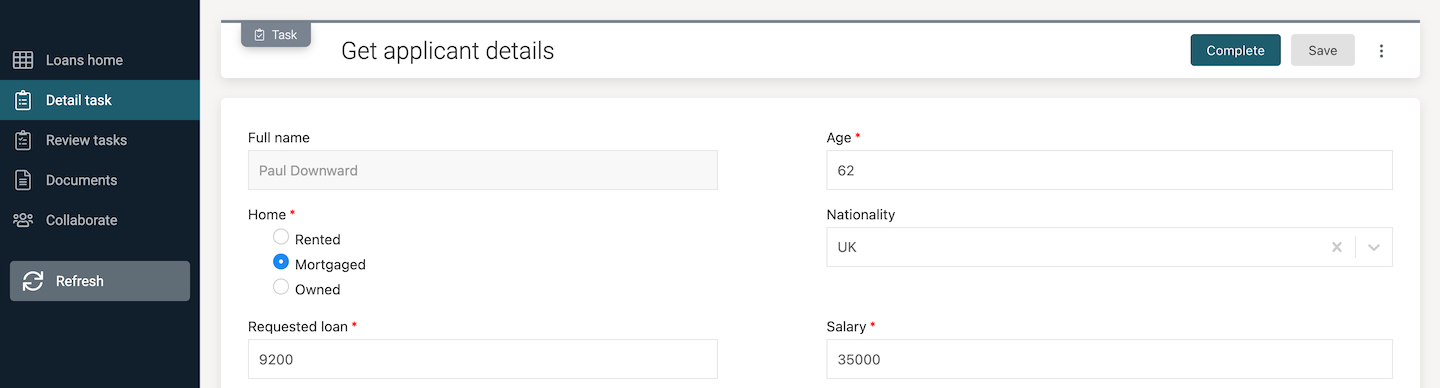
As you filled in all the required fields you will have noticed the Complete button in the header became enabled. This means you have given enough information for this task to finish. If you need to break off part way through, you can use the Save button in the header to store all the filled-in fields so far and come back to the task another time. Click the Complete button to finish the task. You’ll see there’s now a new open task: Review application.

This time there’s not a Complete button but a set of outcome buttons, Accept, Reject and Escalate. There’s also a form that presents the information we entered before plus an additional field, Advice. There is a set of business rules in the process model that gives an output of some credit advice based on the form details. This particular advice was because a rule was triggered that tests if the age is over 60 and the status is mortgaged. Edit the review comment if you wish.
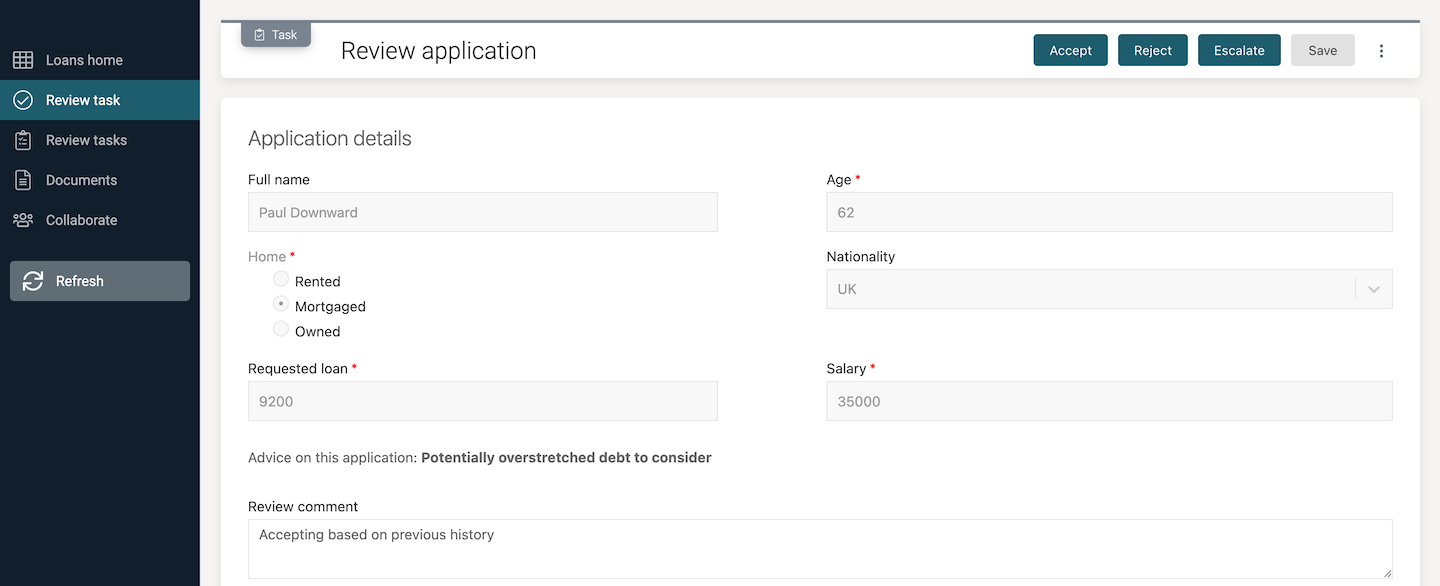
We’re going to take the happy path, so click the Accept outcome button. However, because there are concerns about the application, an escalated review task will be created.
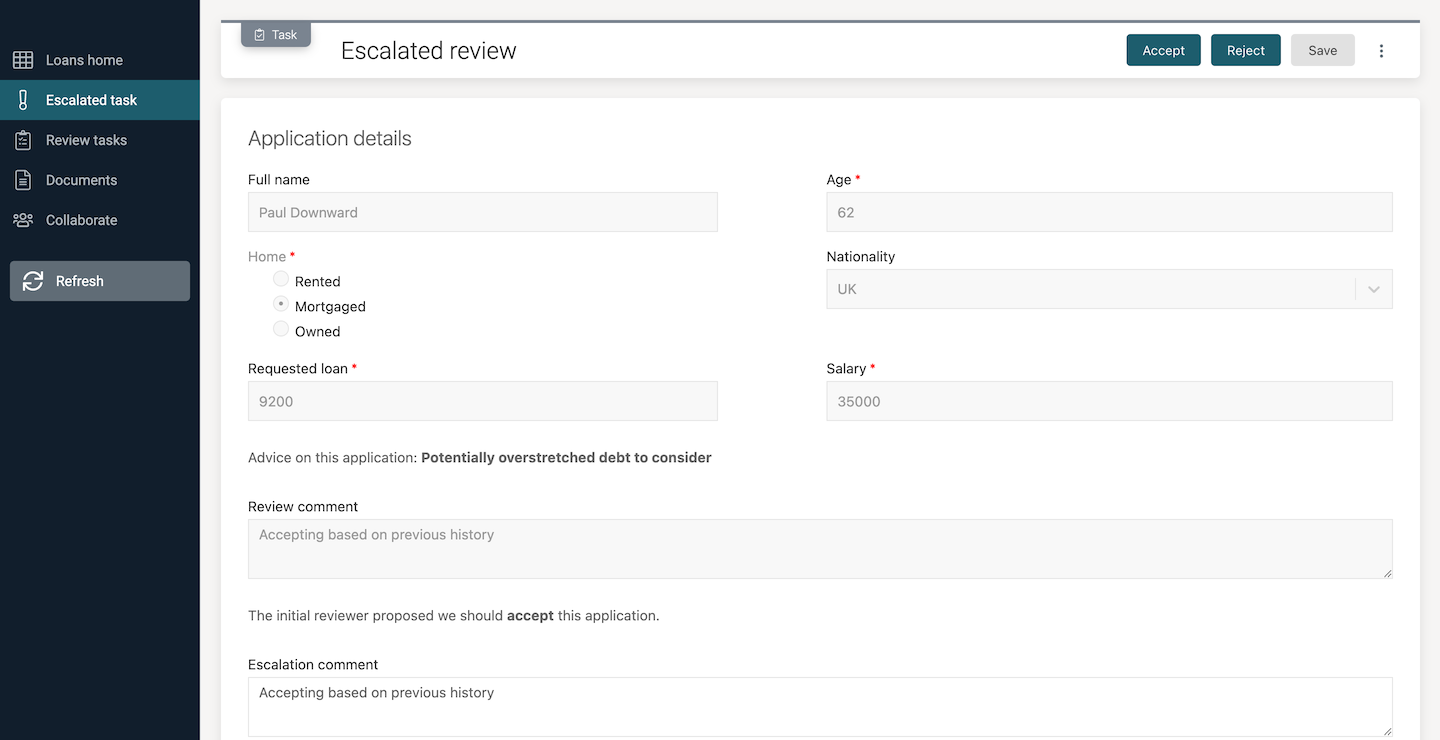
Again, add a review comment if you wish.

Staying happy, click the Accept outcome button, which takes us to the next step: Assign manager.
Working with images and attachments
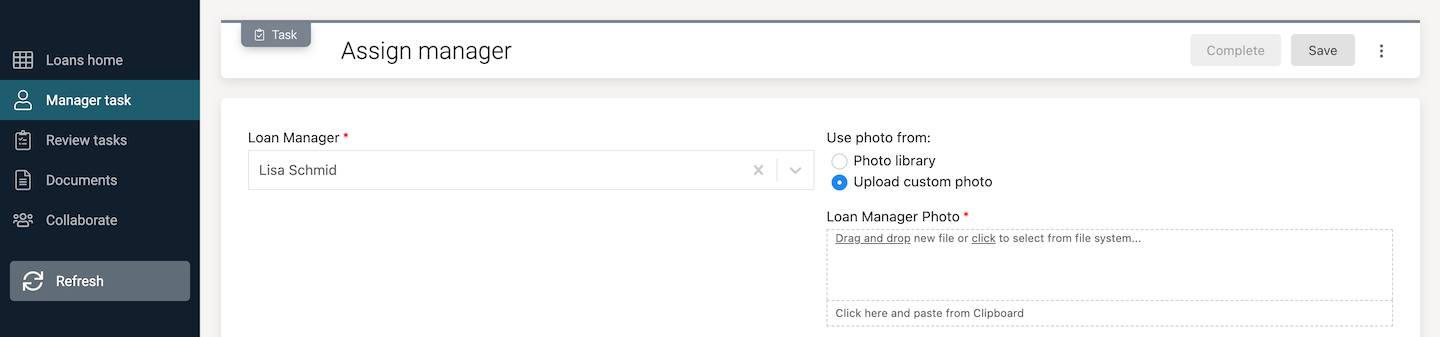
You should see a task to assign a manager, with a form containing two fields. Select a name from the drop-down list and the person's photo will be displayed.
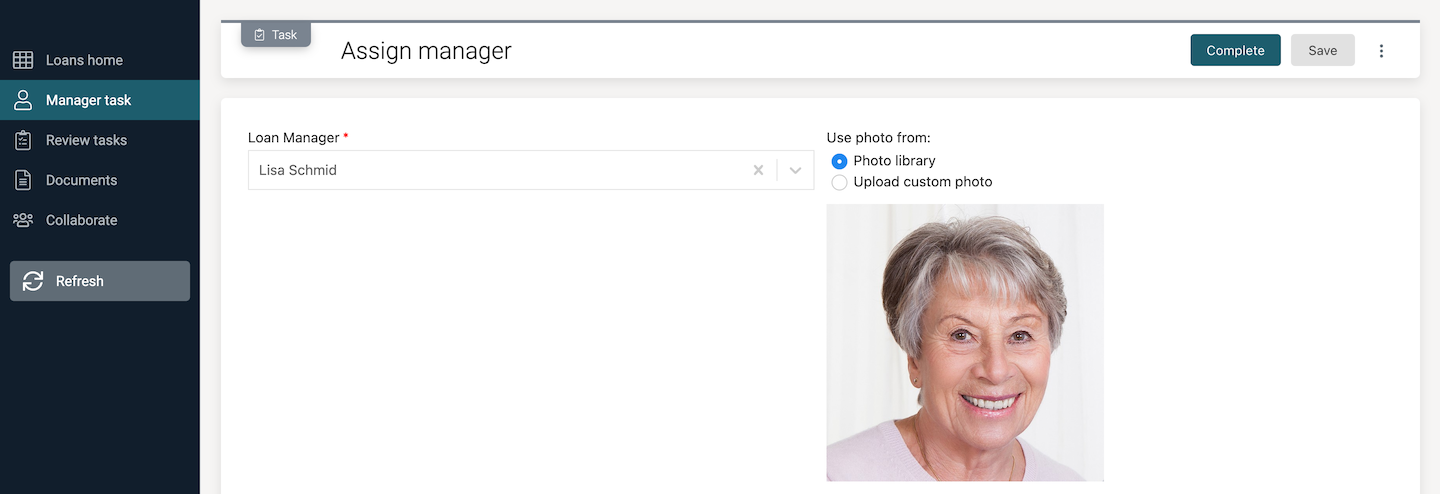
If you'd like to use a custom image, select the Upload custom photo option in the form and the library photo is hidden and an upload field displayed (provided a person has been selected from the list).
Complete the Assign manager task with a selected person and photo to move on to the Inform acceptance task. This may take a little extra time the first run through as there’s a step before it that creates a Microsoft Word document with the information collected in the process, including the loan manager’s photo. What you should see in the Inform acceptance task is a thumbnail of the generated document.

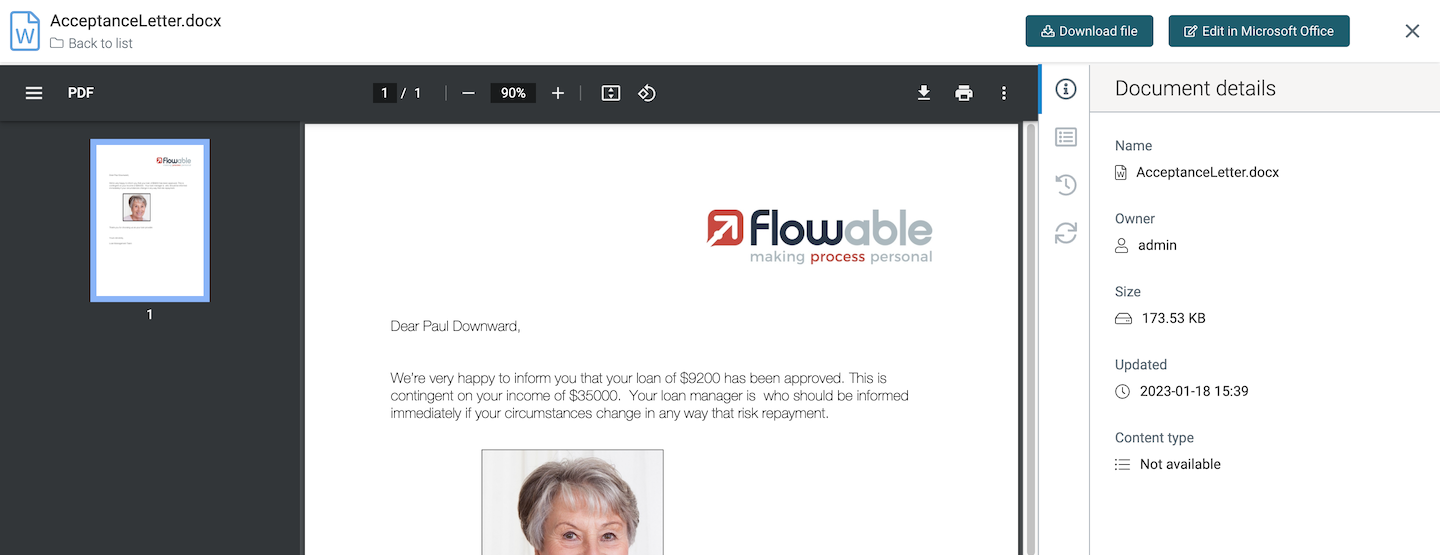
Click on the thumbnail to see the document in more detail. There are all kinds of options in the full document preview. To go back, click the X in the top right. To see the full details about the generated content, click the button View and download document. First, you'll see a list of all documents added to the case.

Click on acceptanceletter.docx and you will see all the details for the document, including any custom properties and previous versions.
Click on the X in the top right to return to the documents list, Then select the Inform task from the menu on the left to go to back to the original task. Complete the Inform acceptance task and the case has now moved on to the second stage (we'll see this visually in a moment). That means the loan application process and first stage has completed and the case now has a new task, Get month 1 repayment, from a process started in this second stage.
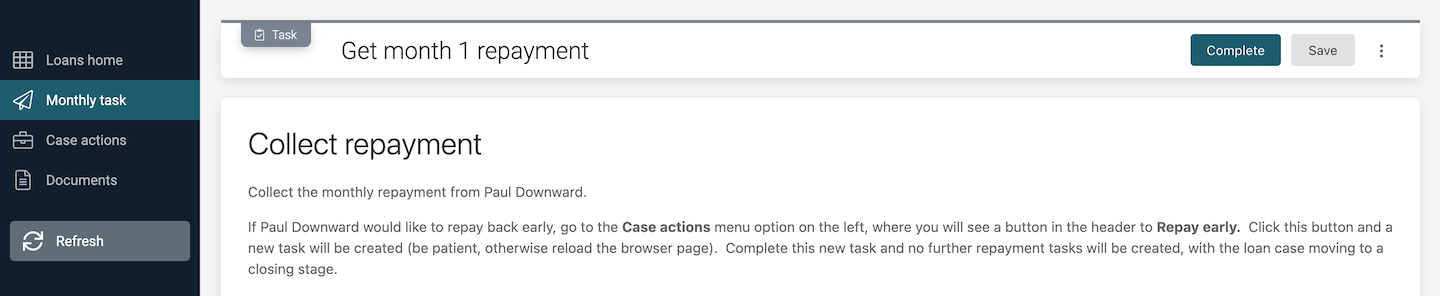
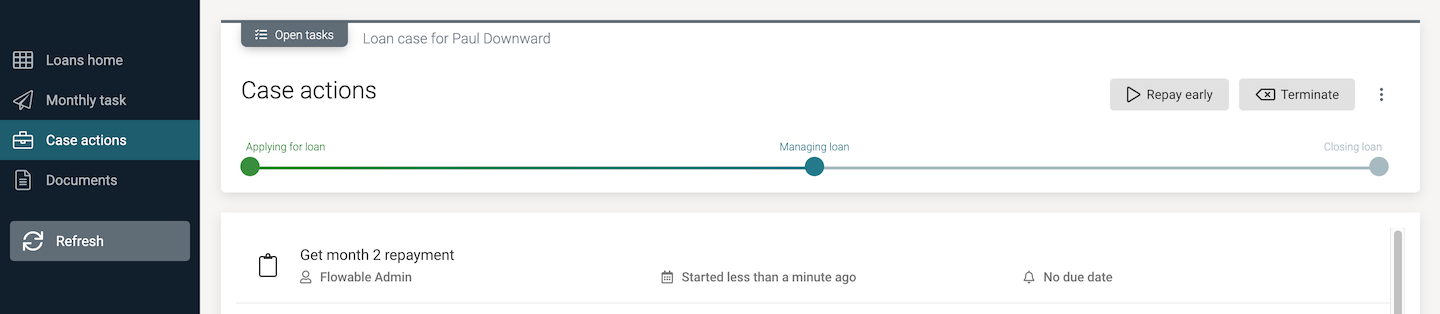
There’s no form or different outcomes for the task, so just click the Complete button to signify that the first repayment has been made. You won’t be surprised to see a new task appear, Get month 2 repayment. Guess what? If you complete it, there will be tasks created all the way up to month 12, and if you have the time, you could click your way through them. Alternatively, select the Case actions on the left menu, where you'll see the stage progress and open tasks. Have you noticed there’s a new action, Repay early, available in the case header? Select this action and another task is added to the case alongside the monthly task (you should see a new Repay task option in the left menu.
Click the new Repay task option and you’ll see a task view with a couple of fields to complete. Add some values if you wish, they aren’t mandatory fields.
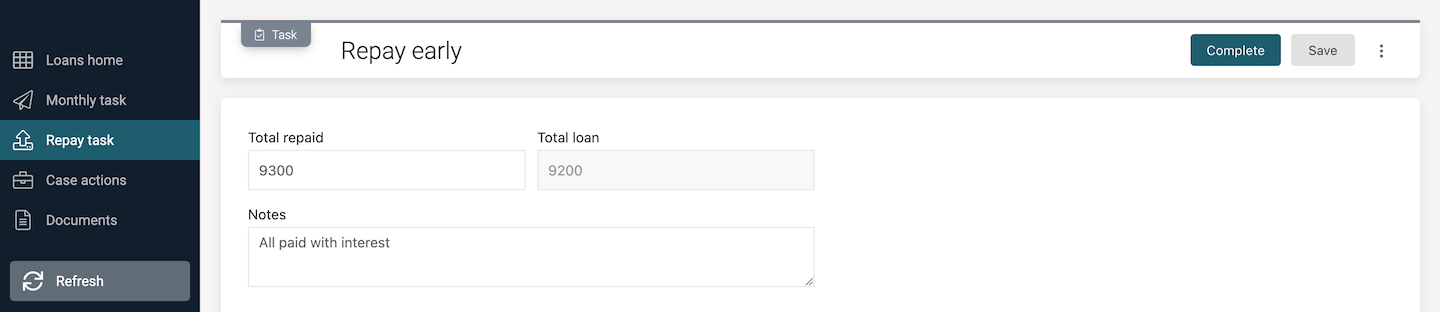
When you complete the Repay early task, there’s just one task remaining, Give closing statement. The case was configured that if you repay early at any time then the monthly repayment tasks are stopped.

You're now in the Closing loan stage, which you could see if you navigated to the Case actions view. Select the remaining task and again, it’s just a placeholder task to be done. Complete it and you’ll find that the whole case has been completed. Case closed.

Click on the Loan home menu option on the left to go back to the Loans dashboard. That finishes your first fly through this example along a simple, happy path. In the next run through, we’ll see some of the more sophisticated capabilities of Flowable come into play.