Configuration
In the Configuration section, there are three different items available that can be controlled and changed by the user.
Clusters
The section of the default cluster allows you to define a 'main configuration' for the cluster. This main configuration works like a template and all engine endpoints use these values by default.
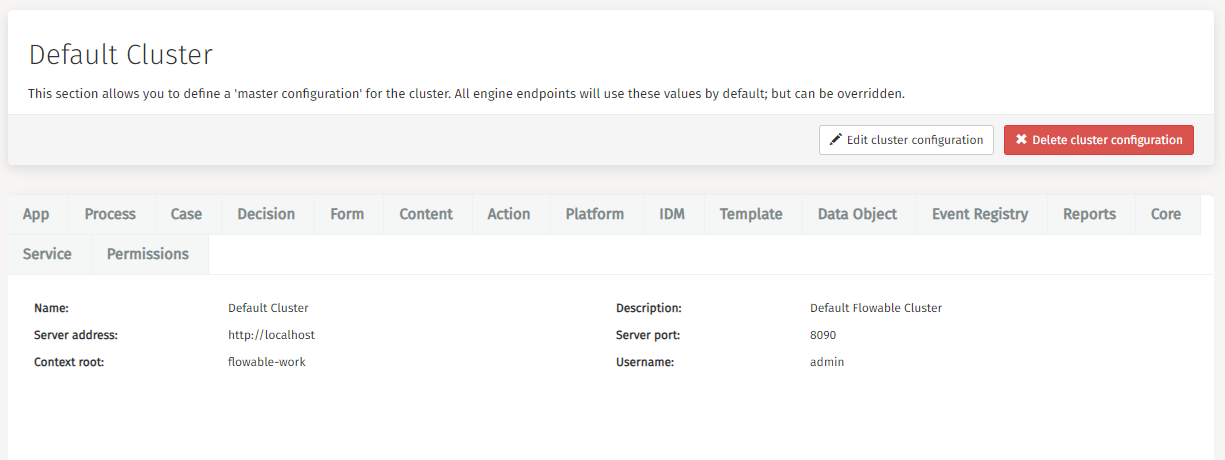
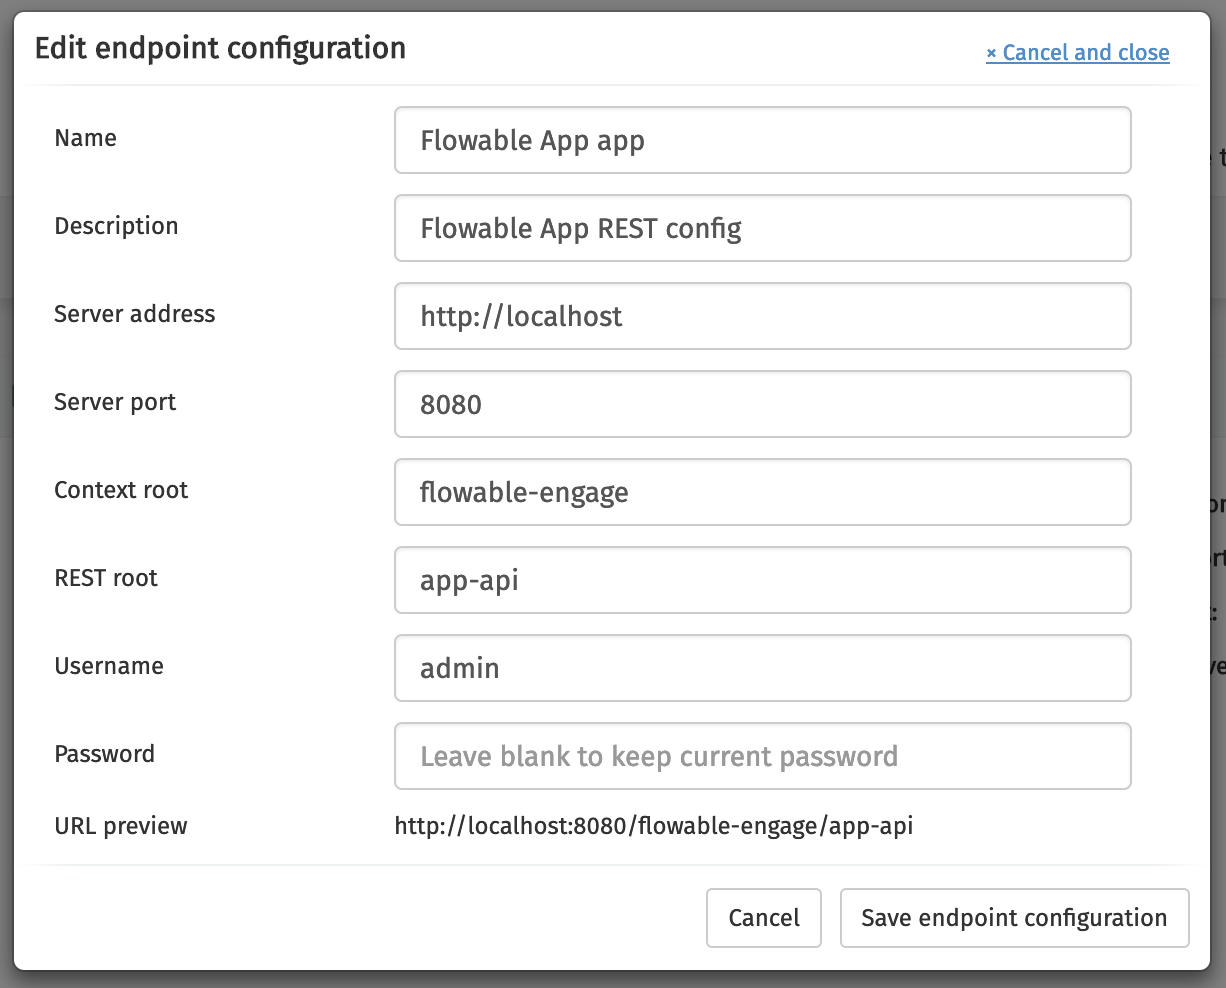
It is possible though to overwrite and edit the endpoints for all different engines.
To do that you need to click on the Edit endpoint button
and modify the settings.
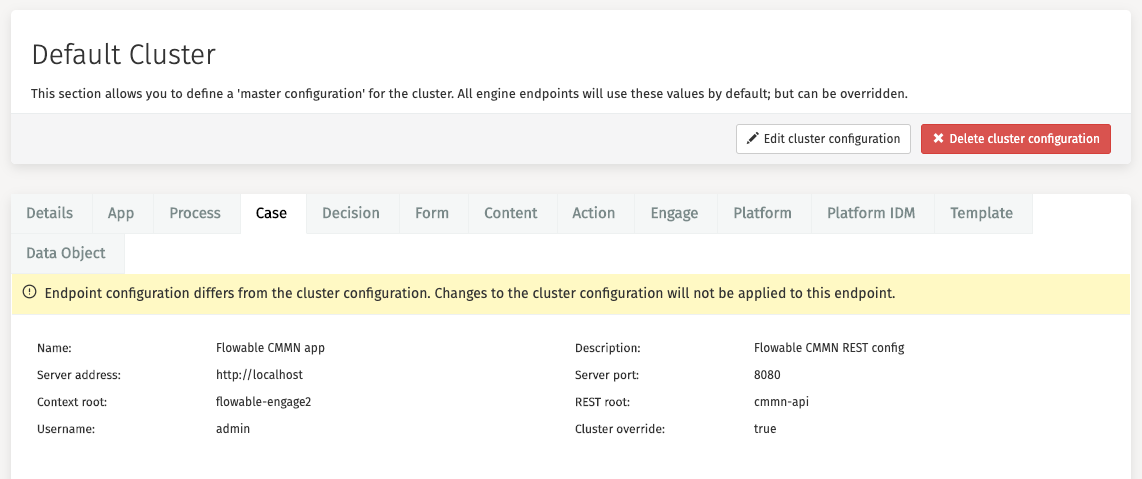
If a specific configuration differs from the default configuration, then a message
appears at the top of the configuration settings.
To double-check whether your endpoint configurations are valid you can click the
Check REST endpoint button. A valid endpoint configuration is indicated with
a green message, and a red message signifies an error is present.
In Flowable Control multiple clusters can be managed.
To add another cluster configuration, click the Add cluster configuration button.
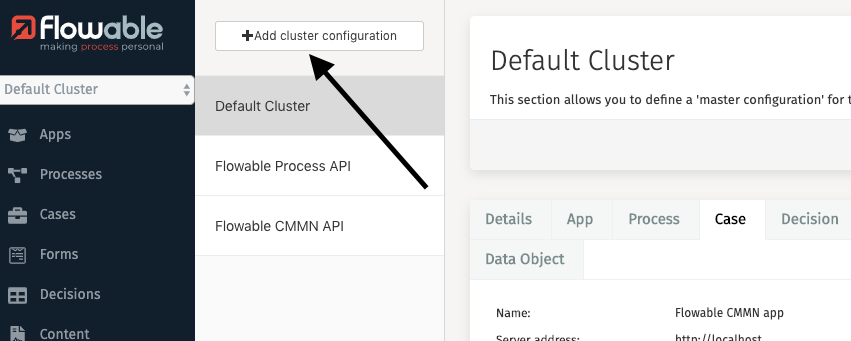
In the resulting dialog, fill in the appropriate values and click
Save cluster configuration.
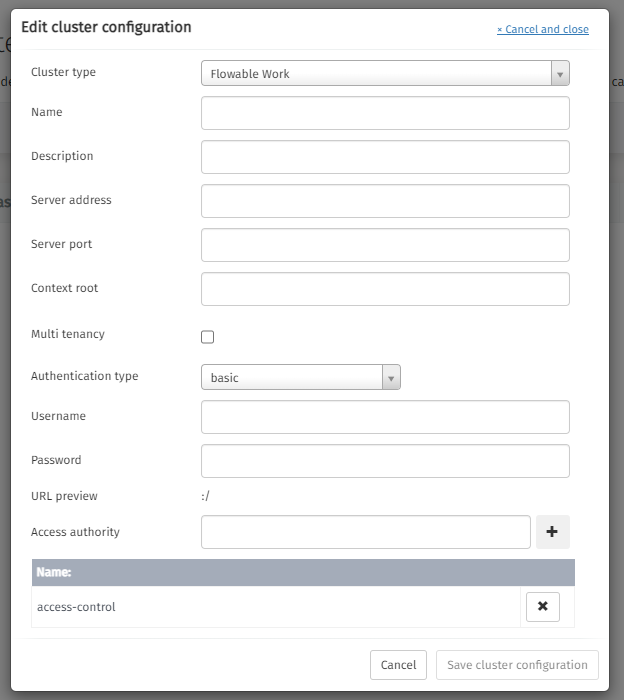
To edit a cluster configuration, click the Edit cluster configuration button.
A dialog opens where modifications to the configuration are made.
It is also possible to delete your cluster configuration by clicking the red
Delete cluster configuration button in the header.
Multi tenancy
Checking the Multi tenancy flag to enable Tenant ID fields for App deployment or user creation
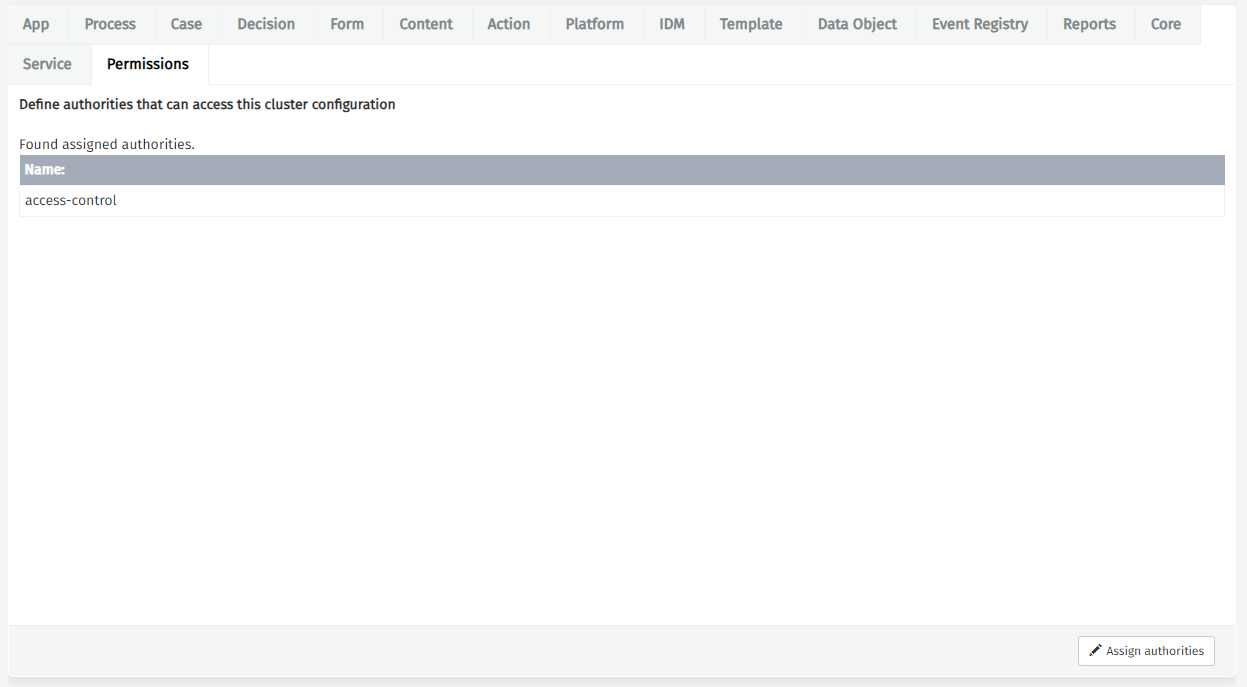
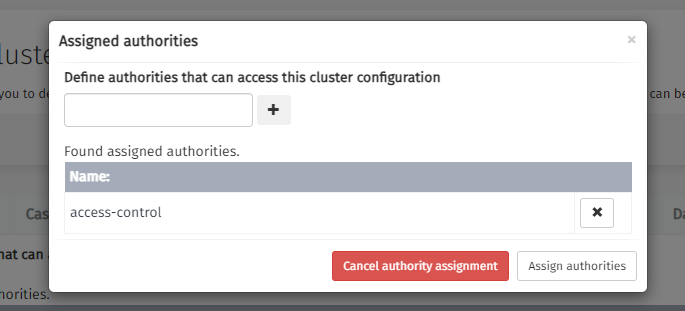
Cluster Permissions
v3.14.0+Cluster permissions enable administrators to designate specific authorities with the capability to access cluster configurations. The system defaults to 'access-control' as the foundational authority level.
User Management
There are a few different actions you can perform in this section:
User Types
There are 2 user types; admin and non admin users. Admin users have full access to Flowable Control’s features. Non admin users privileges are defined by their assigned roles.
Create a User
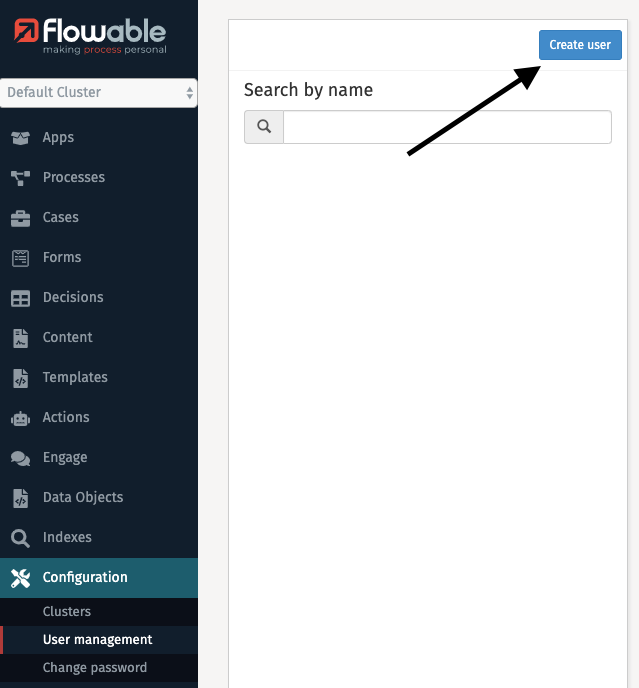
One action you can perform in this section is creating an additional user for
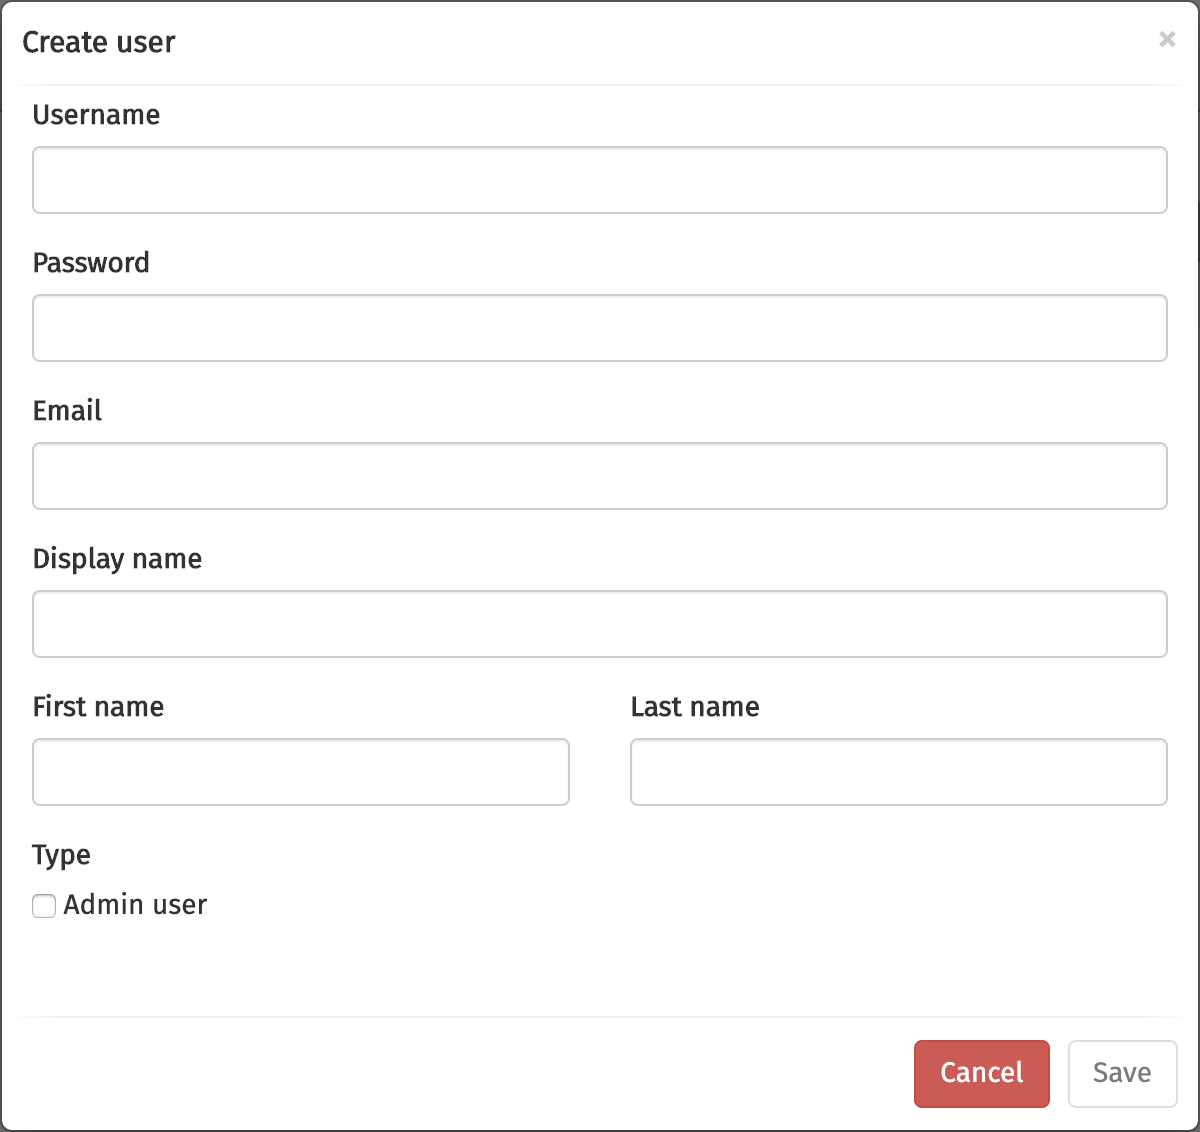
Flowable Control. To do that you first need to click the Create user button.
Consequently, you need to fill in the dialog and click Save.
Edit a User
Before using an action, you first need to select the user for which changes are required. The list of users can be narrowed by using the Search by name functionality on the left.
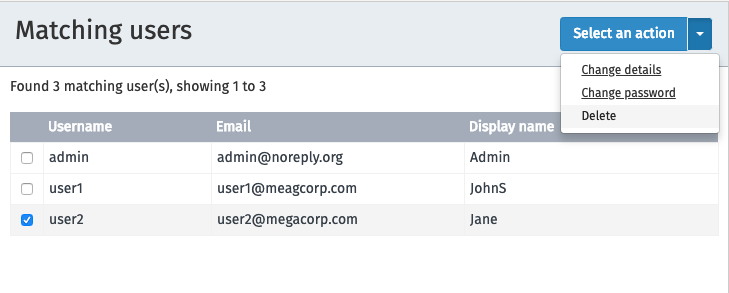
To change a user’s details first click the Select an action
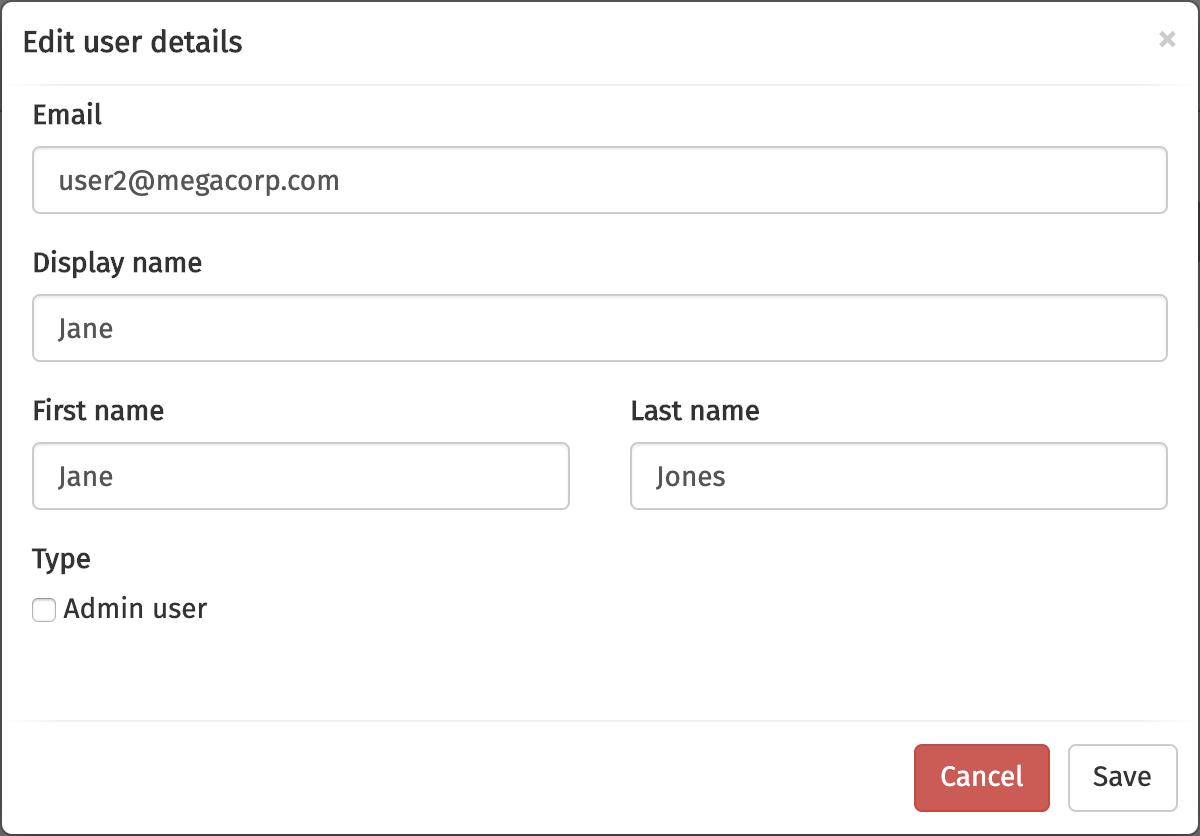
button and then the Change details button.
Clicking the button results in a dialog in which you can edit the user’s details.
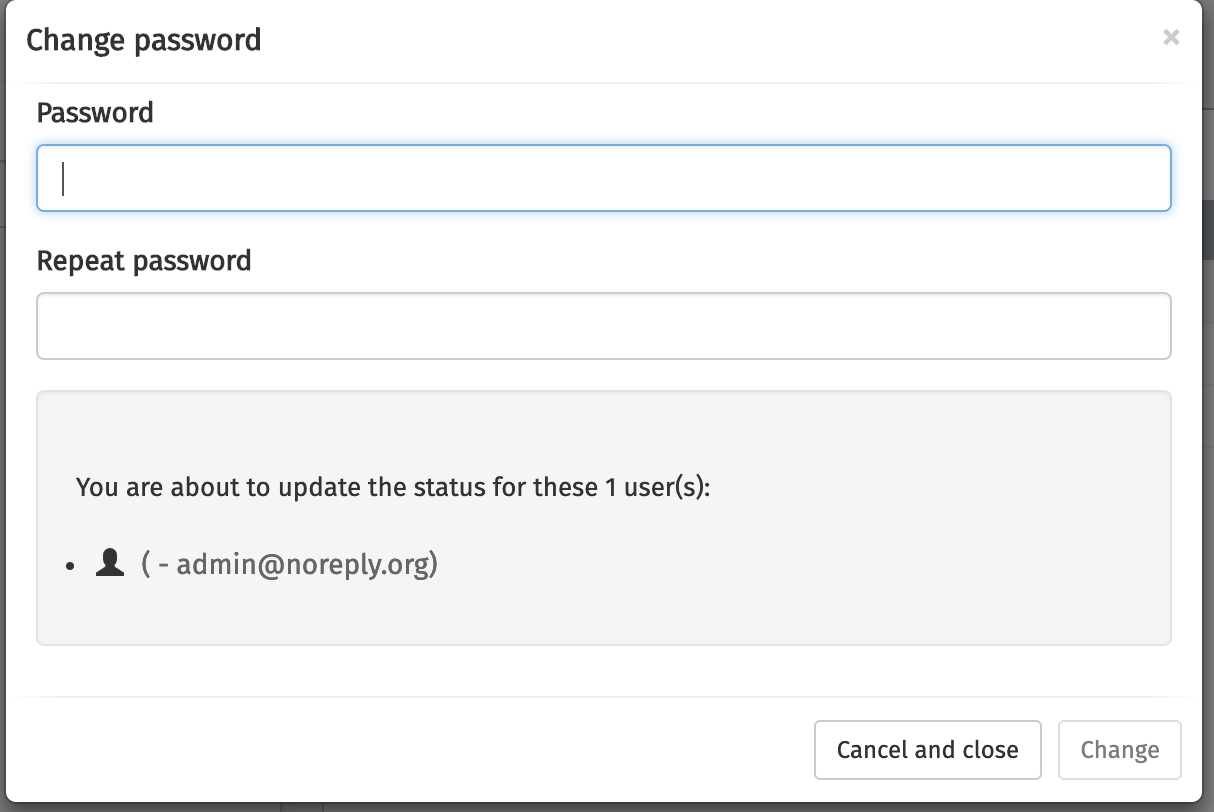
Change a User’s Password
Changing a user’s password happens through clicking first the Select an action
button and then the Change password button. A dialog opens where you
can change the password of the user.
Delete a User
Deleting a user happens by first clicking the Select an action button and
then the Delete button.
Role Management
There are a few different actions you can perform in this section:
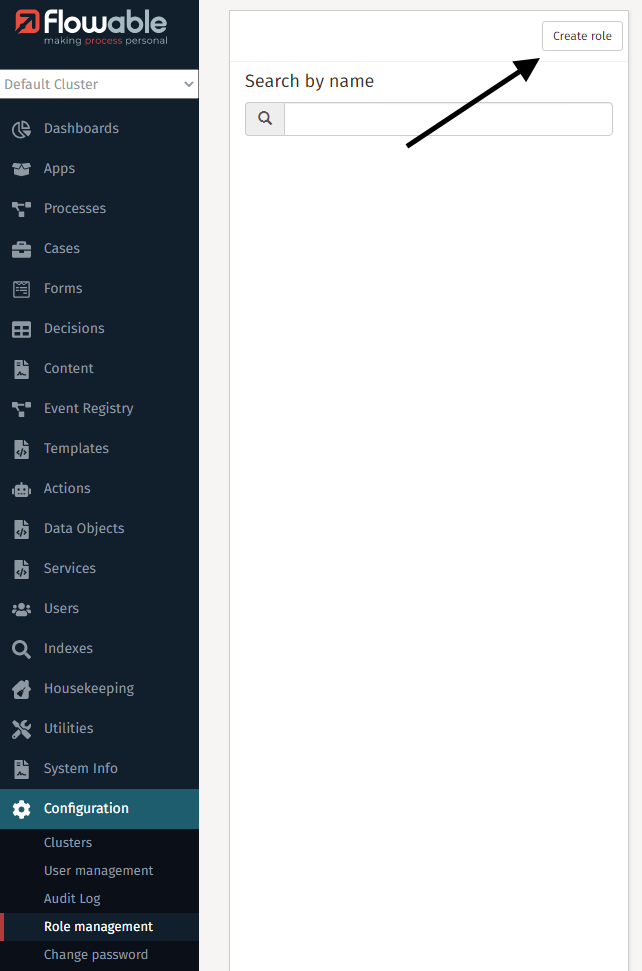
Create a Role
One action you can perform in this section is creating an additional role for
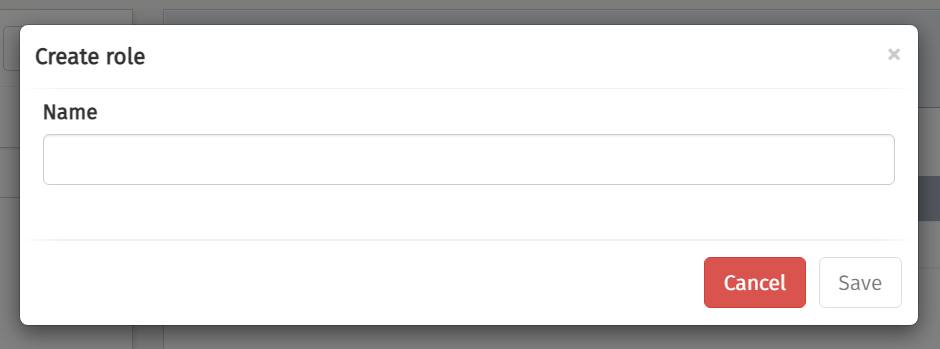
Flowable Control. To do that you first need to click the Create role button.
Consequently, you need to fill in the dialog and click Save.
Edit Role privileges
Before using an action, you first need to select the role for which changes are required. The list of roles can be narrowed by using the Search by name functionality on the left.
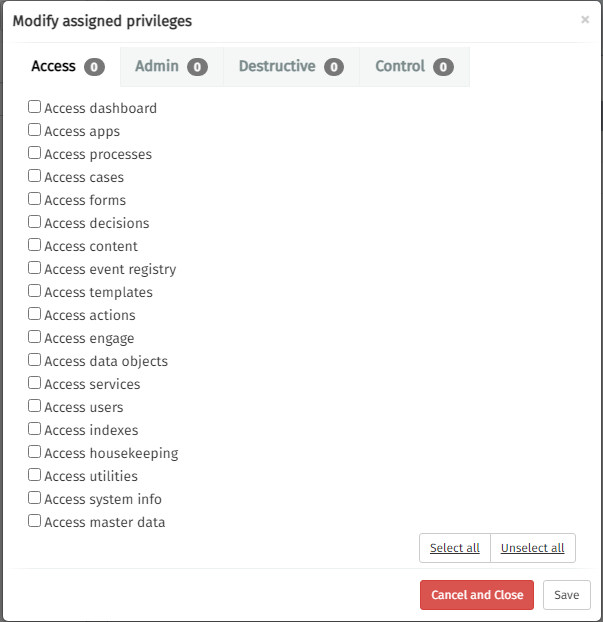
To change a role’s details first click the Select an action
button and then the Change privileges button.

Clicking the button results in a dialog in which you can edit the role’s privileges.
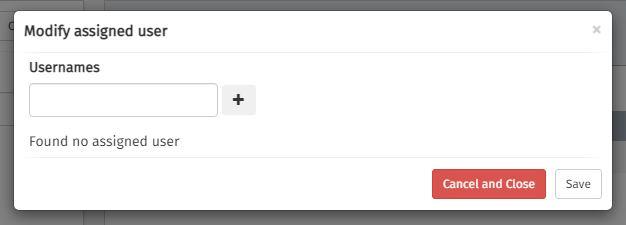
Assign a user to a role
Before using an action, you first need to select the role for which changes are required. The list of roles can be narrowed by using the Search by name functionality on the left.
To change a role’s details first click the Select an action
button and then the Assign/unassign users button.

Clicking the button results in a dialog in which you can edit the role’s privileges.
 note
noteThe users are added as free text values. This allows assignments to roles with users of external authentication servers.