Conversations
Flowable Engage offers different types of conversations depending, on your needs. The following chapters give an overview of which conversations types are supported and what tools, actions, and filters they provide.
Basic Conversation Types
The following basic conversation types are available:
Additional conversation types are described in Special Conversation Types.
Direct Message Conversation
Direct message conversations are always between two users only, for example, between user A and user B, or between user A and client B.
To start a conversation with another user, you can click on New in the side panel.
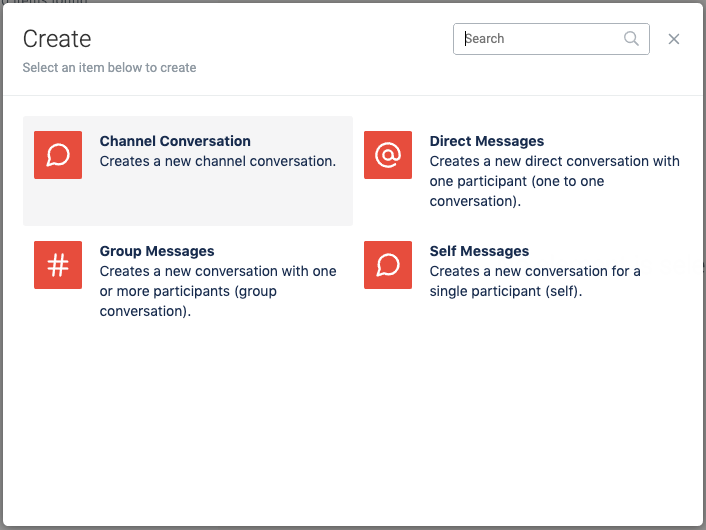
A new window opens where you can select Conversations. An alternative method is to
click on Create new. Either way results in a dialog of all available
conversation types that are available for selection. In this example, you want to
select Direct Messages.
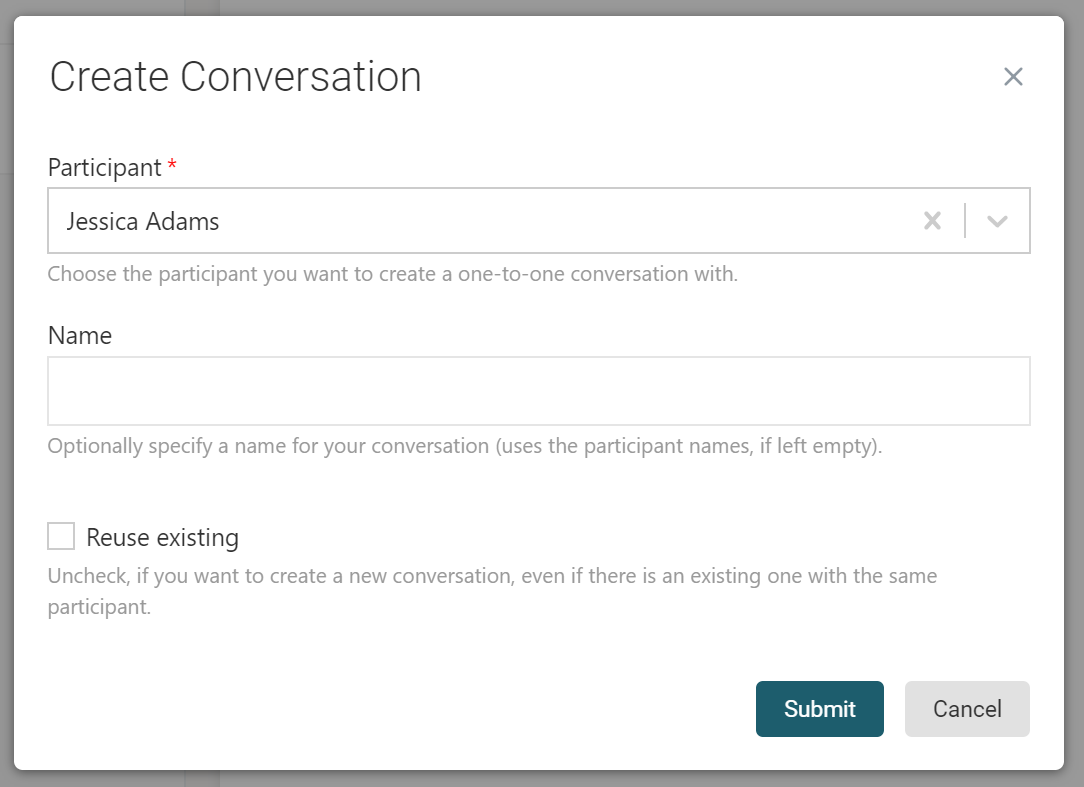
Next, you see the create dialog where you can enter the following details and then
click on Submit:
-
Participants: This is a drop-down where you can choose participants. When you click on the drop-down, a list of users is displayed, where you can choose one participant for your Direct messages.
-
Name (optional): Here, you can give your conversation a name. If you do not provide a conversation name, the participant’s name is displayed instead of the conversation name.
-
Reuse existing: Tick this box, to let Engage scan your current conversations, and in case there is already a conversation with the selected participant, this existing conversation is reused.
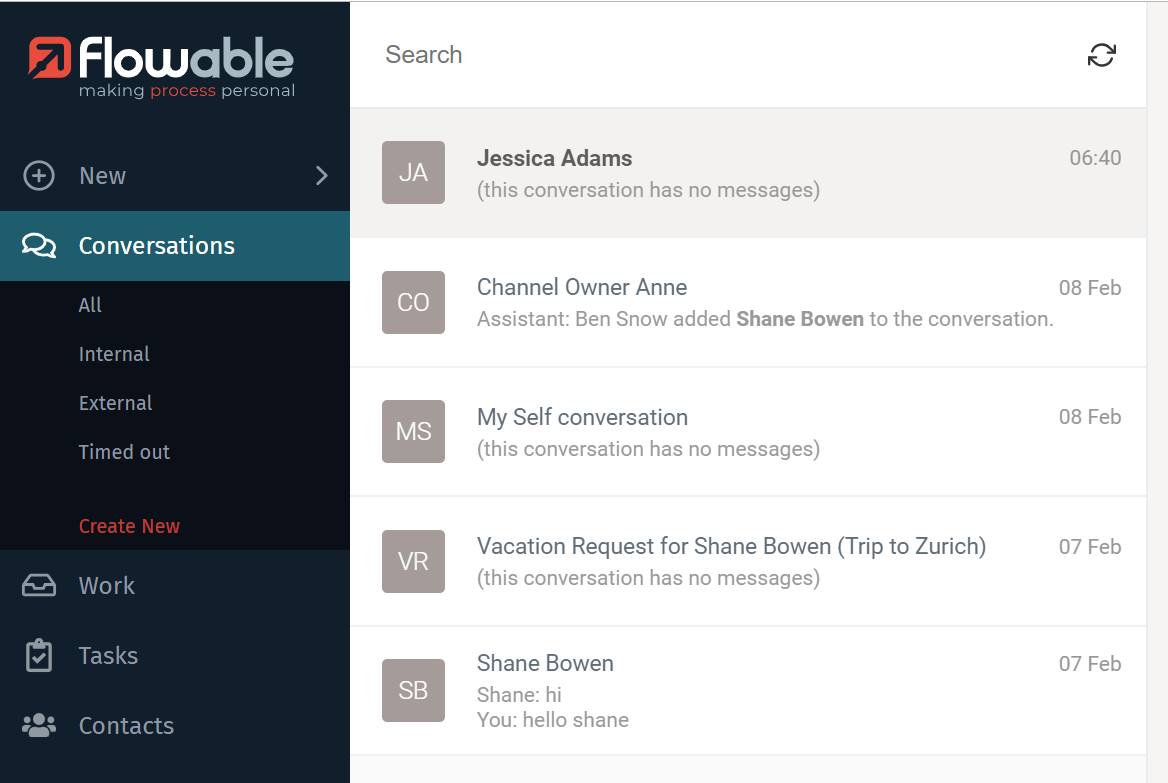
You can now navigate to the conversation Inbox where the new conversation appears at the top of your Inbox after its creation.

Group Message Conversation
Creating Group message conversations is very similar to how Direct Message conversations are created.
One way to create a Group message conversation is:
-
Click on
Newin the side panel. -
Click on
Conversations. -
Click on
Group Messages. -
Select one or more participants.
-
Enter a conversation name (optional).
-
Click on
Submit.
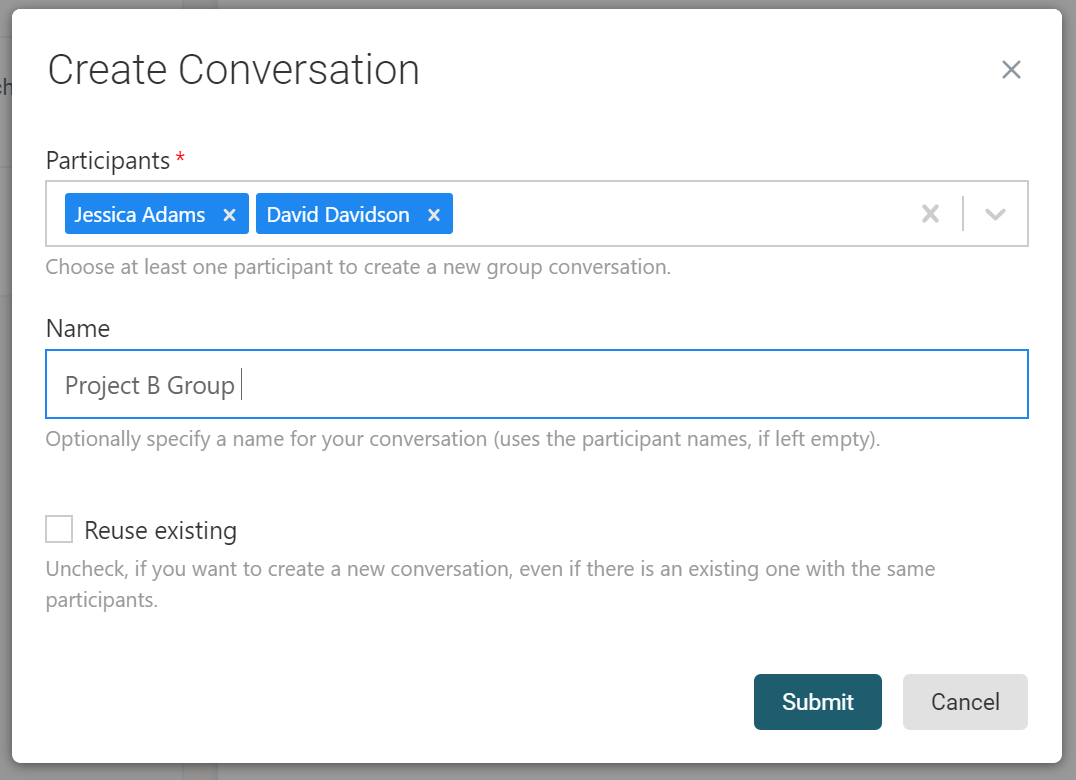
After the conversation is created, it appears at the top in your Inbox. You can either see the conversation name or the conversation participants at the top of the message panel. It is possible that not all participants are visible at first sight. You can see all the participants by clicking on the "…and x people" notice.
You could add another user to your conversation if you forgot to add the user during creation or want to add someone at a later stage. Click on the conversation context menu at the top right of the Message panel (the three vertical dots). For more information on this topic, see Join a Participant to a Conversation.
By default, every participant of the Group message conversation can add new users.
Conversation Tools and Actions
Flowable Engage offers helpful tools and actions that support you in organizing and managing your Inbox and conversations.
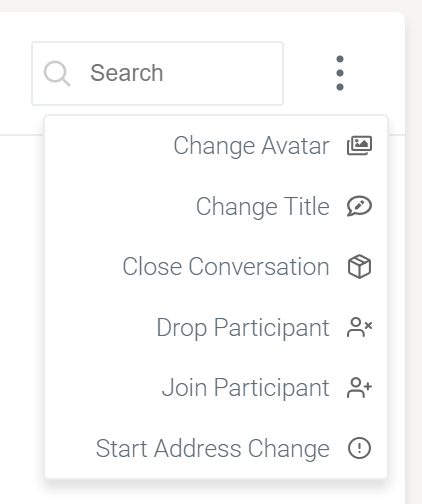
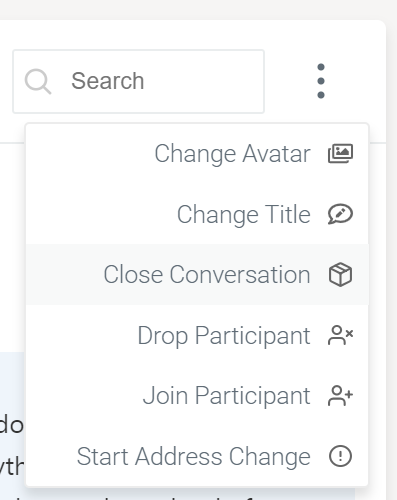
Besides a conversation search and a message search, there are further conversation tools and actions accessible through the conversation context menu (the three vertical dots) which is in the top right corner of the message panel. The available tools and actions depend on the conversation type. Not all items are available for every conversation.
The default items available for all conversation types are:
-
Join Participant (add a new participant to the conversation).
-
Drop Participant (drop an existing participant from the conversation).
-
Close Conversation.
Conversation and Message Search
All conversations and messages within a conversation are saved by default for every conversation type and every conversation.
You can use the conversation search to find and access a conversation in your Inbox quickly. The conversation search field is located at the top of your Inbox. Simply enter your search term, and the results are displayed automatically.
The following default search criteria are available for conversation search:
-
Conversation name
-
Participant name
The conversation search allows partial matching of the search term. You do not need to enter the full conversation name or participant name for successful results.
To view the message history of a conversation, select the conversation in the Inbox. The conversation is loaded in the message panel. You can then scroll through the history and view each message.
If you have more then 100 messages in your conversation history and you scroll, you the Load more messages.. indicator is shown. Click on it, and more of your older messages are loaded.

The simplest way to find specific messages in your conversation is to use the
message search. The message search field is located at the top right corner
of the Message Panel. Enter your search term and click Enter. It
filters through your messages and displays only those with the relevant terms.
The search result is displayed on the right side of your Message Panel and shows an extract of each matching message. To see the complete message, click the message in the panel.

The message search allows full-terms and phrases only. Spaces between search terms are considered as AND rather than OR.
Join a Participant to a Conversation
Once you are in the conversation, select the Join Participant action in the conversation context menu.
A new window opens with a dropdown that shows the users that can be added to the conversation. You can search directly for the name of the person you want to add. When you start typing, the user list immediately shows the matching results.
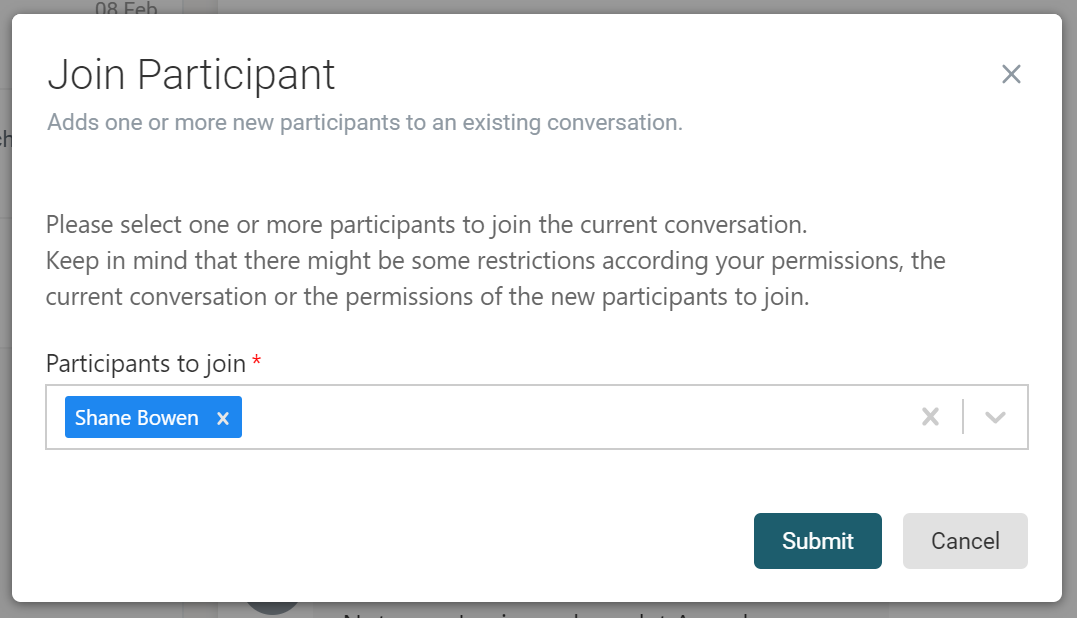
Once you found the user you were looking for, click on the name and you can
continue searching for another one. When you have selected all the users you want to
add, click on the Submit button.
The bot shows the names of the users who have been added in the conversation.

By default, the newly added users now have access to all future messages but do not see the previous messages in the conversation.
Participants in a desk conversation cannot be added to the conversation as this is a fixed team, so-called desk group. Only an administrator can change the members of the desk group.
Drop a Participant from a Conversation
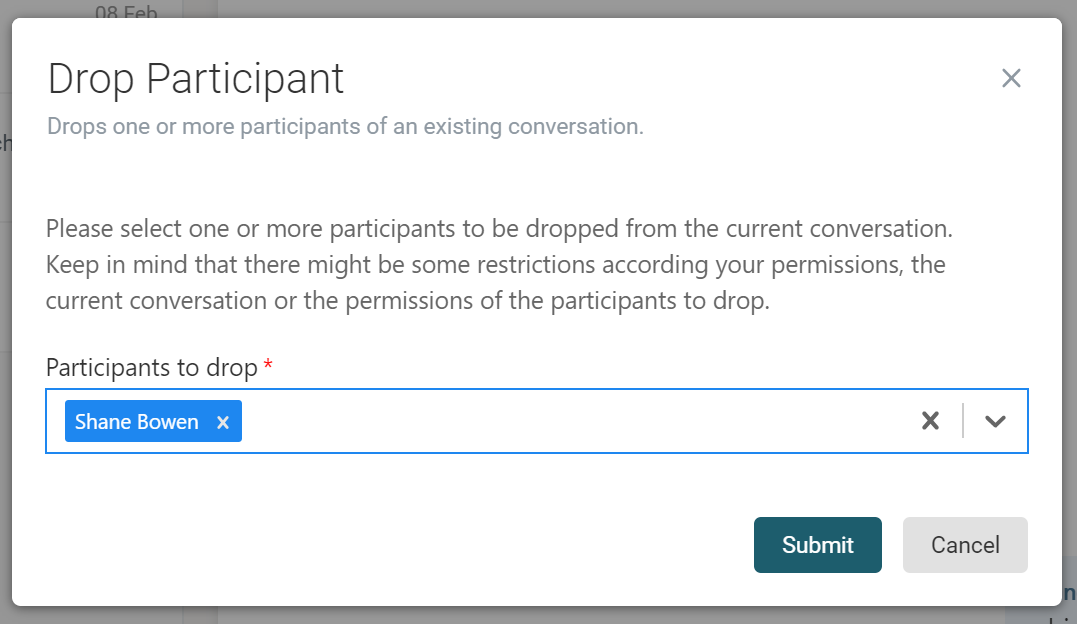
To remove a participant from a conversation, you need to follow almost the same steps as for joining a new participant.
Go to the conversation context menu and click on the action Drop Participant.
You can select one or more participants to remove from the conversation. It is also possible for participants to leave the conversation by selecting their name from the list.
Participants in a desk conversation cannot be removed and cannot leave the conversation, because this is a fixed team, so-called desk group. Only an administrator can change the members of the desk group.
Close a Conversation
The close conversation action allows you to close a conversation and remove it from the Inbox of all conversation participants.
To close a conversation, select the Close Conversation action in the conversation context menu.
Send Attachments
To send an attachment click on the upload icon and select the file you want to upload and send to the conversation.

After you have selected the file, a file upload preview is shown.
The final upload happens after you click on the Upload button.
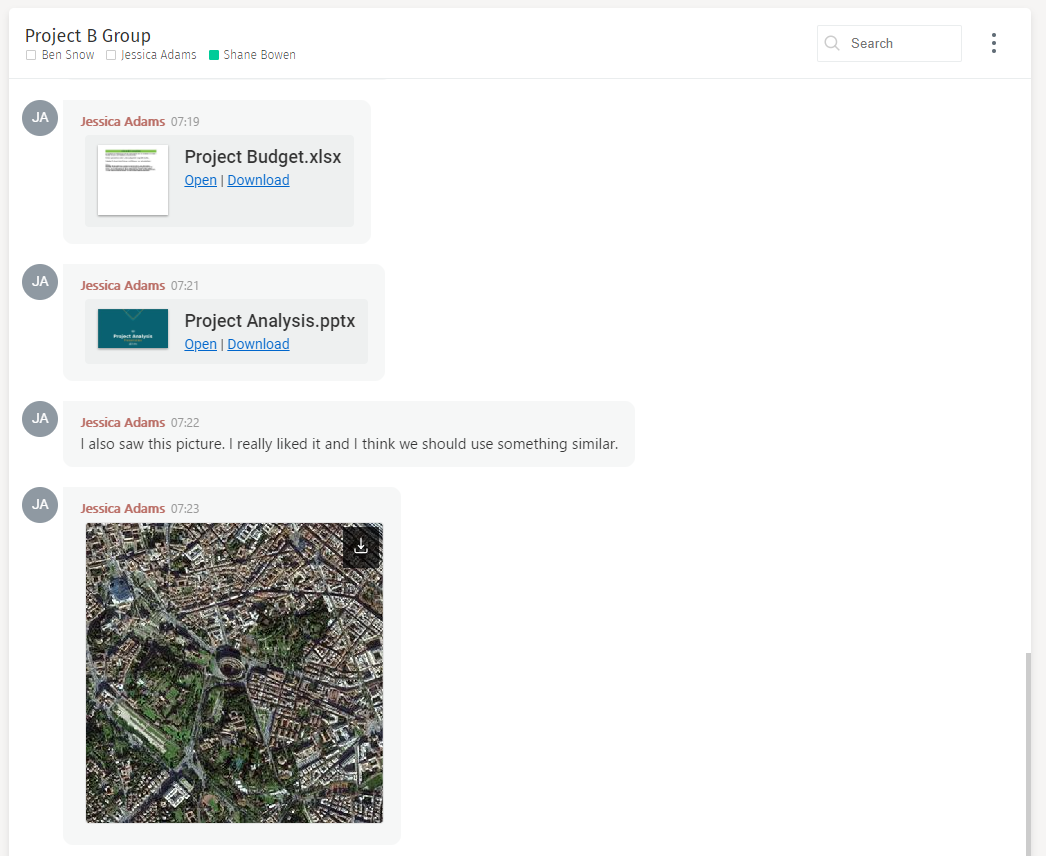
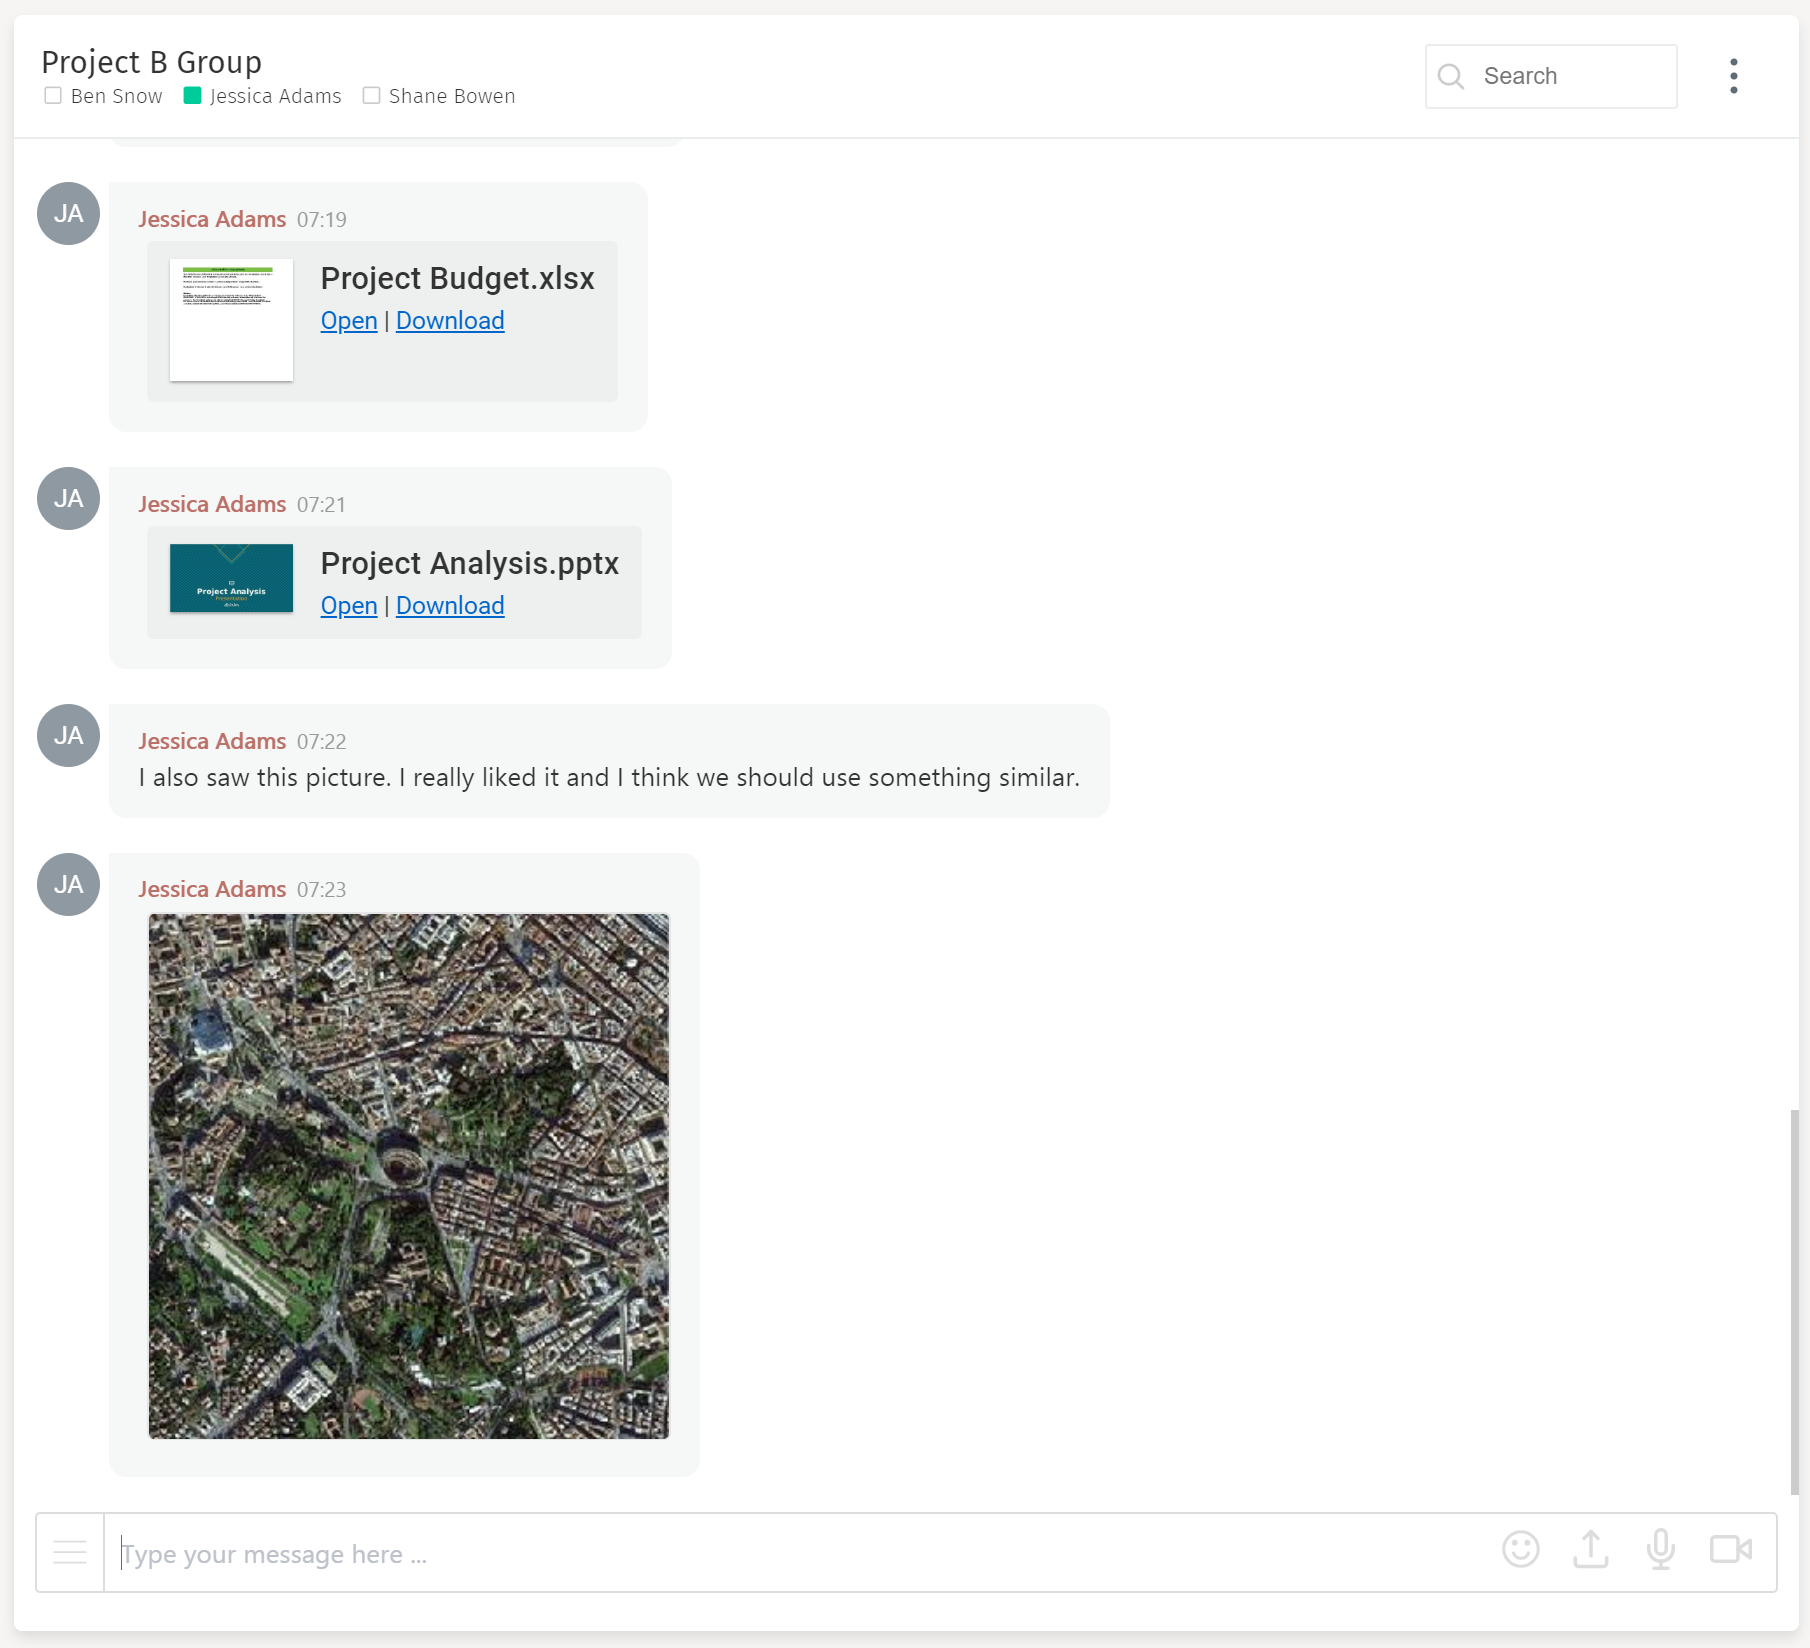
Successfully uploaded files are displayed with a small preview. Any
conversation participant can now access the file.
Image files are opened and enlarged directly in the browser by clicking on it
and can be download by clicking on the download icon. The download icon is
visible when you hover over the preview in the top right corner.
Other file types such as Word, Excel, PowerPoint, and PDF are displayed
with a small preview and the particular file type. Select Open to view the
item and Download to download the item to your local machine.
Voice Recording
You can also use voice messages to communicate with colleagues and customers.
Just click on the microphone icon in the Notification Tools.
A new window opens where you can start/stop the recording. Make sure your
microphone is plugged in, and the browser can access it before you click on
the Record button.

You can also review your recording before uploading it.

All conversation participants can now directly play the voice recording in the message panel without having to download it first. Directly playing is also applicable for any uploaded audio files.

Only common audio file types such as mp3 are supported. Not all audio file types can be played.
Video Recording
Another possible message type is video recording. Just click on the camera icon in the Notification Tools area. A new window opens where you can start and stop the recording. If you do not want to record sound, switch off your microphone.
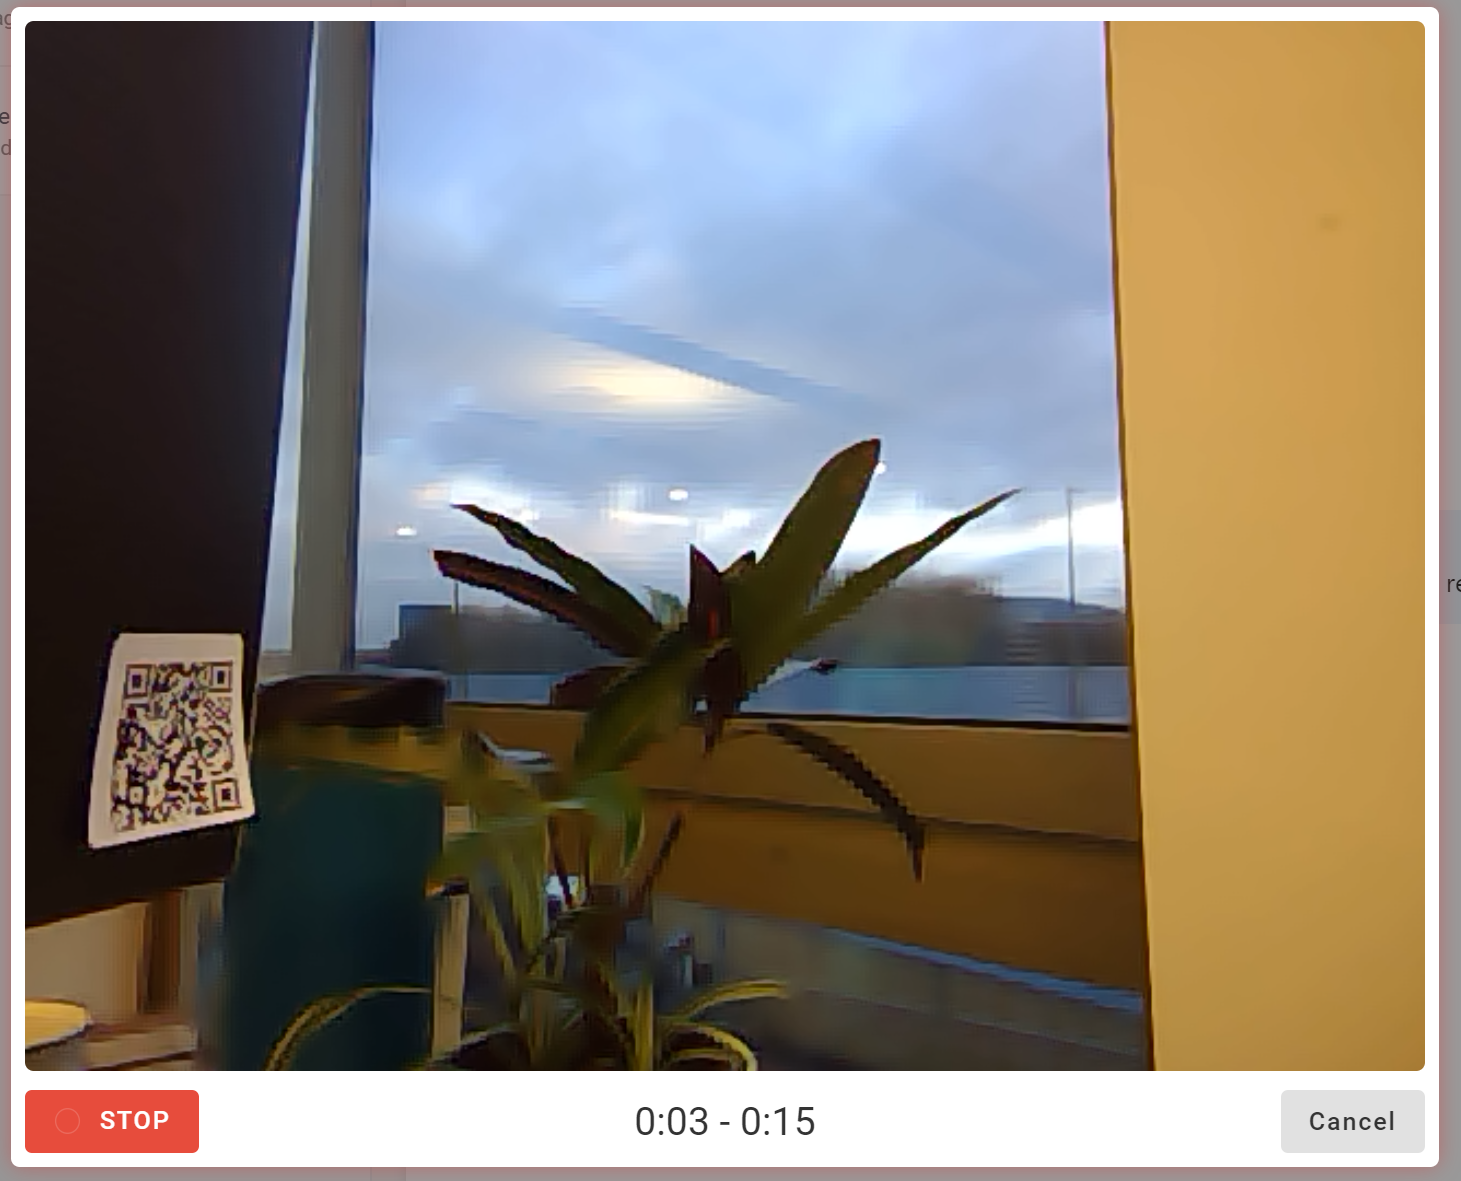
Like the voice recording, you can also review your recording before uploading it.
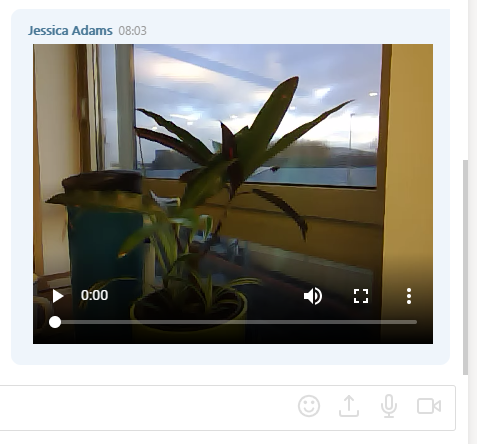
All participants can now directly play the video recording in the message panel without downloading it first. Directly playing is also applicable for any uploaded video files.
Only common video file types such as mp4 are supported. Not all video file types can be played.
Using Emojis
Emojis can be added to a conversation. Click on the Emoji icon in the Notification Tools to open an emoji picker.

You can now select any emoji you want to use or combine emojis with regular text messages.

For faster chatting, you can also use the most common standard emoji codes (e.g., ':)' or ':p') in your messages. They are translated into emojis after you send the message.
Message Tools and Actions
The Message Tools are a set of tools to interact with messages like edit and delete or download.
The tools and actions are in the Message Panel next to the respective message. They are displayed with a variety of icons and are generally only visible when you hover over a message.
Edit Text Message
Every text message can be edited, but only by the user that sent it. You can only edit your messages.
To edit a message hover over the message you want to edit and wait for the pencil icon to appear.

After clicking on the pencil icon, your message is opened in a small text
entry form. You can now make your changes and submit them by clicking on
the Edit button. The changes are saved, and you and all other conversation
participants can only see the updated message.

After editing a text message, you and all other conversation participants see (edited) next to the edited message as information.

The edit message function can be enabled or disabled by a system administrator.
Delete Text Message
Every text message can be deleted. Like the edit action, only the sender of the message can delete it.
A deleted message is not visible in the conversation history, nor can you restore a deleted message.
A message cannot be restored anymore once deleted.
The delete message function can be enabled or disabled by a system administrator.
Download File Message
All conversation participants can download all files (including video recordings) that were uploaded to a conversation.
The action to download a file depends on the file type.
-
Image files: hover over the message and click on
Download. -
Office files (e.g., Word, ppt, etc.): Click on
Download. -
Video files: Click on the three dots action menu and
Download.
Depending on the browser settings, the download starts immediately, or a window opens where you can choose the download location.