Development
Introduction
Design can be used to develop plugins that can installed and used in other Design instances.
Conceptually, plugins look similar to apps, with the difference that they can only contain service models and so-called 'plugin tasks'.
Plugins can only be created in workspaces that can contain plugins:
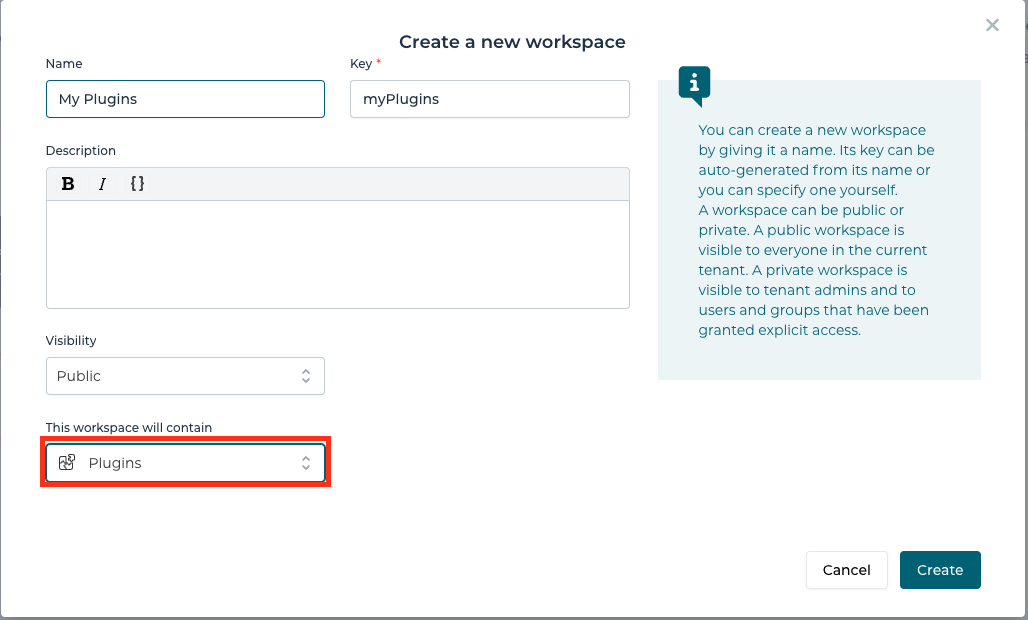
This guide demonstrates how such plugins are developed. If you are interested in how to use and install plugins have a look at Plugin usage
Create Plugin
Once a workspace that can contain plugins is created (see screenshot above), then in this workspace new plugin models can be created:
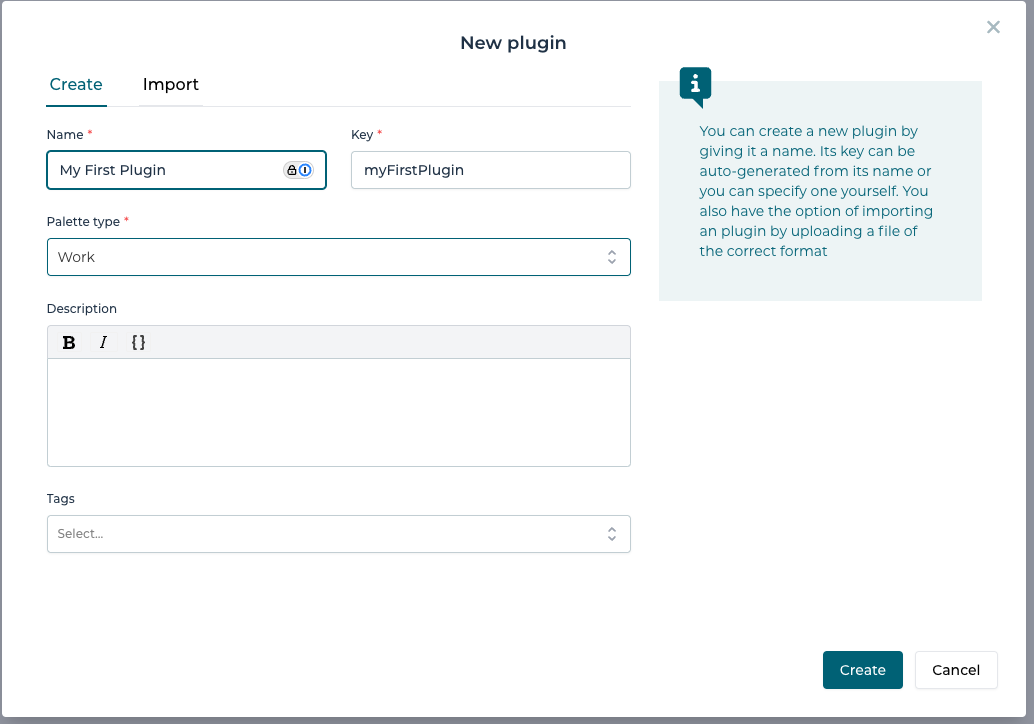
These plugins can contain one of the following models:
- Services - See Introduction to Service Registry to learn how to model services.
- Plugins Tasks - See below.
Plugins have a version which has to be in the X.Y.Z format, where X, Y and Z are numbers. This version is important when installing plugins, since only a single version of a plugin can be installed on a single Design instance. As such, version numbers should always be higher if the plugin has changed and the old version needs to be replaced.
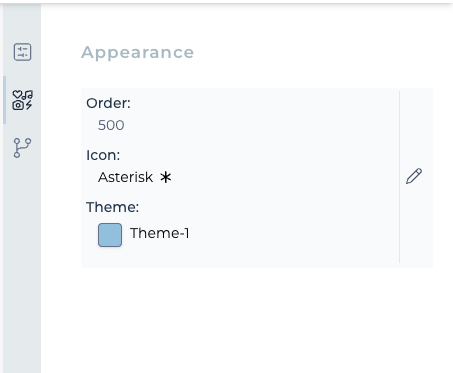
Plugins also have an order, which defines where in the palette picker their tasks will be located.
e.g.
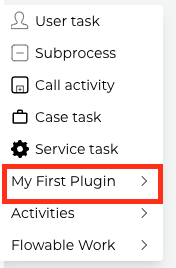
The order is configured in the property panel of the plugin:
Plugin Task
When a plugin is installed, the plugin tasks are mapped to a task in the BPMN or CMMN palettes. A plugin model can contain any number of plugin tasks.
The first thing that should be done for a plugin task is to link it to a service in your plugin. e.g.
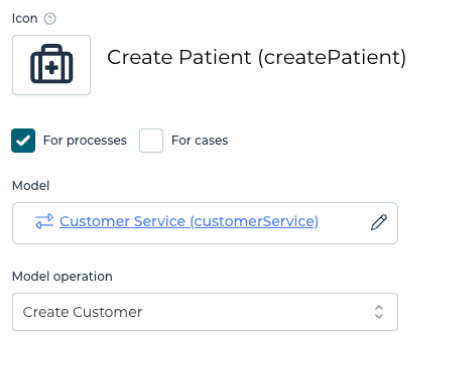
Once it is linked, the input, output and error parameters of the service can be configured. A decision can be made which parameters should be exposed to the users of the task and which don't. In this way, the plugin task acts an 'API' towards both the service and the end-users.
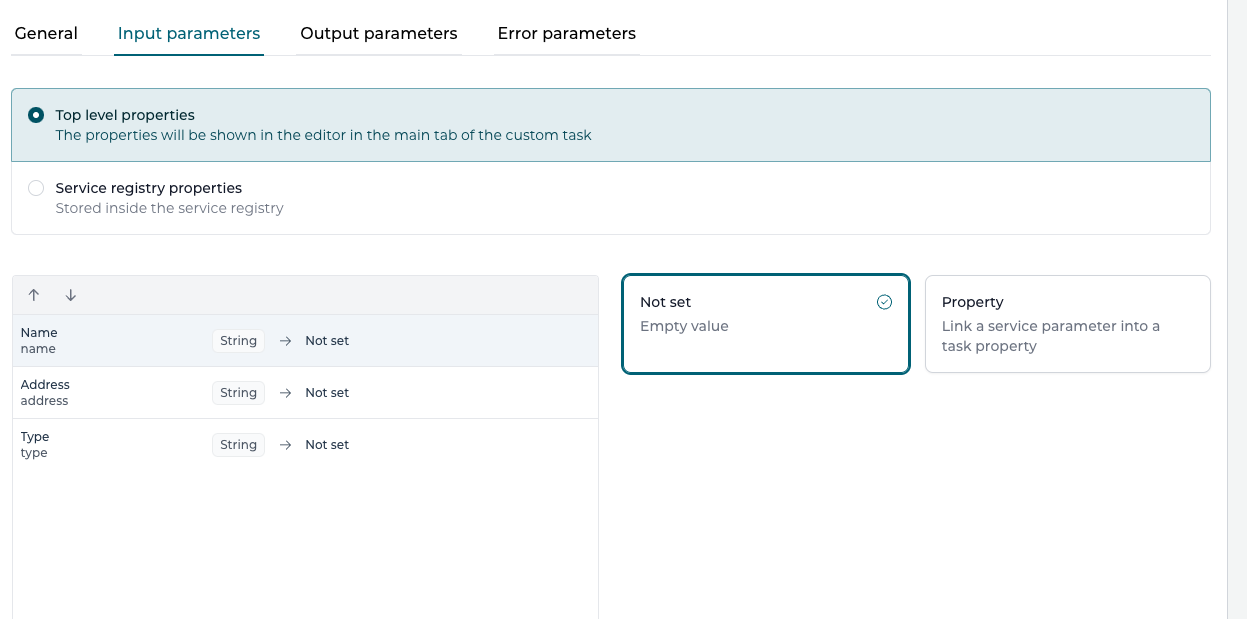
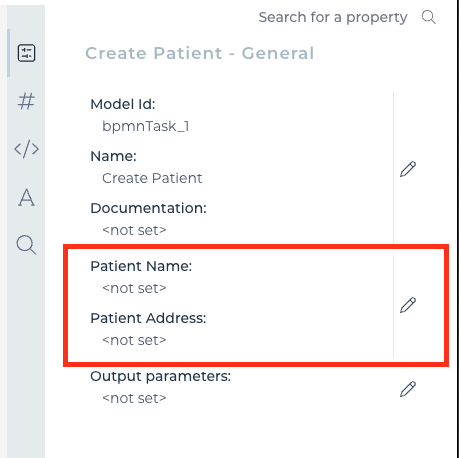
In the example above we are exposing some of the input parameters of the service as top level properties, which means that they will appear in the main property panel when clicking on the task.
In this editor you can provide default values for properties, ignore properties, etc.
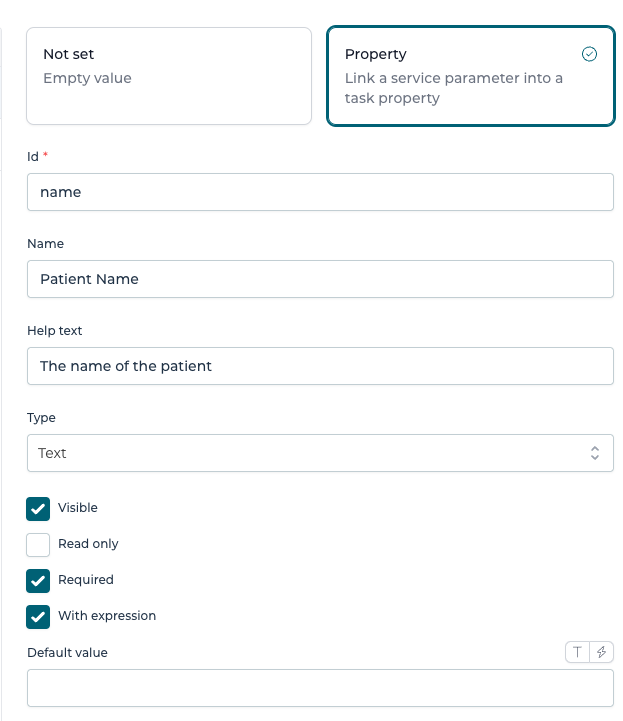
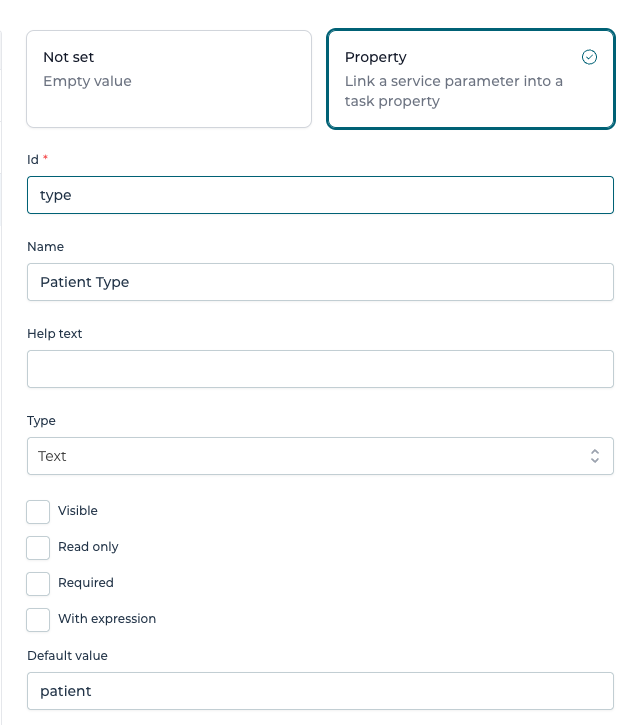
e.g. the property above has an adjusted name, is required and expression can be used with it.
- The id is a unique identifier for the particular property.
- The name is the human-readable name, as shown in the property panel.
- The optional help text will be shown to the user in a tooltip, when set.
- The type determines how users will be able to change the value of the property.
- The visible flag configures whether the property is shown to the user. Hiding a property can be useful when setting for example a default value that the users shoulnd't change statically in a task.
- The read only flag, when checked, will disallow editing the property value.
- The required property will add validation, ensuring a value must be set for the property.
- The with expression flag determines whether the expression toggle is rendered for this property. If unchecked, only 'primitive' values will be able to be entered.
e.g. the property below is hidden and a default value is provided for it:
(This approach can be used to use the same service, but provide different tasks for it without the user ever knowing that the same service is used.)
In the property panel it will look like:
The alternative to Top level properties is to use the other setting Service registry properties. When this option is selected, the parameters will be shown in the typical parameter mapping popup shown when working with a service model.
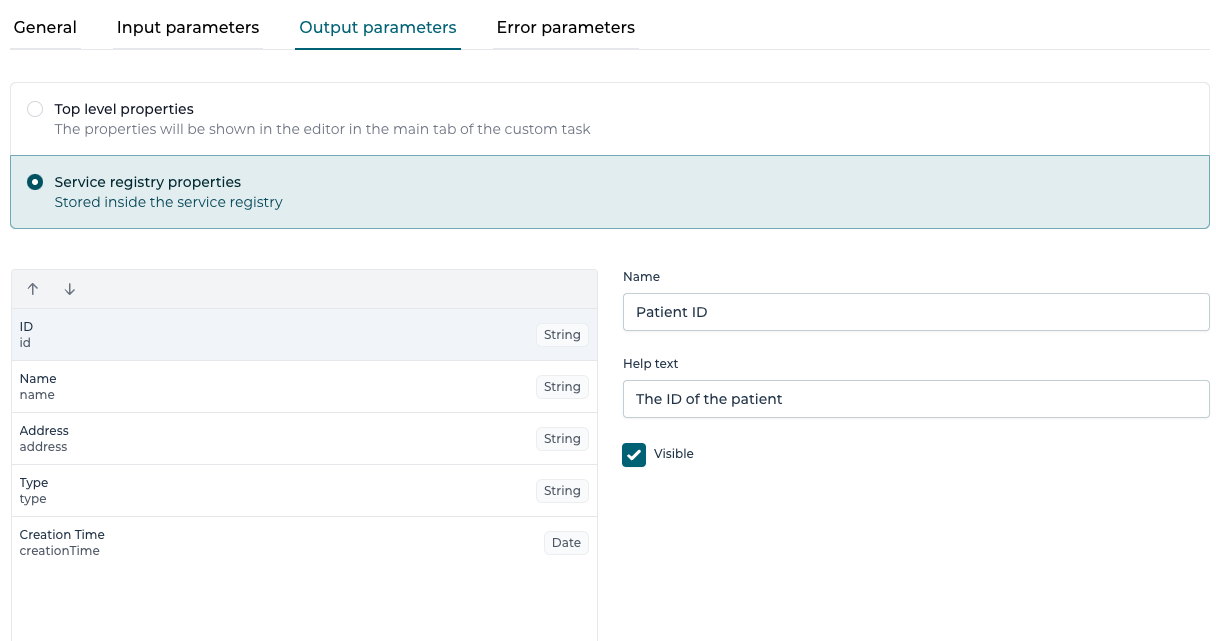
The options for the output and error output parameters are less, since in those values the names of the process / case variables are written.
In the property panel this will look like:
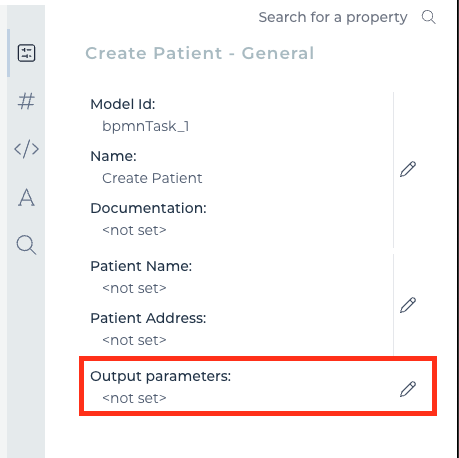
and when editing it will look like:
