Engage Embedded
Introduction
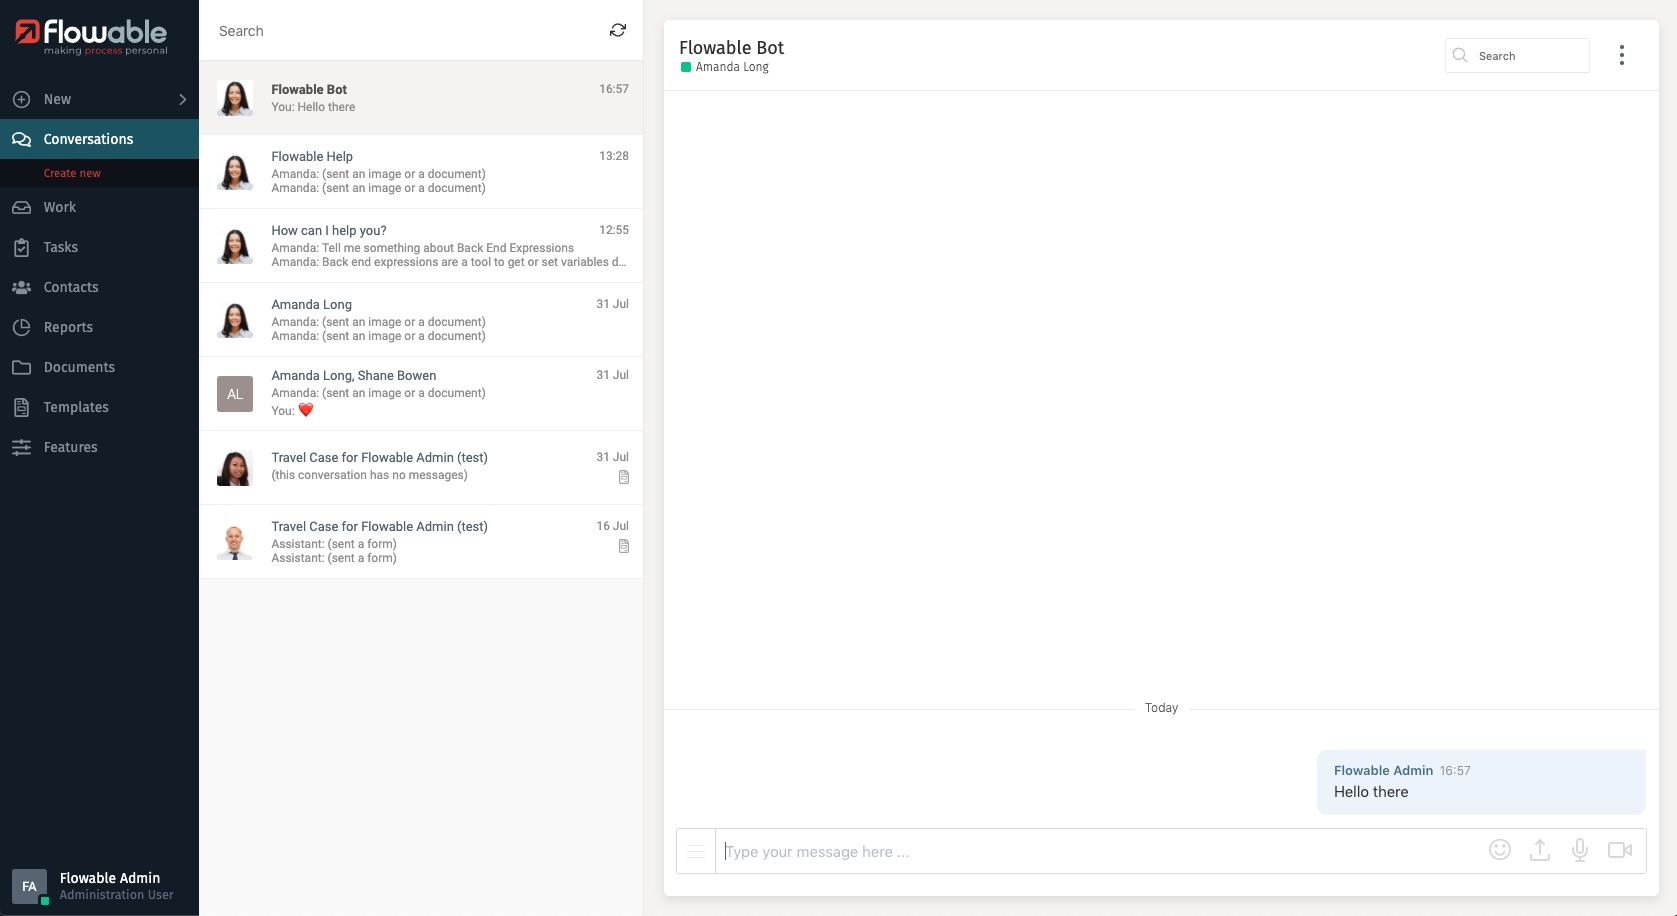
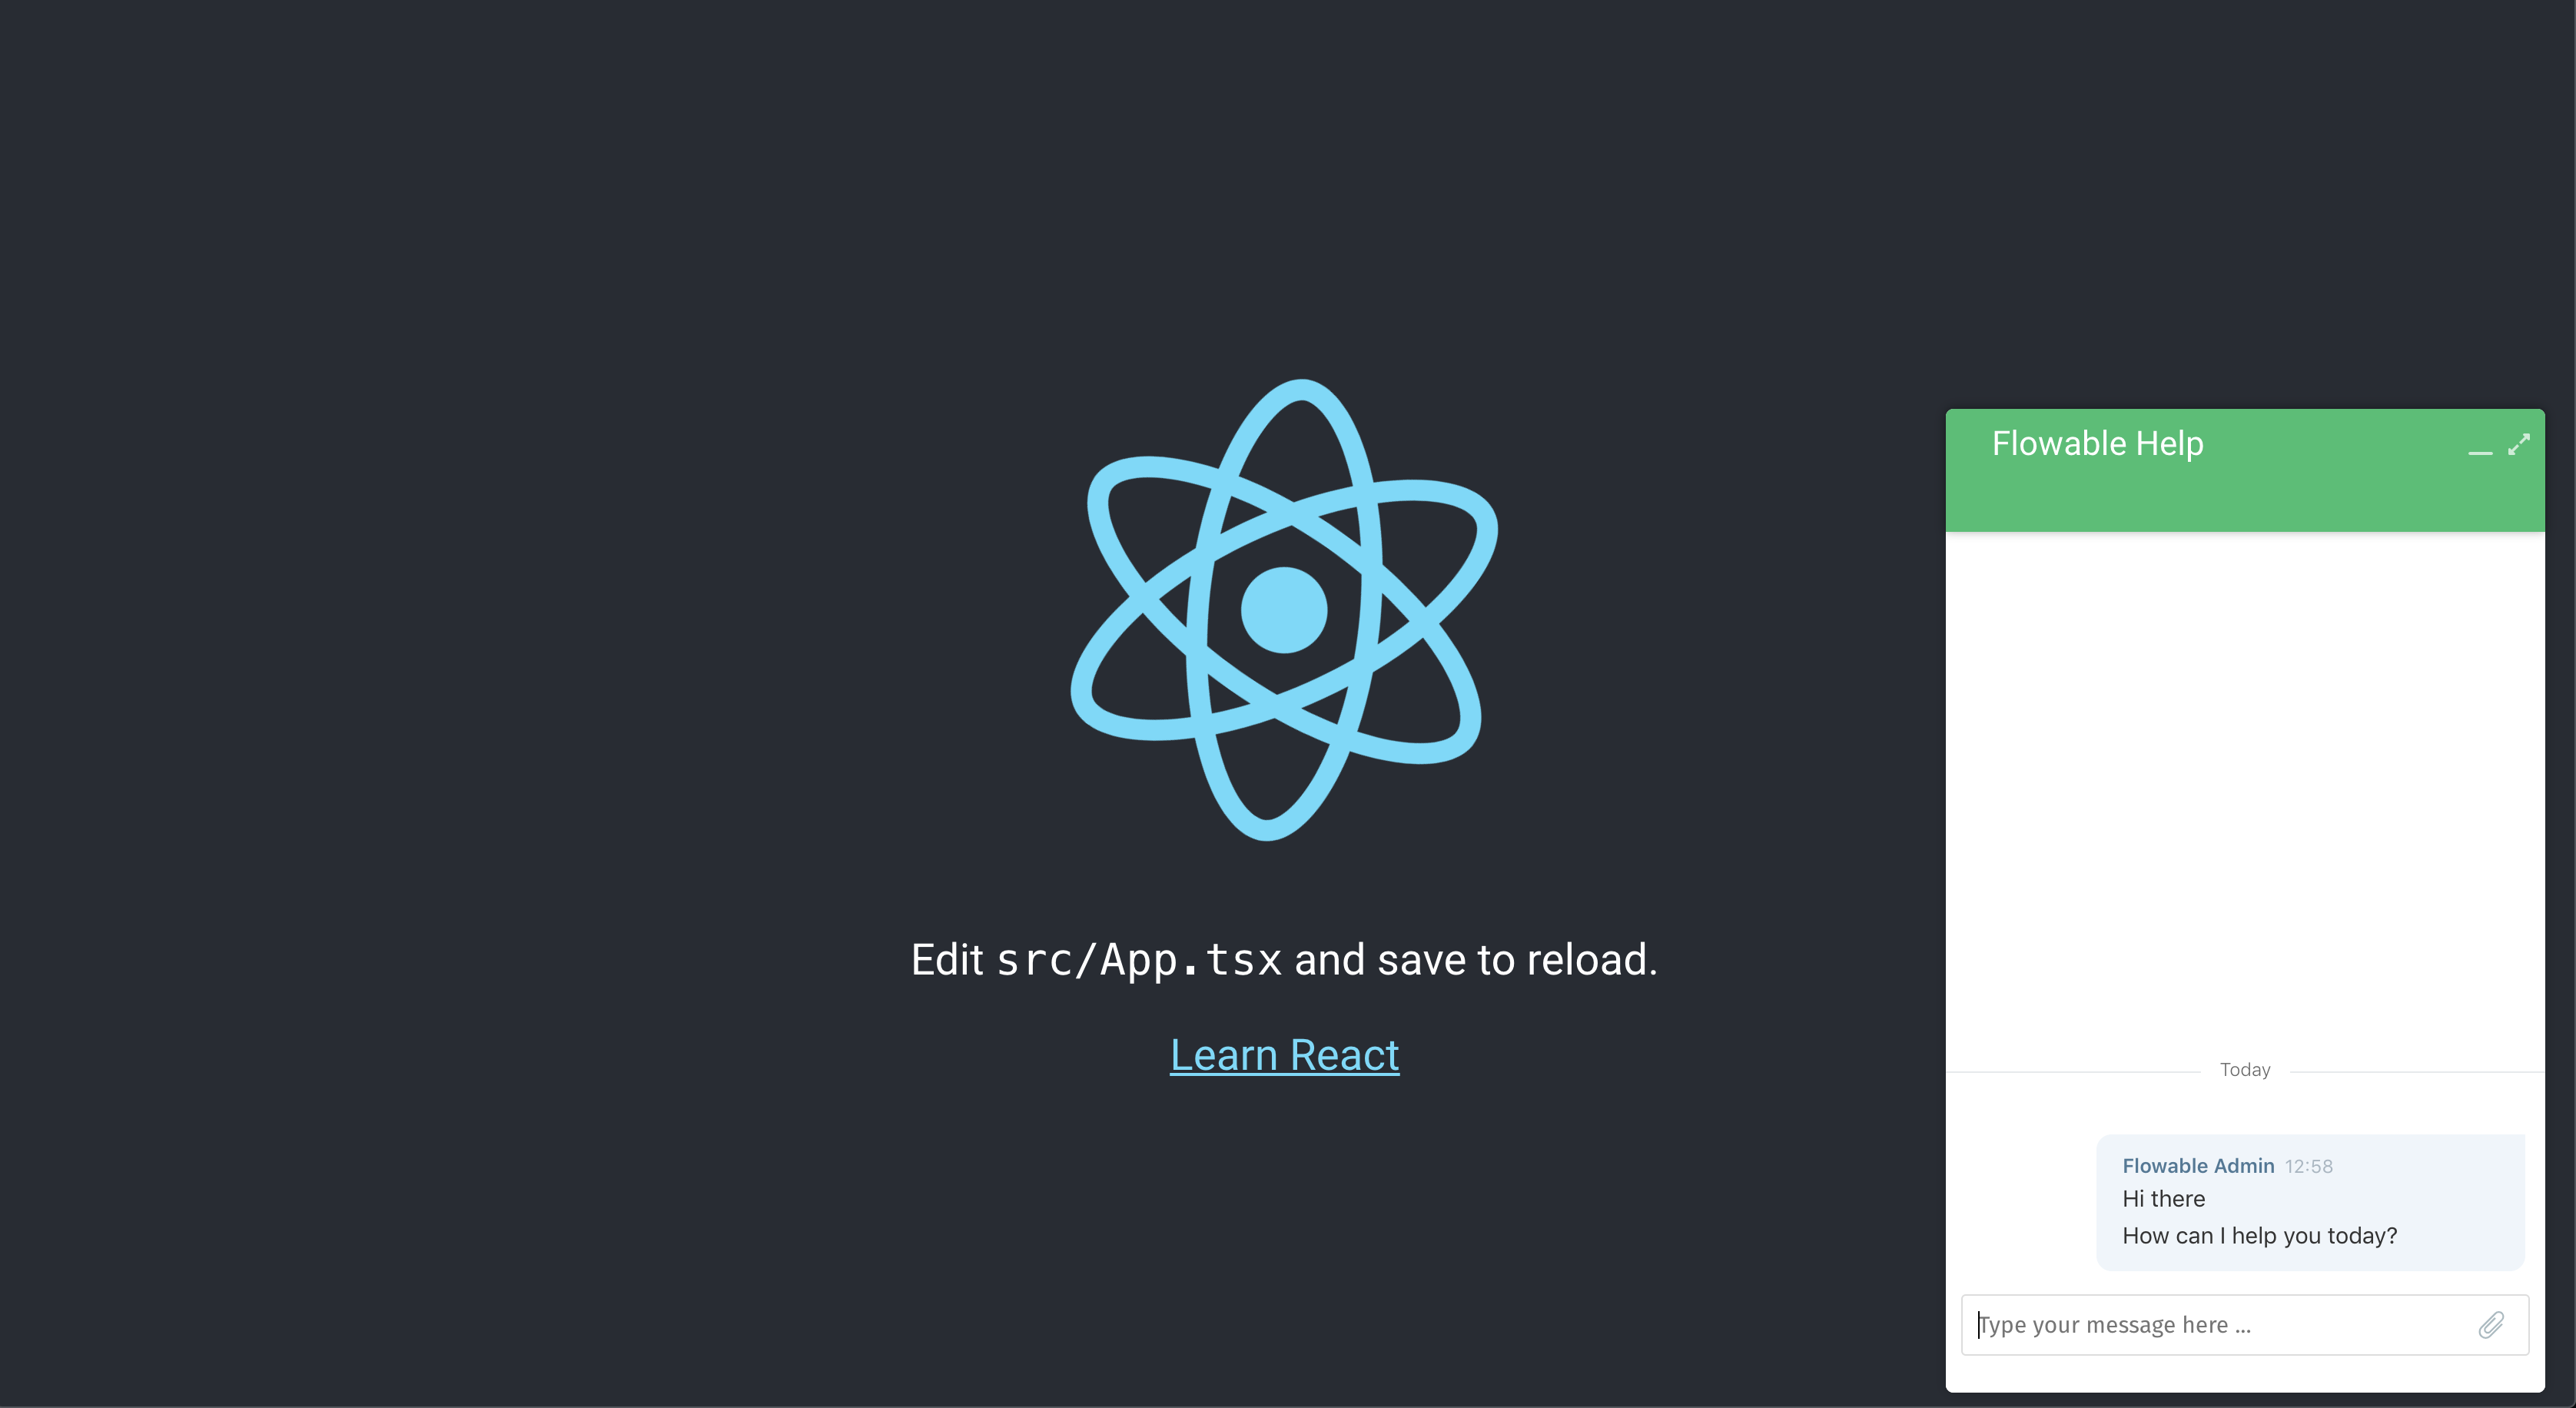
Engage Embedded is a lightweight version of Engage that can run in any website as a floating window. It can be used as a standalone vanilla application or as a package dependency in your project.
Usage
In a React project
yarn add @flowable/embedded-react
In a non React project
yarn add @flowable/embedded
The Engage Embedded React package exposes already the Typescript typings to be consumed in your TS project. This documentation will assume from this point that you are installing Engage Embedded into a Typescript React project, but it can be consumed as a normal UMD package.
import { startEngage } from "@flowable/embedded-react";
import "@flowable/embedded-react/lib/index.css";

startEngage({
  conversationId: "ENG-00c2c0a0-a313-11e9-a39e-327b10be5bea",
  header: { showDescription: true }
});
In the current Embedded implementation no list of conversations is shown (inbox), only is displayed the conversation set in startEngage, so the logged-in user should have access to his conversation, otherwise a 403 errors will appear.
To use Engage Embedded in a Server-side rendering (SSR) environment, load the index.js file from @flowable/embedded as an external script when the component did mount. Then set the baseUrl for the endpoints if needed.
componentDidMount() {
  const script = document.createElement("script");
  script.src = "./flowable-embedded/index.js";
  document.body.appendChild(script);

  if (typeof window !== "undefined") {
    window.flowable = window.flowable || {};
    window.flowable.endpoints = {
      baseUrl: "http://localhost:8090/"
    };
  }
}
Options
| Name | Type | Description | Optional |
|---|---|---|---|
|
| The Id of the conversation to be displayed | No |
|
| Show the login screen if no user is logged-in | Yes (Default |
|
| The properties for the conversation header, if not set, no header is shown | Yes (Default |
|
| The icon to be shown to dismiss the current conversation | Yes (Default |
|
| Shows the description of the conversation | Yes (Default |
|
| Shows the description of the conversation | Yes (Default |
|
| Set the focus automatically in the message text input | Yes (Default |
|
| Allow conversation without credentials, | Yes (Default |
Note: In order to use the anonymous property, the backend needs to be aware of this also by enabling the property flowable.engage.anonymous.enabled in your main application properties file.
Theme
You can specify your own theme customisation as part of the Embedded options: { theme: { ... } }. If no theme is provided then the next defaultEmbeddedTheme is applied:
export const defaultEmbeddedTheme = {
  background: "#FFF",
  conversationColor: "#F6F7F7",
  conversationText: "#333",
  conversationTitle: "#bb7068",
  avatarColor: "#8F99A2",
  avatarText: "#FFF",
  ownConversationColor: "#eff5fb",
  ownConversationText: "#333",
  ownConversationTitle: "#4b7997",
  headerBackground: "#25c16f",
  headerText: "#FFF"
};
For instance, if only the conversation header color needs to change:
{ theme: { headerText: '#CCC' } }
Running Engage within an iFrame
Flowable Engage is able to run within an iFrame, but there are some caveats to consider.
When the iFrame is sandboxed and allow-same-origin is not specified,
no access to cookies or local storage is allowed from the iFrame. This is a problem with Flowable Engage, since cookies are used
to inject the CSRF token in the requests header and also local storage is used to manage the Configuration Features.
In order to manage this, there are 2 special features that can be configured:
-
allowCSRF(true by default) -
allowLocalStorage(true by default)
This features should be disabled as deployment features, i.e. window.flowable.deploymentFeatures.
You can change that directly in your custom.js file:
window.flowable.deploymentFeatures = {
  ...{ ...(window.flowable.deploymentFeatures || {}) },
  ...{
    allowCSRF: false,
    allowLocalStorage: false
  }
};
Adding an authentication token
It is possible to add an authentication token (for instance JWT) for every request done in the Product. For that 2 condition should be applied:
-
allowCSRFis disabled -
there is a token available in
window.flowable.requestToken
import { AxiosRequestConfig } from "axios";

import { allowCSRF, authToken } from "./auth";

export const authorizationHeaders = (config: AxiosRequestConfig) => {
  if (!allowCSRF() && !!authToken()) {
    config.headers = {
      ...config.headers,
      ...{
        Authorization: `Bearer ${authToken()}`
      }
    };
  }

  return config;
};
This will add the next header into the HTTP requests:
Authorization: Bearer your-token
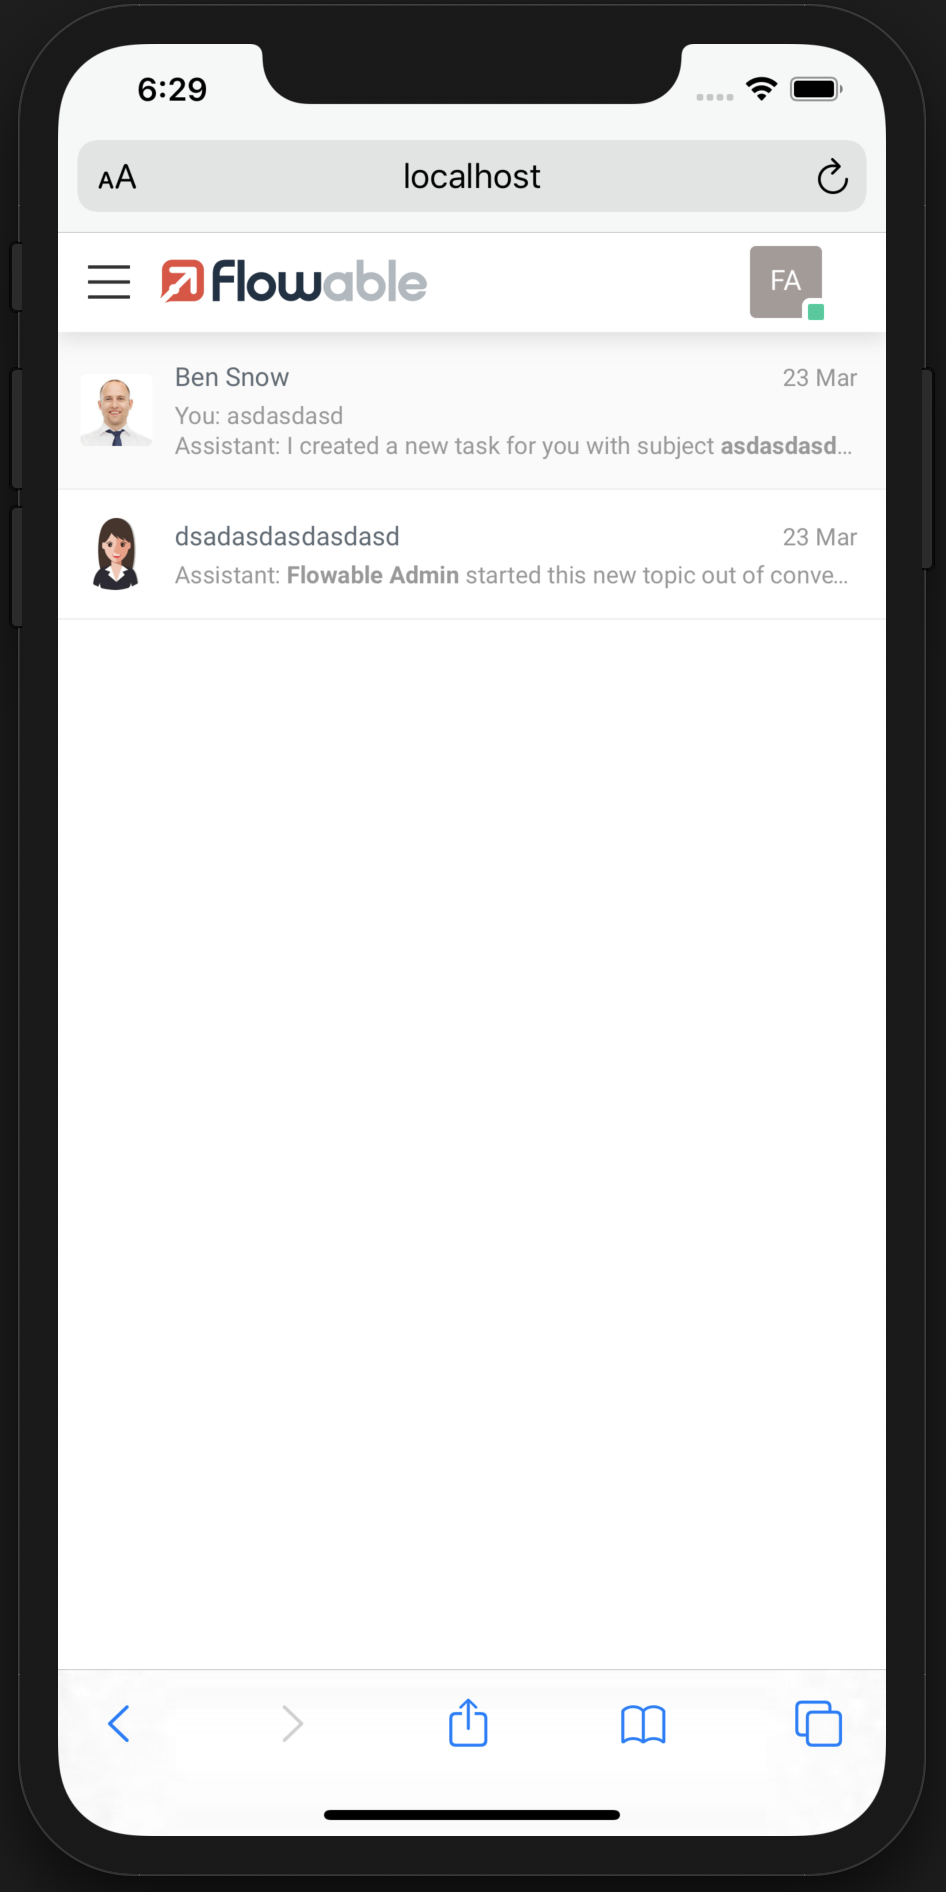
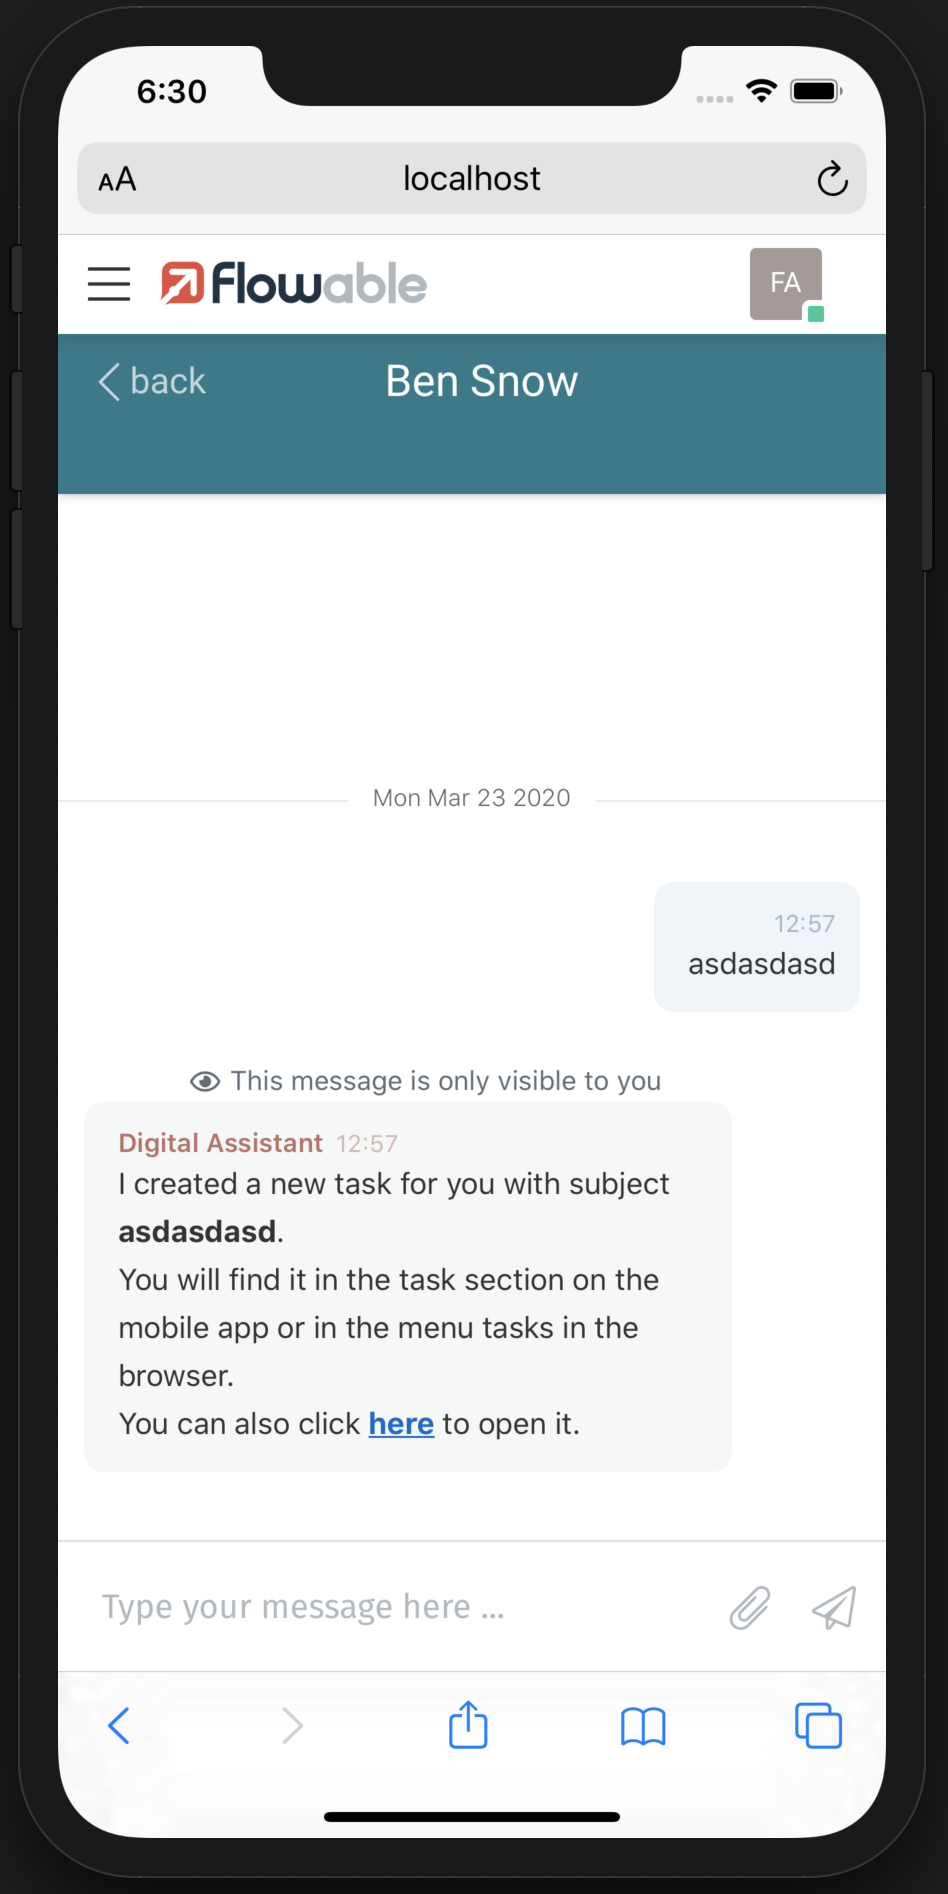
Engage Desktop on mobile devices
The Engage Embedded component is automatically used out of the box by Engage Platform UI, there are some extra properties that will impact only in this scenario:
| Name | Type | Description | Optional |
|---|---|---|---|
|
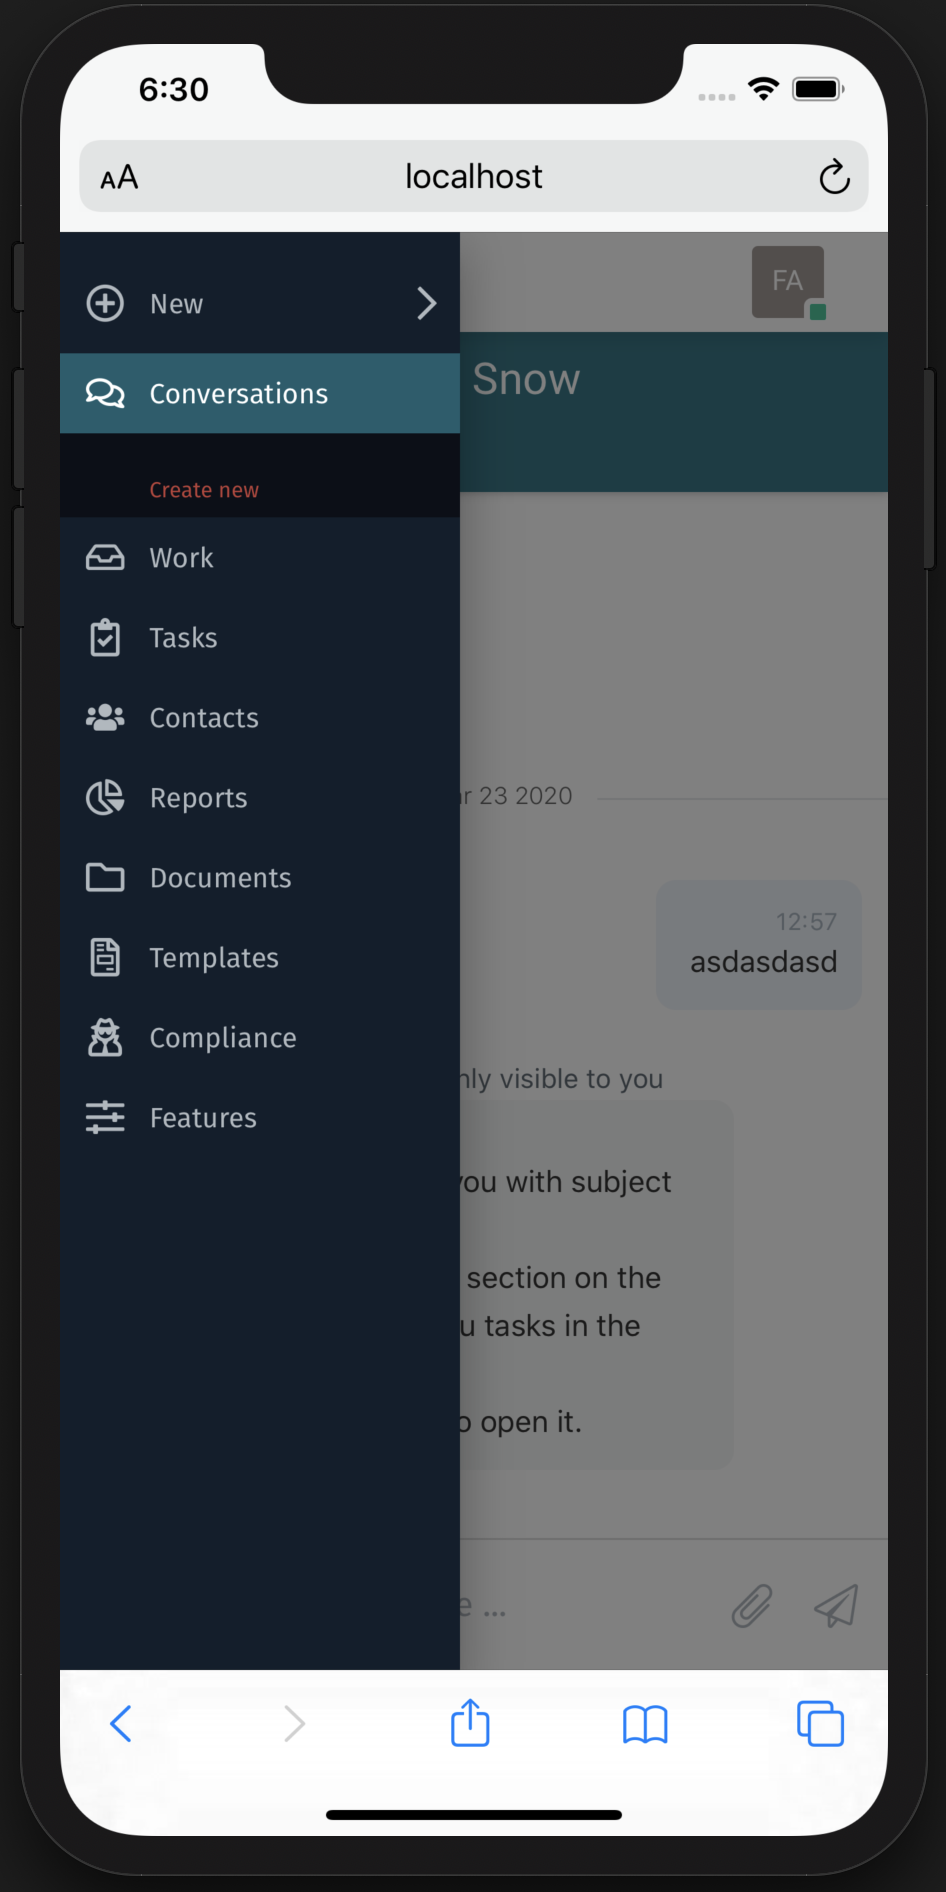
| Hides the main top navigation bar with the app switcher | Yes (Default |
|
| The properties for the conversation header, if not set, no header is shown | Yes (Default |
Note: In the regular platform build, the above features should be modified using a global parameter window.flowable.engage.
You can modify this in the custom.js file.
window.flowable = {
  ...window.flowable,
  engage: {
    header: false,
    hideNavigationBar: true
  }
};