Exploring Flowable Work UI and tasks
Flowable Work UI Basics
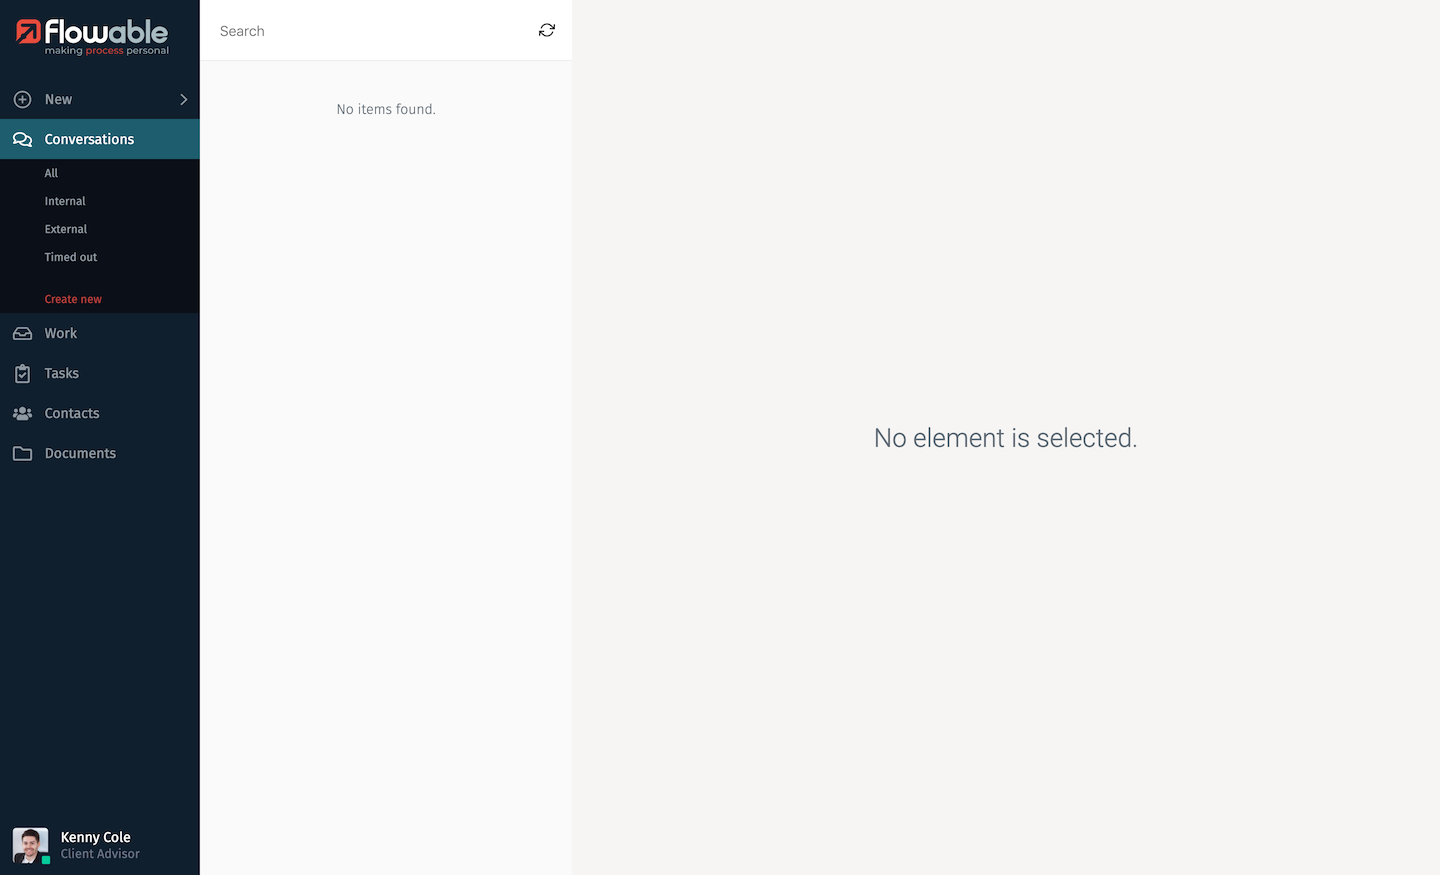
Flowable Work UI is the standard user interface for people working with cases and processes. After sign-in, on the left-hand side you’ll see a list of application areas, also known as FlowApps. For the self-managed trial, the Conversations FlowApp should have been selected, for Flowable Cloud it will be the Work FlowApp. It is possible to add new FlowApps and change which FlowApps are available to different users.

Which FlowApps are available to a specific user depends on their role and permissions. The FlowApps you can see as a normal user may include:
-
New: create new items, such as cases, processes and tasks
-
Conversations: real-time chat with other users or digital assistants
-
Work: see, start and update the cases and processes you’re involved in
-
Tasks: your inbox of tasks assigned to you or one of your groups
-
Contacts: other users you can work with
-
Documents: enterprise content services for working with files and their properties
Note: Conversations and Contacts may only be visible in the self-managed trial
Task master
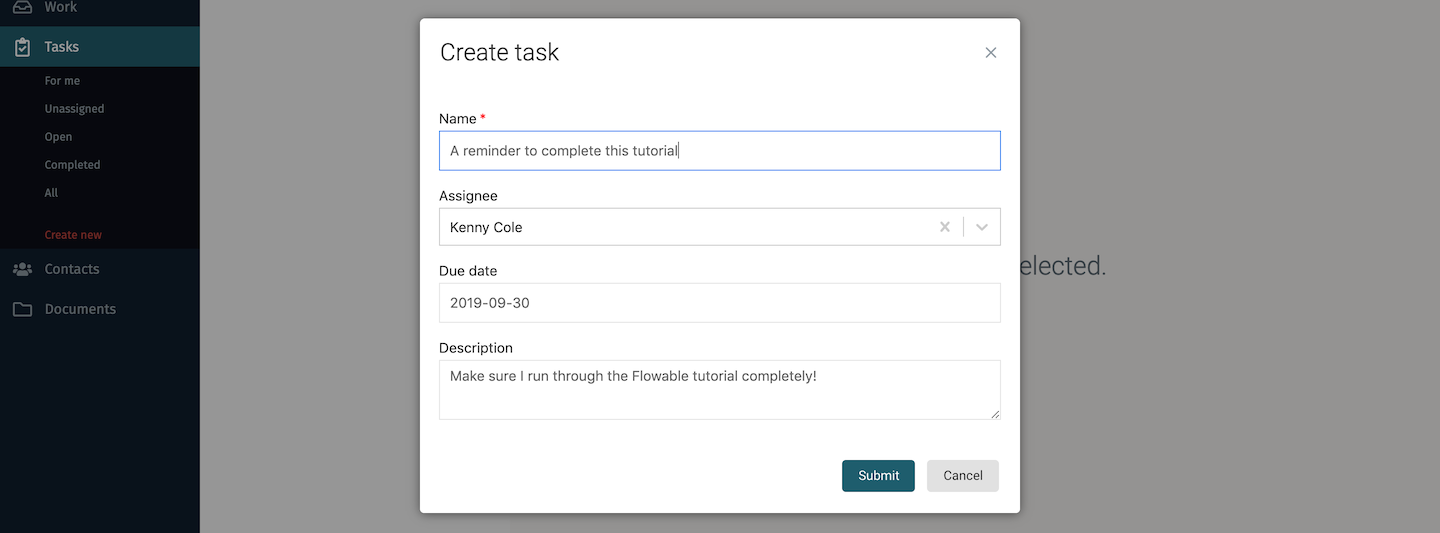
Tasks for users are usually reated as part of a case or process, but we’re going to create an ad hoc task. Select the New FlowApp and then the Tasks option.

You will be presented with the default form for creating a task. Fill in some details and create the task.

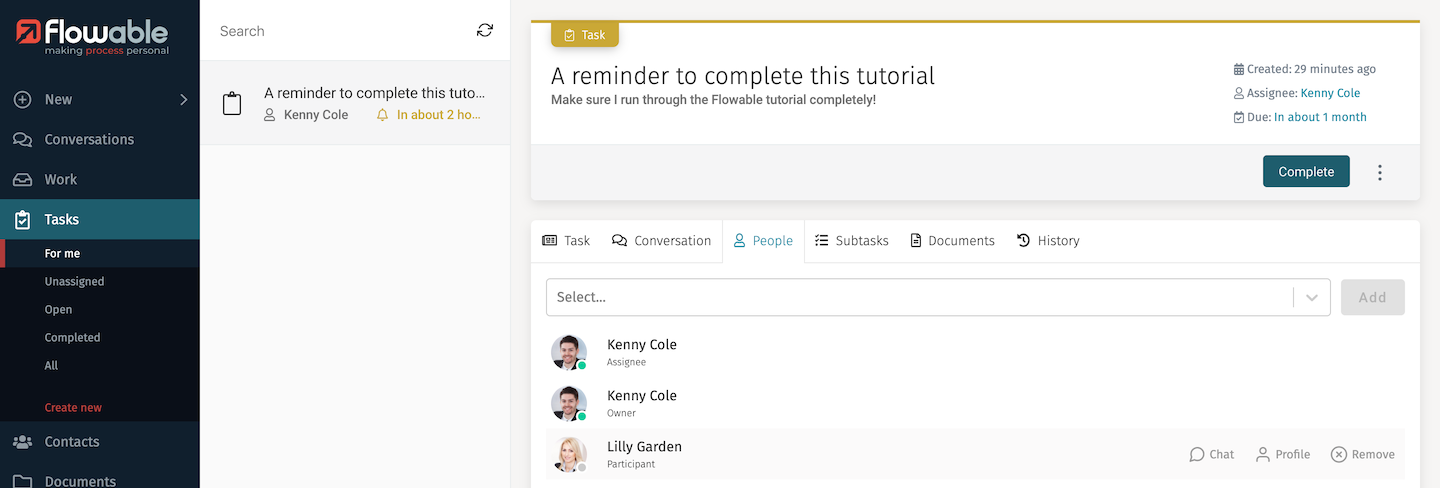
The task will be assigned to you by default, so you’ll now see the new task in your Tasks list. The currently selected task’s details are shown as well, but again, there’s very little to see here at the moment. The color of the task header will indicate if the task is overdue.

If you’ve a short attention span, you could just click the Complete button and feel a certain pride in finishing another job. Then again, it might be more interesting if you were to do some additional things with the task. With the default trial setup, there are other users in the system, so you can click on the Assignee link in the header to pass the task onto one of them, but then you’d have to sign in as that user to see the task. For now, leave it assigned to yourself. You can also set or change the due date – just click on the Due value and select a date from the calendar.

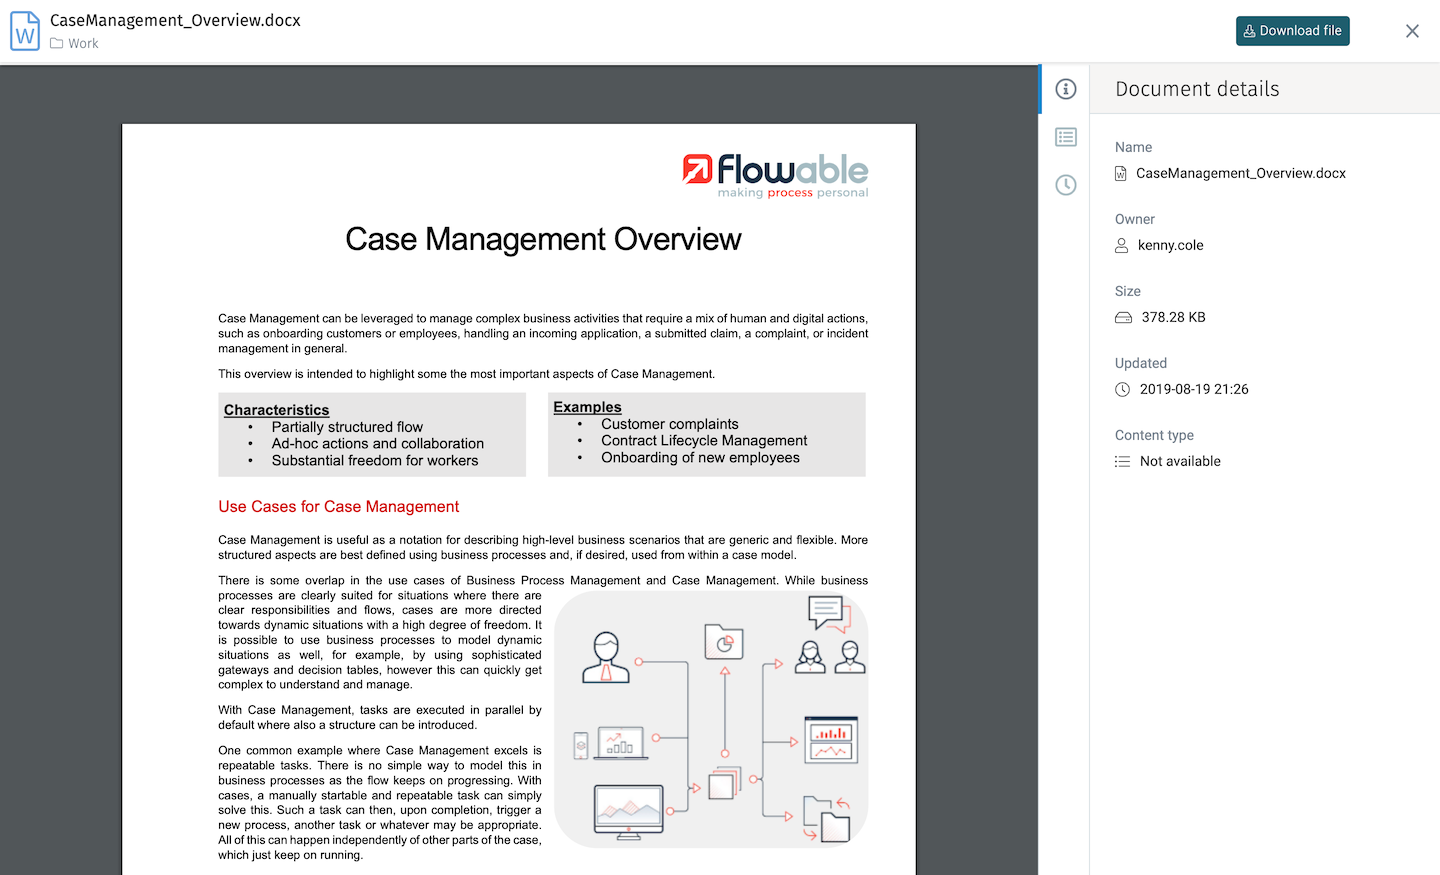
There are a number of tabs available for adding or viewing extra details. For example, as part of this task, maybe you want to attach a number of documents either for reference or as supporting material. Click the Documents tab and try adding a file to the task. You can use this when you want to attach some documents, images or videos that may help the person working on the task. We’ll spend more time of the document and content management features later on. In the screen below there's been an upload of a CaseManagement_Overview.docx file. You see it added to the list of documents attached to the task. Try uploading your own document.

Click on the document name and you’ll see a preview of the document (if possible for the type of file), as well as other details that we’ll come back to. Click the X in the top right of the page to close the preview and return to the task view.

You can involve other people to help on the task by giving them access to the task through the People tab. The assignee will still always be the person that has to complete the task. By default with the self-managed trial installation, a set of users has been automatically created, so you can add Lilly Garden by starting to type her name. She will now be able to see this task in her task view but without a Complete button.

With a self-managed installation, there’s also the Conversation tab (Comments tab in Flowable Work with chat disabled) that is a good way of communicating with other people if you need to get help from them while working on the task.
Another tab you’ll see is Subtasks that allows you to add additional tasks that will become part of this overall task.

You can use this like a checklist, or even break a major task down into smaller tasks and assign them to other users to complete. Just to finish off, there’s also the History tab that shows all the audit events linked to this task.
If you would prefer to always start Flowable at the Tasks FlowApp or any other page, you can set your homepage from your user settings (click on the user menu in the bottom left of the page for a self-managed installation).

Now that we’ve given you a taste of what can be done with tasks you create by hand, let’s see how tasks can be used in the context of case and process management. To do that, we can use the demo app you published from Flowable Design.