Self-Managed Flowable Trial
Installing the self-managed trial version of Flowable
Get and unpack the trial bundle
The trial download is a full version of Flowable Work, with all its functionality enabled, including real-time chat. If you haven’t already requested your trial download, then head to https://flowable.com/trial and get the links to the download bundle and trial license emailed to you. Once you have downloaded the zip file containing the trial installation, you just need to unzip it and move the extracted flowable folder to where you have file permissions to run the trial (under Microsoft Windows, you may be best to run it in C:\flowable). There is a README.txt file that gives some more detail, but essentially, if you already have Java installed and are just going to try this yourself you can use the simple built-in H2 database and start it straight away. If you want to use a real database, such as CockroachDB, MariaDB, MySQL, MSSQL, Oracle, PostgreSQL – follow the information in the README. The license will be needed later to activate Flowable within the applications by uploading the file.
If you have any problems, check the Trouble shooting guide or you can look for help on the Trial forum.
Installing Java
You will need to have Java installed before starting Flowable. You can check this by opening a terminal or command window and typing the command java -version. Currently, Java version 17 is required. If you do not have Java installed, we suggest you use the Adoptium JDK version available at https://adoptium.net/releases.html choosing OpenJDK 17. Please use the extra option to set the JAVA_HOME variable if available.
Running Flowable on Microsoft Windows
Two batch scripts are provided to start and stop Flowable on Windows.
Starting
Double-click the start-work.bat file in the flowable\bin folder. This will start the Tomcat application server and open other command windows to run all the components Flowable needs. Don’t be confused about any error message occurring within the Tomcat command window. If you have problems with the script not running, please check your JAVA_HOME variable is correctly defined.
Stopping
Double-click the stop-work.bat file in the flowable\bin folder. This will stop Tomcat and the other Flowable command windows.
Running Flowable on MacOS or Linux
Two shell scripts are provided to start and stop Flowable for MacOS and Linux.
Starting
Open a terminal and change directory to wherever you moved the 'flowable' folder, for example, cd /Applications/flowable. Run the start-work.sh script in the bin folder, for example, from the Flowable directory, type bin/start-work.sh. This will start Tomcat and services to run all the components Flowable needs. If you want to see system logging details you can run the command tail -f tomcat/logs/catalina.out from the Flowable directory.
Stopping
Run the stop-work.sh script in the bin directory, for example, from the Flowable directory, type bin/stop-work.sh. This will stop Tomcat and the other services. An alternative script, bin/run-work.sh, is also available that starts Flowable Work, streaming logging to the console, and stopped using control-c.
Checking it’s working
To check all is working, you can try to start the Flowable apps. The start scripts will try and open your browser at http://localhost:8080 where you will be given options to start Flowable Engage, Flowable Design and Flowable Control. Select each in turn and you should see a sign-in page for each of them if they started successfully.
Working with different user accounts
By default for the self-managed trial, some demo users are created automatically. As the admin user has special capabilities, you can switch to one of these demo users, Kenny Cole, throughout the tutorials as the primary user. Sign in as user kenny.cole with password test.
If you want to run the tutorial as another user than Kenny, select Contacts in the left-hand menu and choose one of the demo users who is a Client Advisor.
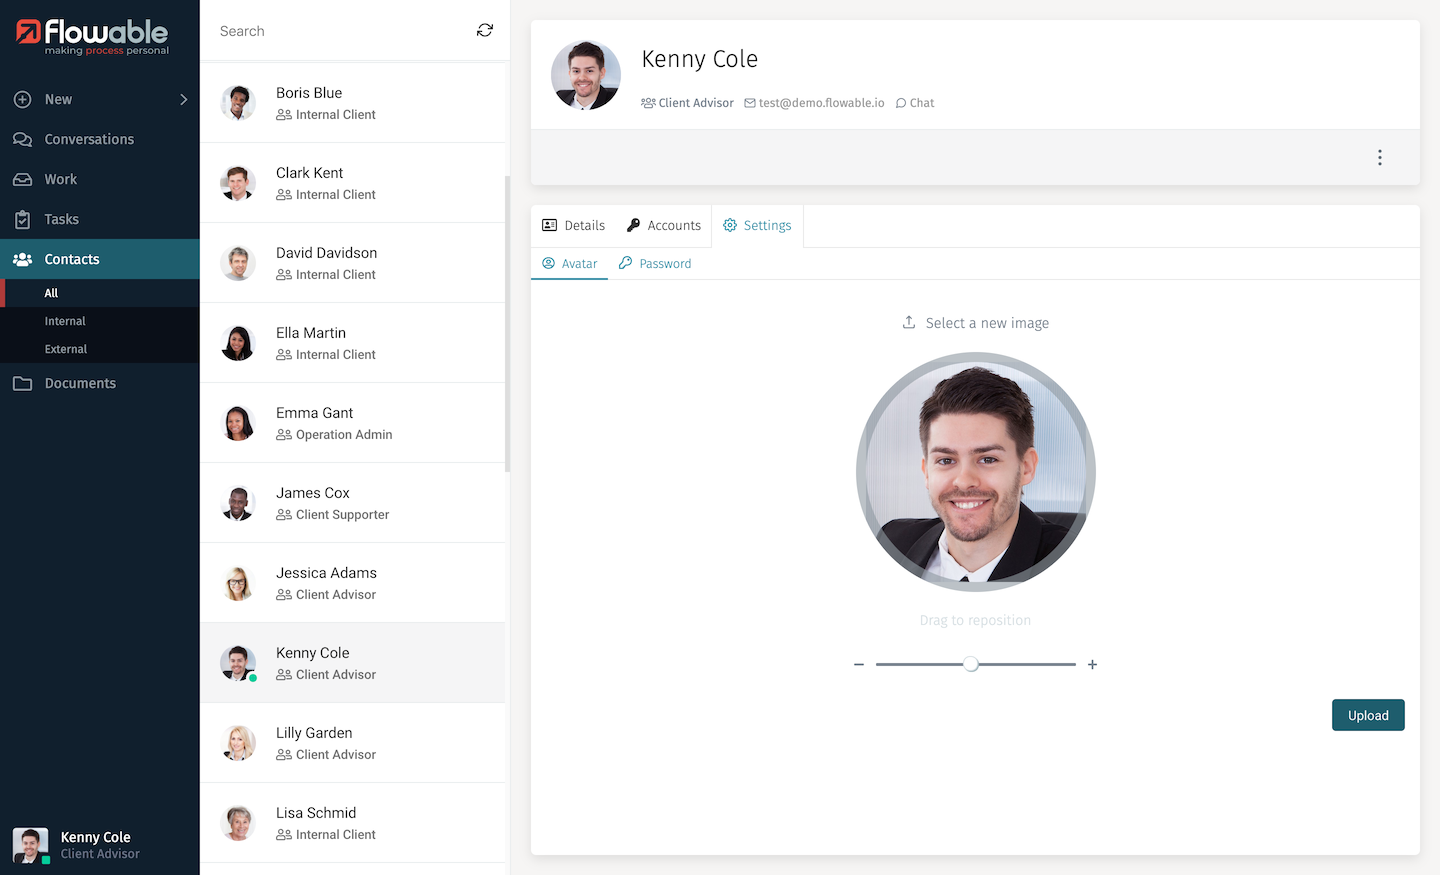
If you want to change your profile picture or password, you can click the Settings for your user in the Contacts view, or from the user menu in the bottom left-hand corner of the page.