Create a Process with an Action
This is an old version of the documentation for Flowable until version 3.13 and for the Angular-based Flowable Design 3.14/3.15. If you are running the latest version of Flowable please check out the current version of this page.
Introduction
Action models can be used to expose actions to cases, processes, tasks, content, users and conversations.
In this documentation the action models are going to be explained by the use case of creating a process instance out of a FlowApp page and navigate to it.
We are going to use following Flowable concepts:
- Action Models
- Action Bots
- Action Buttons
Part 1: Creating the process definition
First, we need to create a App in Flowable Design which is going to be deployed containing all the models required for this tutorial.
Now, a process model can be modelled with your own implementation logic. Just remember the Model Key of the process model as we require it later for linking it to the Action Model.
As the process might require some input data let's also model a start form for this process model.
You can Publish your app and try to create your process instance in the common way with the Work App.
Part 2: Modeling the action model
Now, you can start creating the Action Model which will be creating the process instance described in part 1.
Create a Action Model within your by navigating in the dialog through Create a new model for the app, Other and Action.
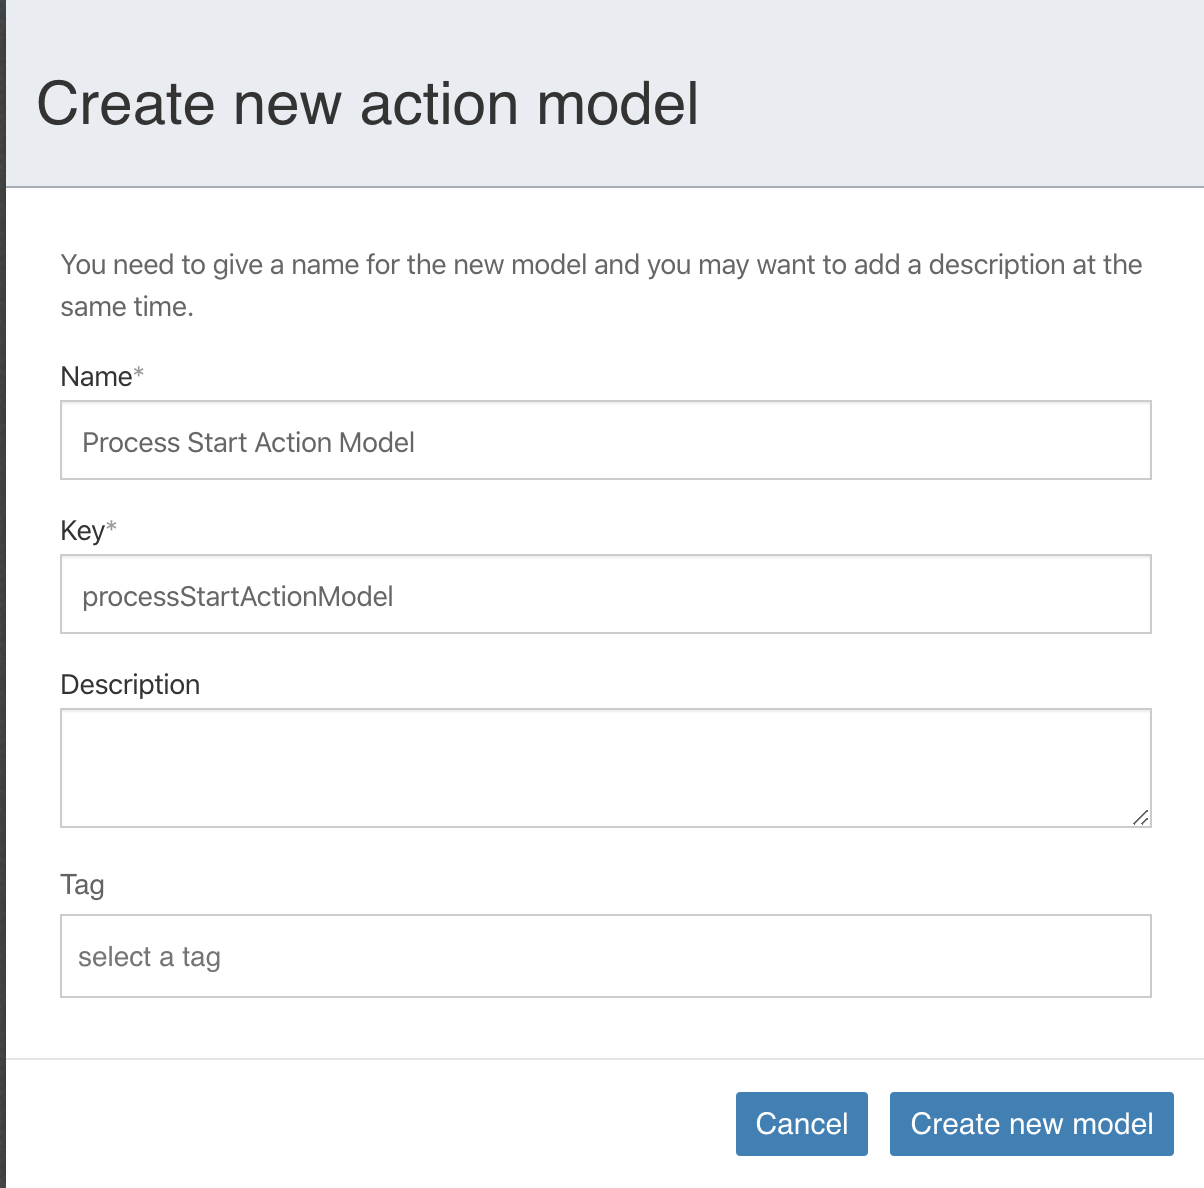
You will be navigated to the configuration form for your Action Model.
Here, you can define your Bot key. As we want to start a process instance, we can use the predefined Action Bot with the key bpmn-start-process-instance-bot.
If you would like to create a case instance instance you could use the following bot key with the same configuration: cmmn-start-case-instance-bot.
Furthermore, in case another custom logic is required to be execution upon execution of the Action Instance than a own Action Bot can be implemented as described here.
Moreover, you can link a Form for you action model and in this case you can use the same start form as you used when you created your process in step 1 to collect the same data.
Lastly, you can link the process definition key in the Signal name (as this is required by the bpmn-start-process-instance-bot and cmmn-start-case-instance-bot).
Your Action configuration shall be similar to this configuration:

Part 3: Expose Action on FlowApp page
After part 2 your action model is ready to be executed. In this chapter we are going to focus on executing the Action Definition.
For this purpose, we can use a FlowApp and Pages. Therefore, create a Page in the App you have modeled in part 1 of this tutorial by navigating in the dialog through Create a new model for the app and Page.
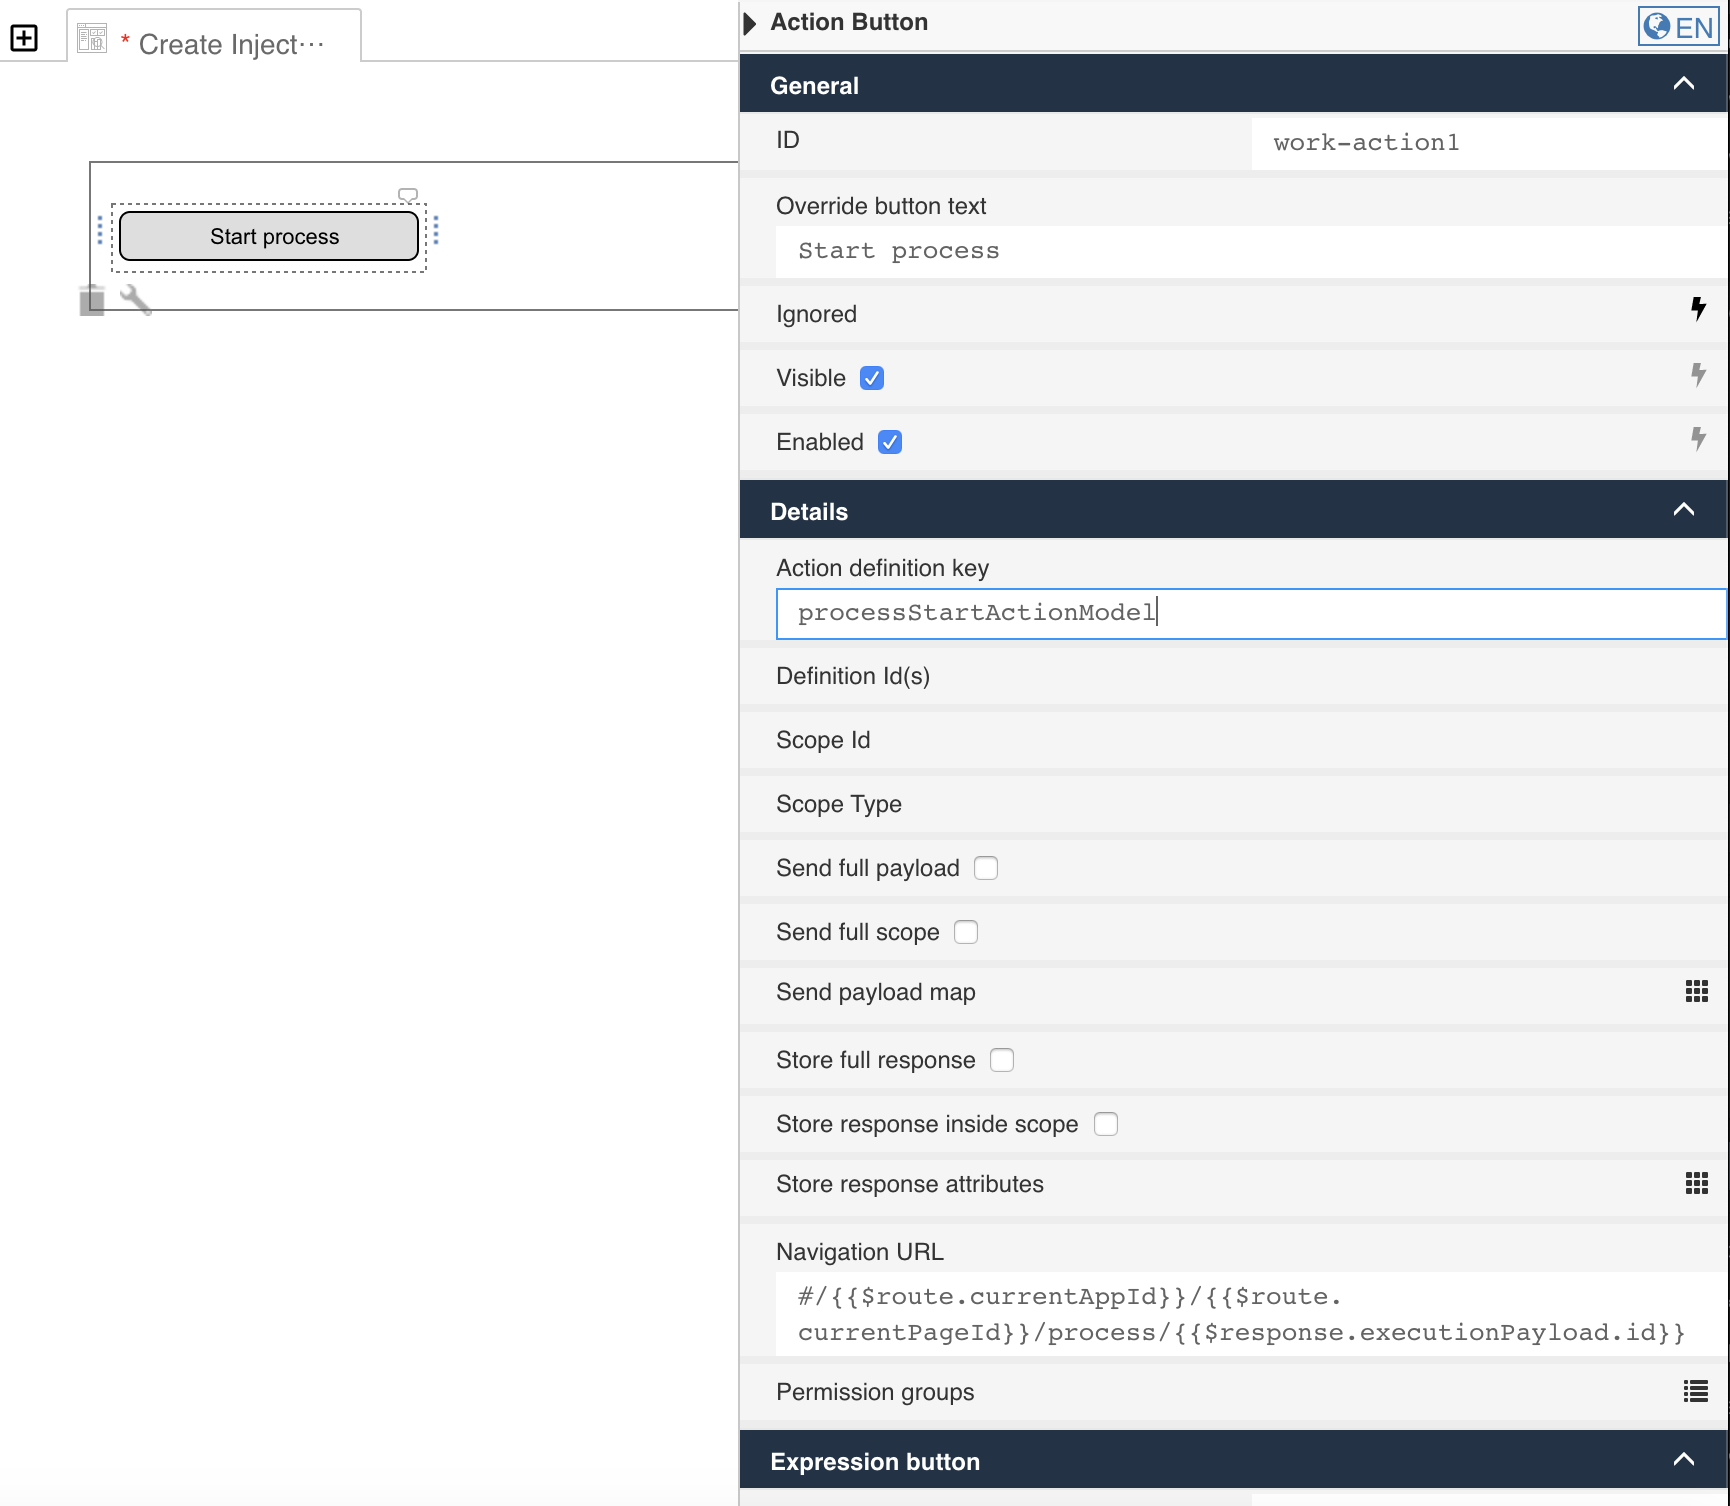
In the Page (and also in the Form palette) you will have the Action Button element. Drag and drop this element within your form and refer to the property window (right side) for configuring it.
First, set a text for the property Override Button Text to configuring the text to be rendered for this button. Then, set the Action definition key with the Model Key used in step 2 for you Action Model.
Lastly, as you want to navigate to your new process instance within your FlowApp you can set the following Navigation URL: #/{{$route.currentAppId}}/{{$route.currentPageId}}/process/{{$response.executionPayload.id}}.
A navigation within Flowable Work shall always start with the hashtag (
#). The$route.currentAppIdand$route.currentPageIdrefer to your FlowApp and your Page Id. The keywordprocesstells Flowable to render the process page (you can also usecasein case you are modeling a case). The$response.executionPayload.idis referring to the response of your ActionBot (which in this case is the processInstanceId).When using Action Buttons you can always refer to the response of the Action Instance with the transient
{{$response}}variable and to the response of the Action Bot with the{{$response.executionPayload}}variable.
Now, you can go back to your App and click on Configure pages to configure your FlowApp and the page.
You can tick the Include FlowApp pages checkbox, set a custom value in the FlowApp URL key and also a custom value into the URL key for the Page which was created before.
Finally, you can Publish your App again. And try to execute the Action Button in Flowable Work.
You will be having a new App on the left navigation menu with the name of your App. And on the page of this app there will be a button. When clicking on this button the start form will be visualised in a modal window. When entering all required data and confirming you will be automatically navigated to your process instance.