Using a Content Model
 Outdated documentation page
This is an old version of the documentation for Flowable until version 3.13 and for the Angular-based Flowable Design 3.14/3.15. If you are running the latest version of Flowable please check out the current version of this page.
Adding a Content Model in Flowable Design
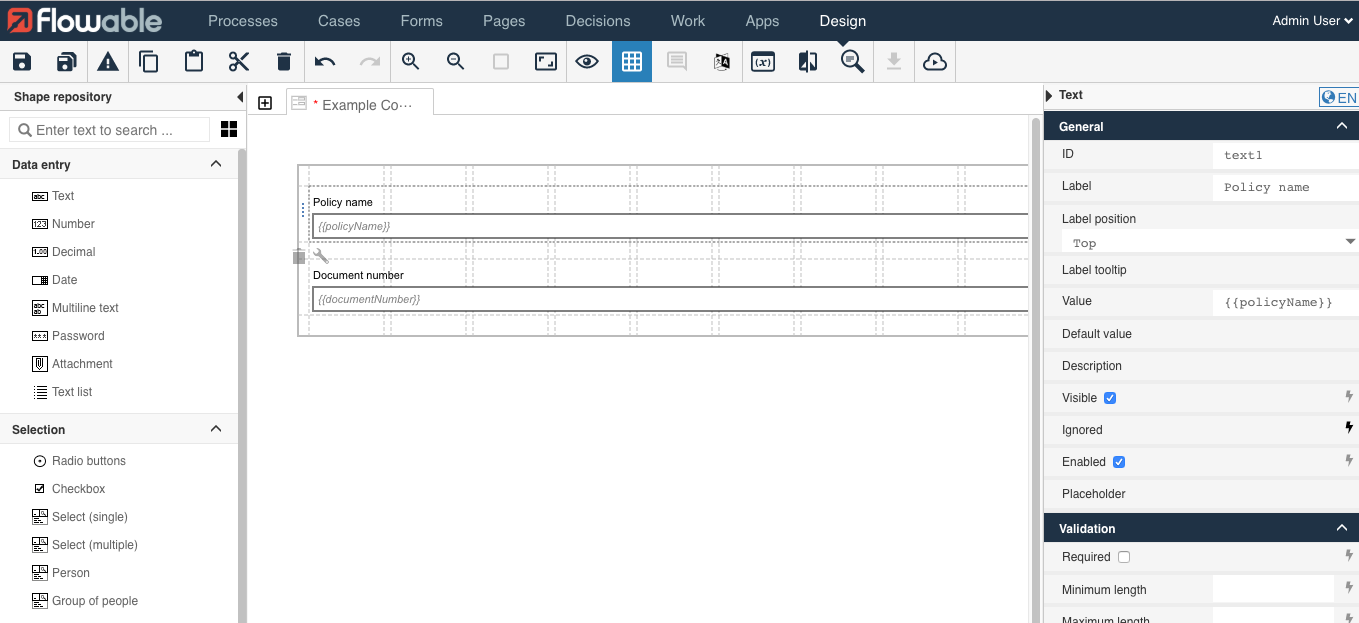
For a content model with two metadata values, policy name, and
document number, the first step is to create a new Form in Flowable Design.
The form is basic with two simple Data entry>Text fields. If one of the metadata
values is required, then the field must have the Validation>Required checkbox set.
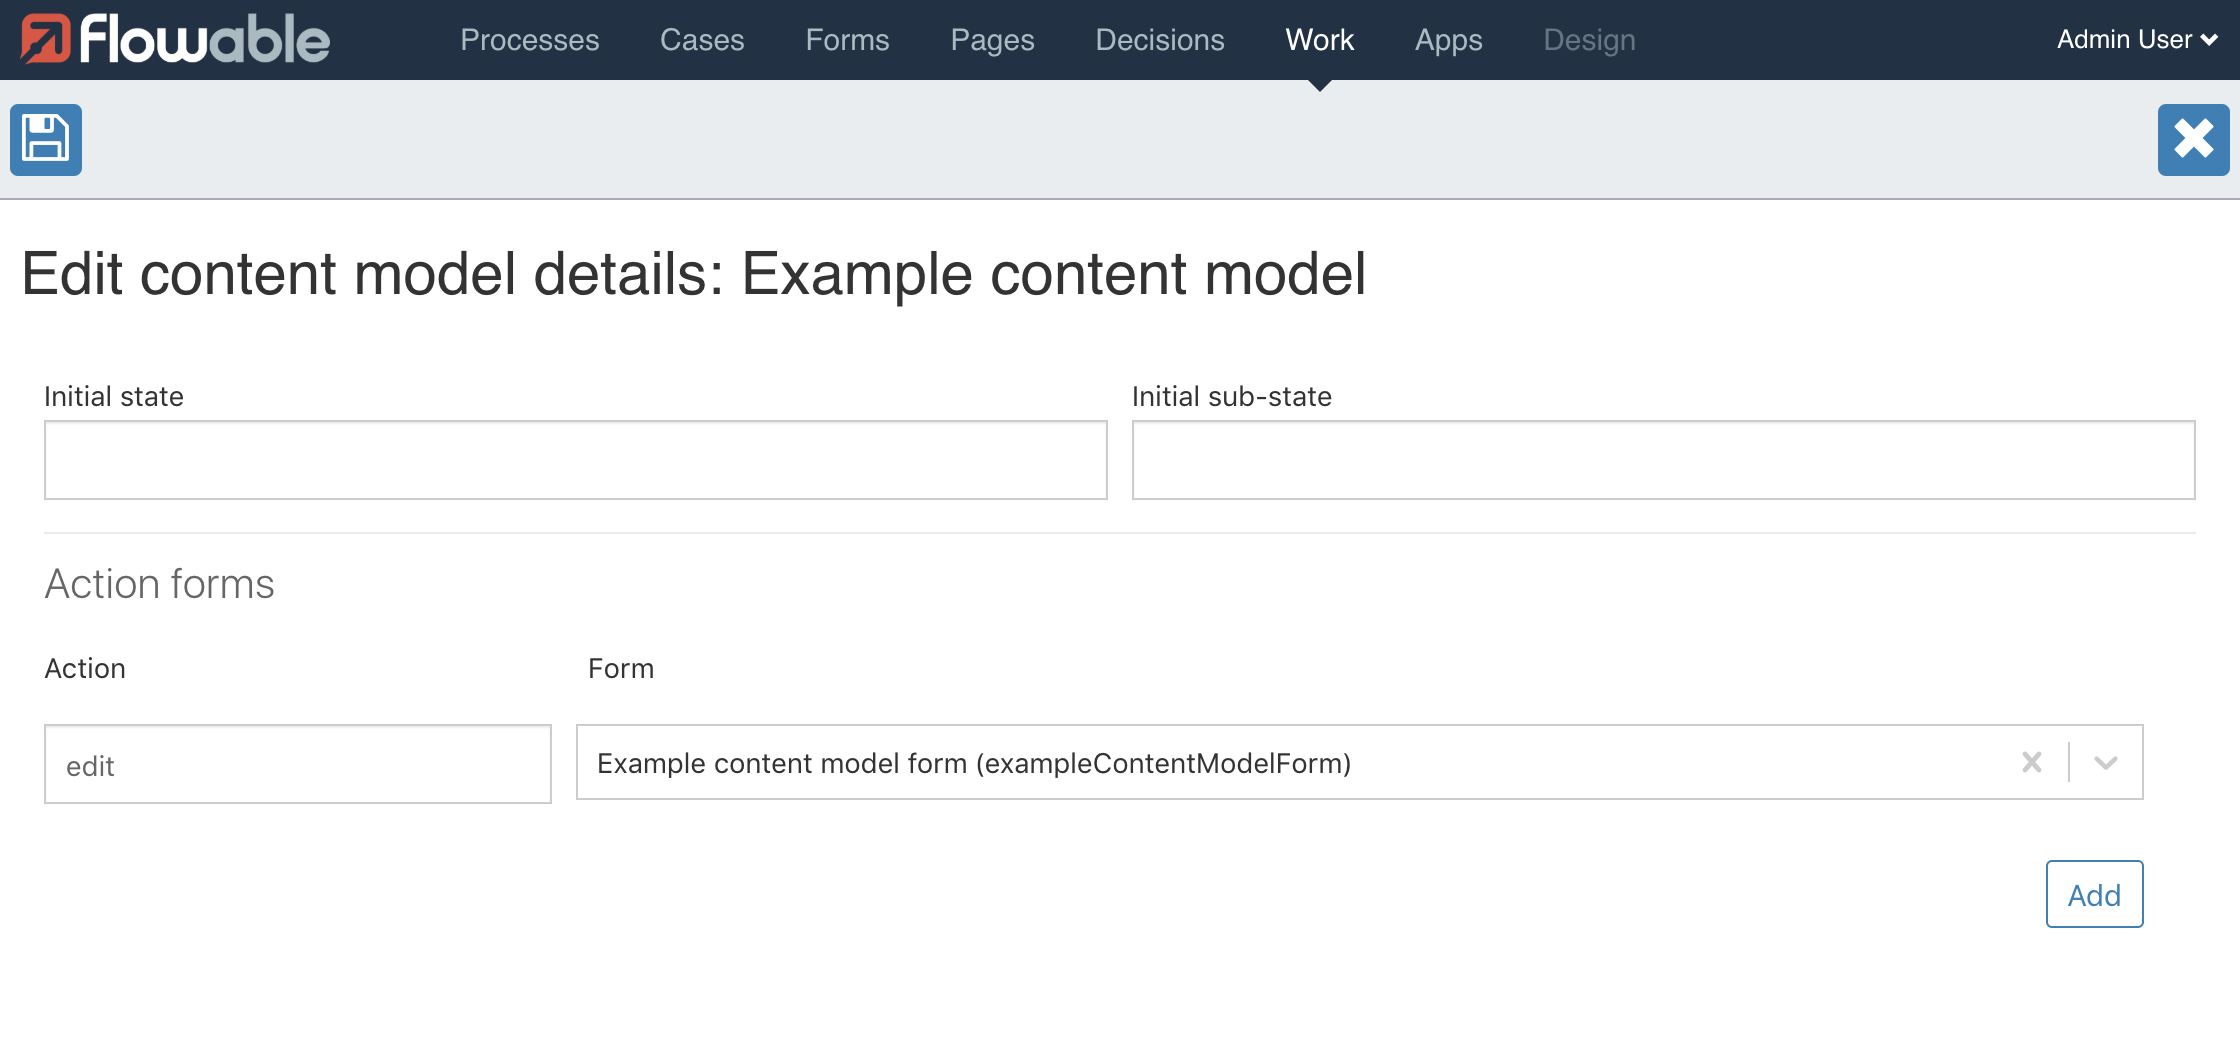
With the Form defined, the next step is to create the Content model, which can be done in the Work section of Flowable Design. The initial state and sub-state can be filled-in to define the initial values when a new content item is created connected to this content model. This is left empty for this example. To connect the metadata Form to this content model, the Action value edit should be filled-in, and the newly created Form should be selected from the dropdown.
To be able to use the content model in a simple BPMN Process, a Process with one user task is created.
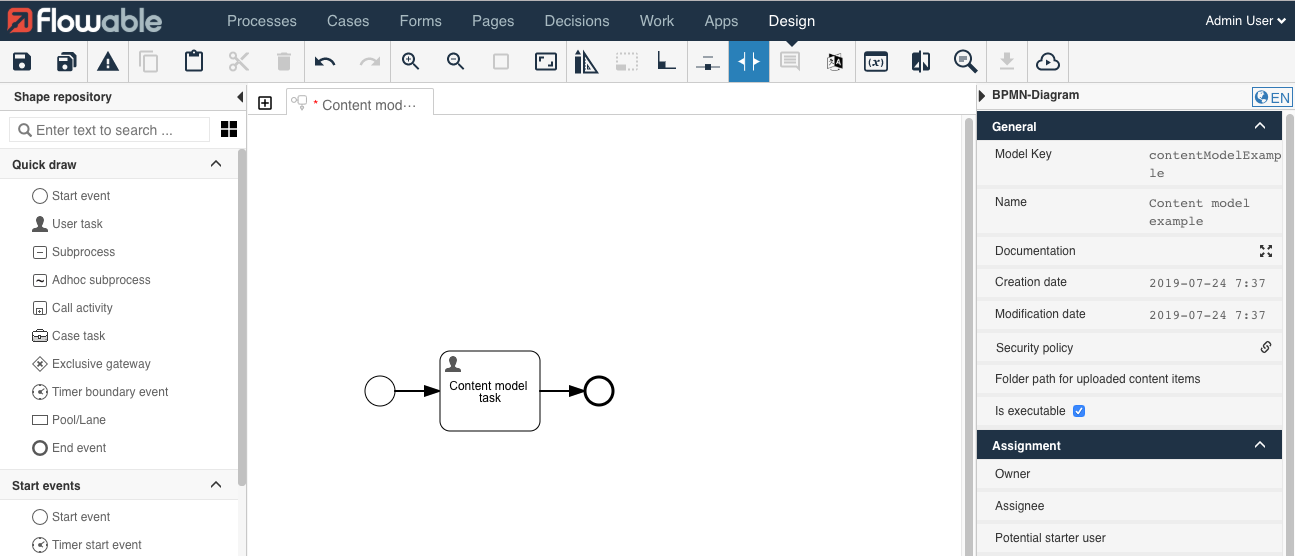
The start event and user task should point to the same Form to show that
the metadata values that are filled-in when starting the process are available
in the task form. Let us create the new Form with a Data entry>Text field with
the label Product name and Data entry>Attachment labeled
Policy document.
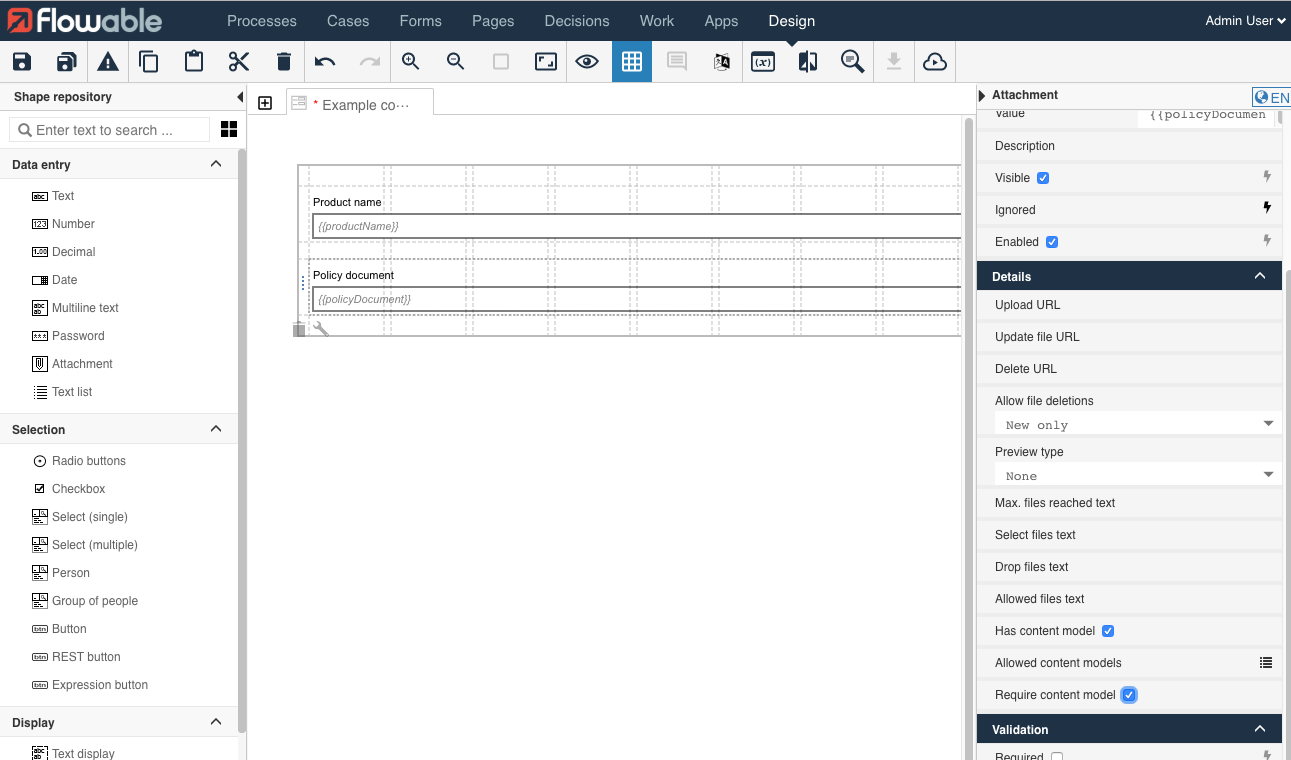
To enable the content model selection possibility for a user of
Flowable Work or Engage the Details>Has content model checkbox is enabled.
To make the content model selection required before completing the form also
the Details>Require content model checkbox must be enabled.
In the final step in Flowable Design, a new app definition is created, and the newly created BPMN model, the metadata Form and the Content model (part of the Work section) are selected. Now the app definition can be published.
Using a Content Model in Flowable Work or Engage
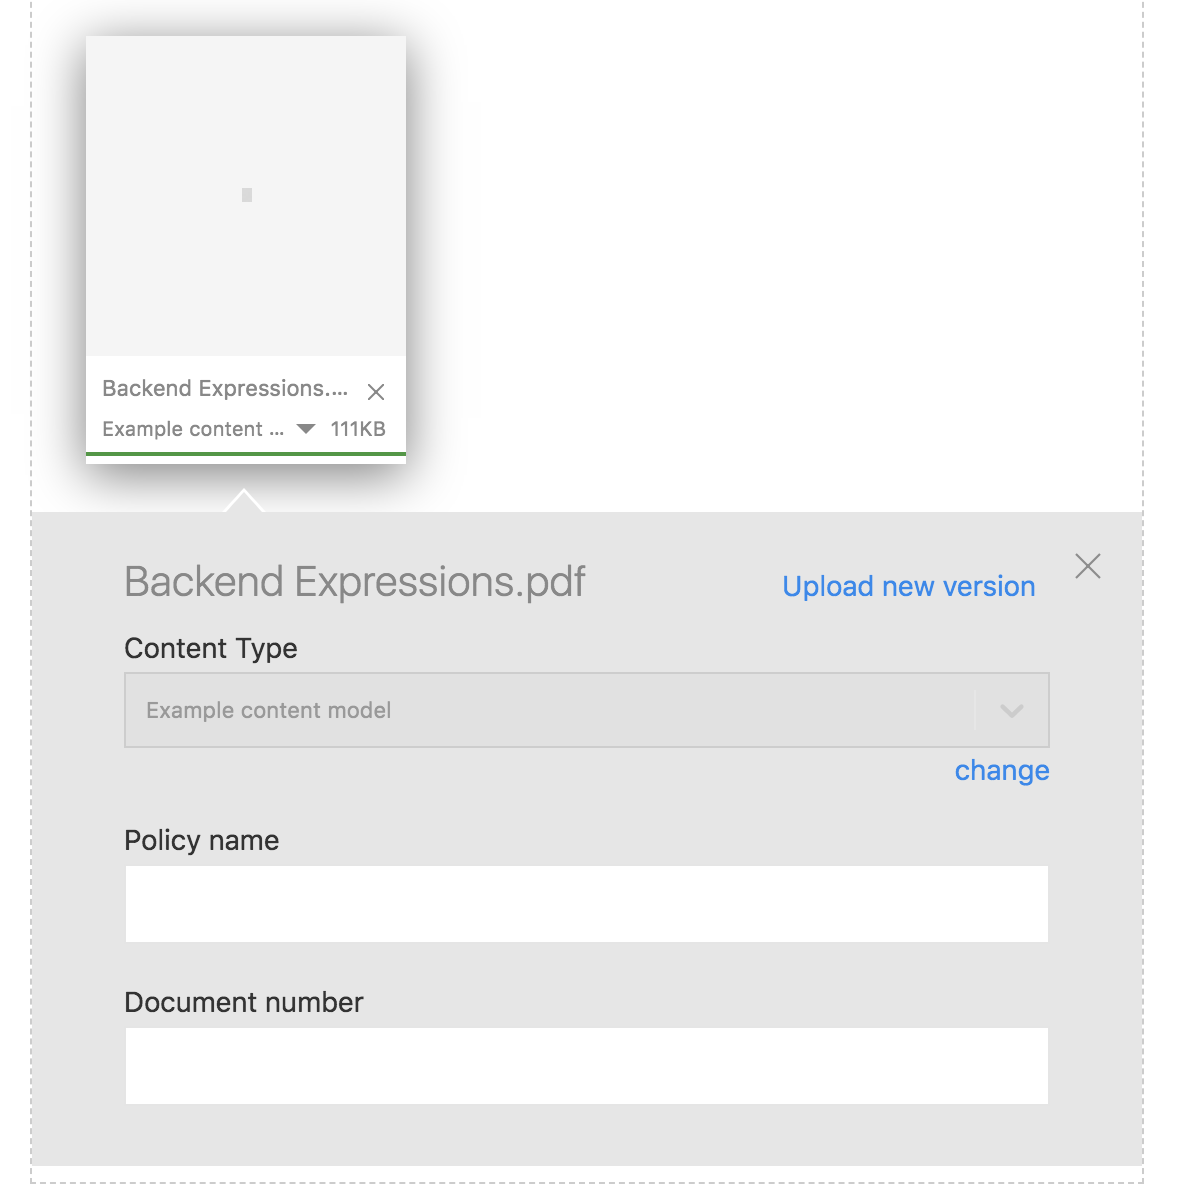
With the newly created app and included models published, a new process instance can be created in the Work or Process App. After choosing the process definition, the following start form is presented and notice that the content type is red because it is required and not selected at this point.

After selecting the content type that was created in the previous section, the metadata form is shown in the start form. Now the user can fill in the metadata values for the content item.
After filling in the metadata values and completing the start form, the process instance gets created, and the uploaded file gets stored in the content engine together with the filled-in metadata values. In the task form, the selected content type and filled-in metadata values should now be available as well.
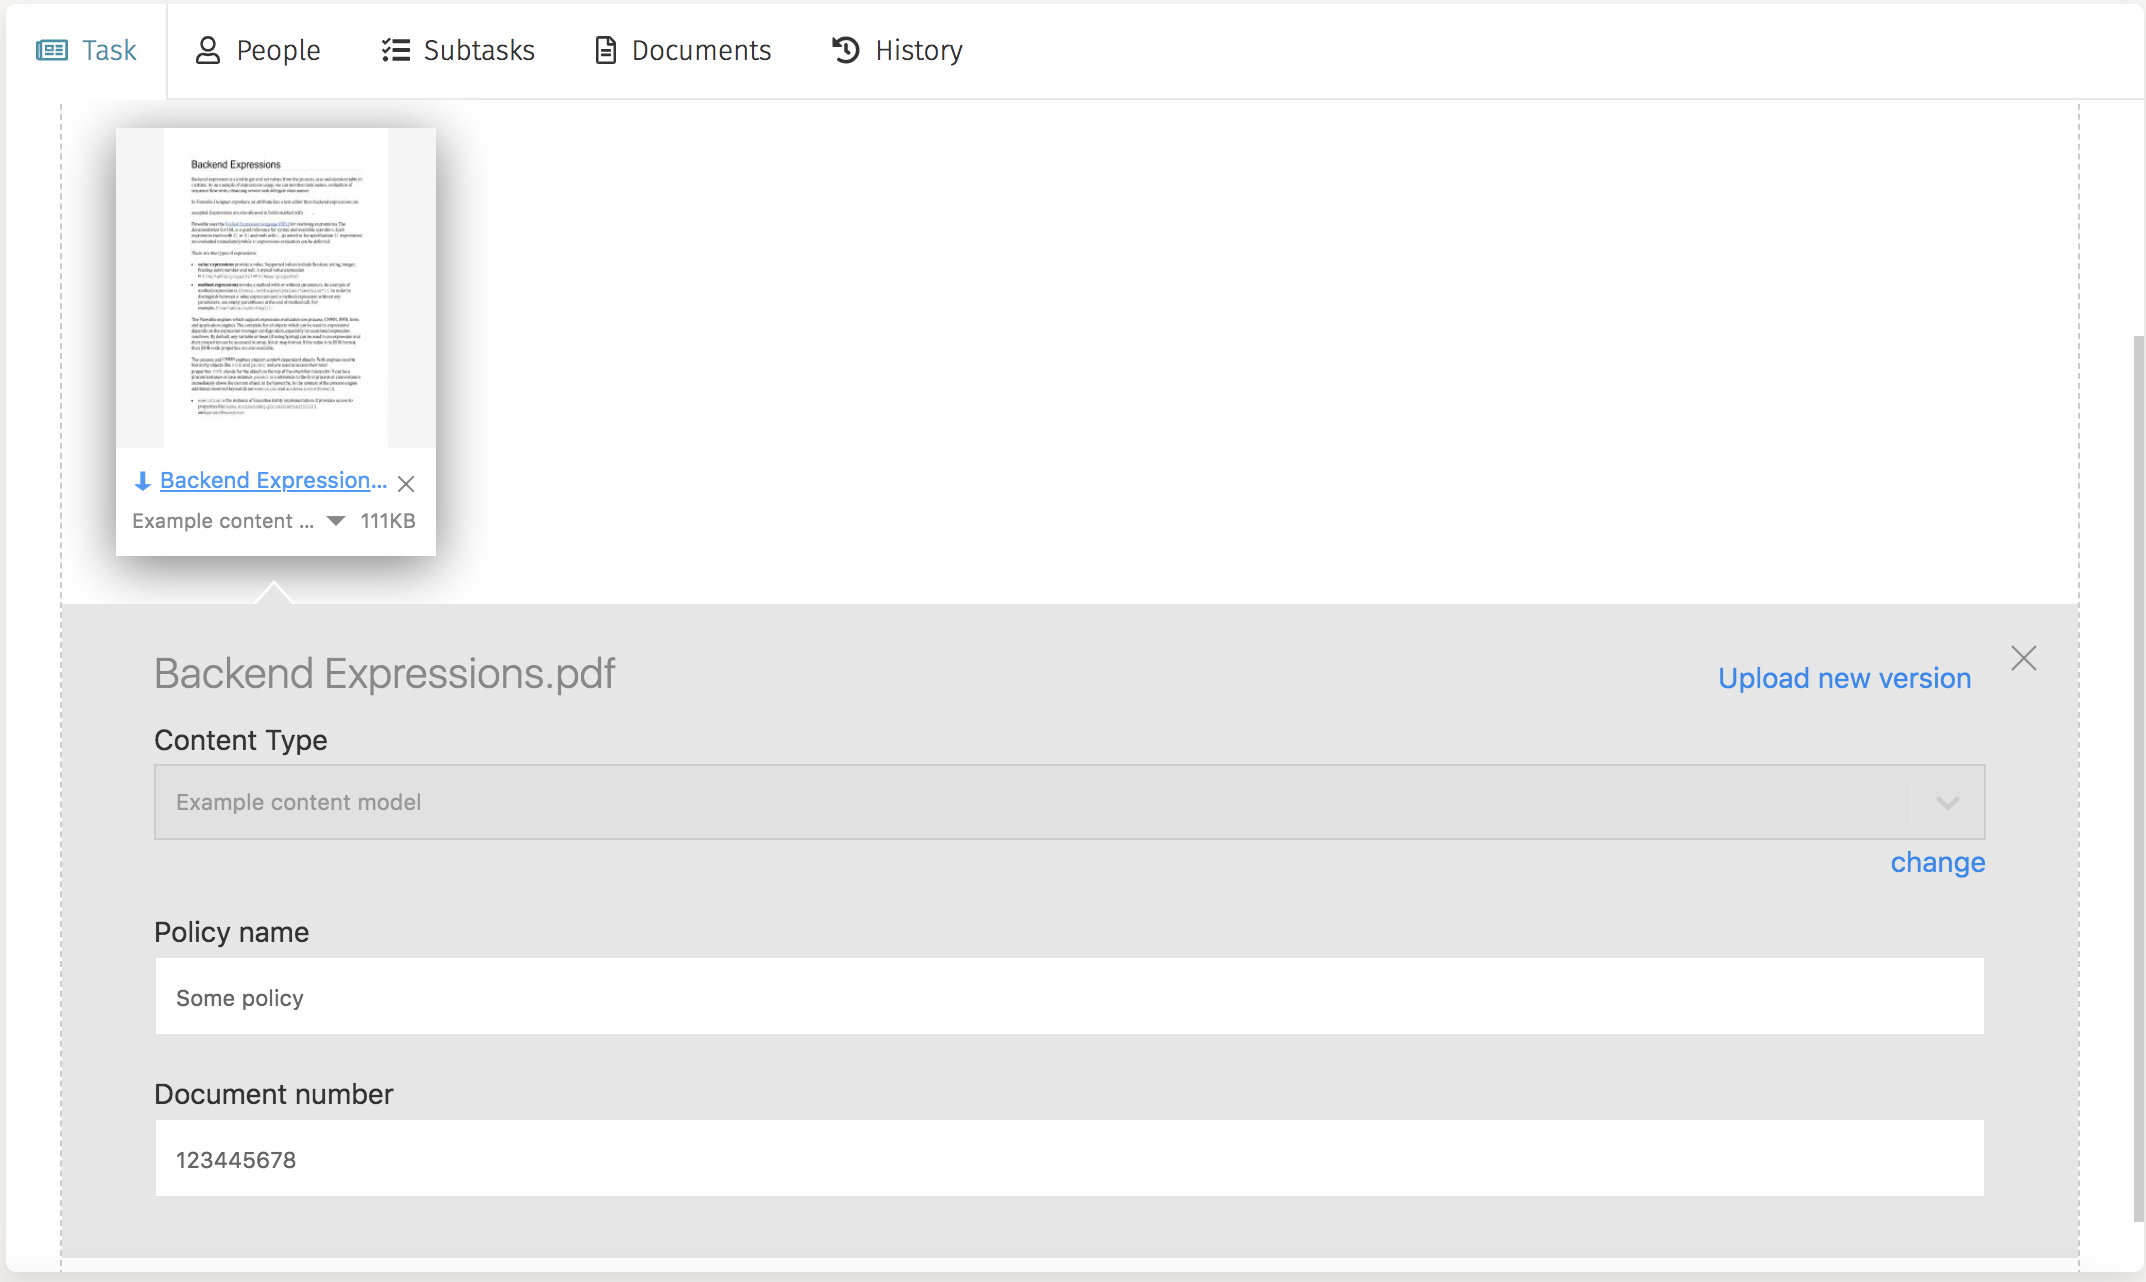
The user can now still change the metadata values to update them and could even select another content type for the uploaded file and fill in the metadata values for that content type. With the Java and REST API the content item, the rendition items (thumbnail and PDF) are created for the uploaded file, and the metadata values are retrieved as needed.