AI Assistant Setup
Introduction
The AI assistant setup wizard connects an AI assistant, such as Claude Code, Cursor or Codex, to the Design MCP server. It creates an access token and produces the exact command or configuration file that your assistant needs, with the token already filled in.
The same result is available through the manual steps under Connecting a client. The wizard covers the common assistants and removes the manual work of building the URL, creating a token and writing the client configuration.
The token belongs to your user account and carries your permissions. An assistant connected through the wizard can do only what you can do in Flowable Design, the same as any manually connected client.
Availability
The AI assistant setup entry appears in the user profile menu only when all of these apply:
- The Design MCP server is enabled (
flowable.design.mcp.server.enabled=true). - Your Flowable license includes AI functionality in Flowable Design.
- Access tokens are enabled for Flowable Design (see Access Tokens).
Without all three, the entry stays hidden, because the wizard would have nothing to connect to or no way to authenticate.
Opening the wizard
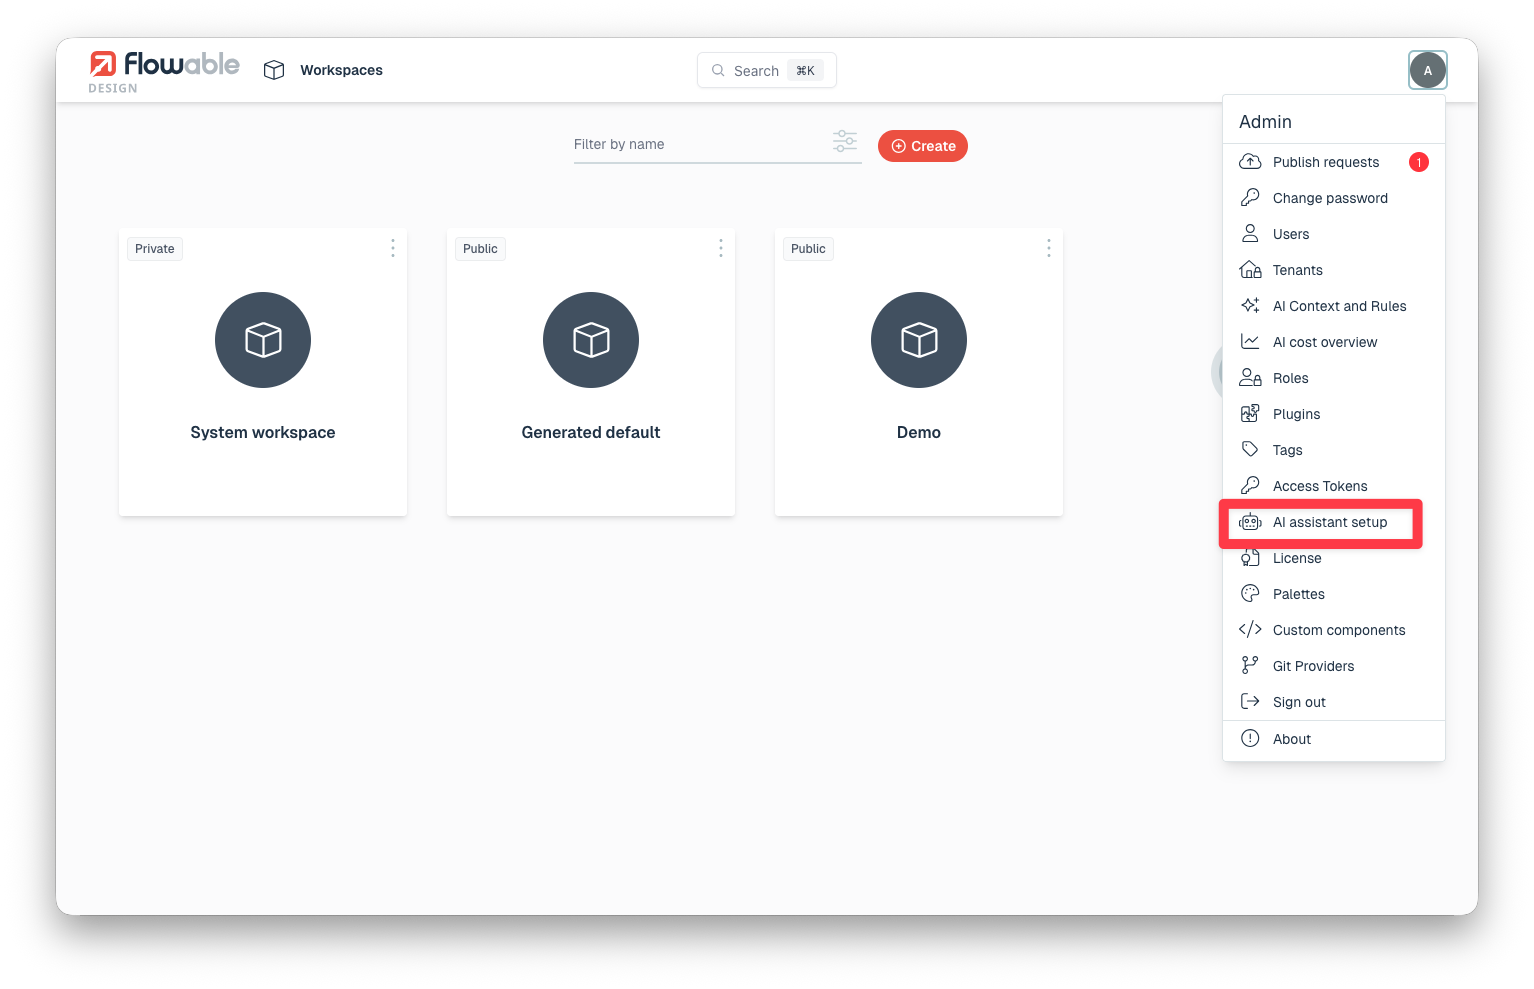
Open the user profile menu in the top right of Flowable Design and click AI assistant setup. The wizard has three steps: Assistant, Configure and Verify.
Step 1: Choose your assistant
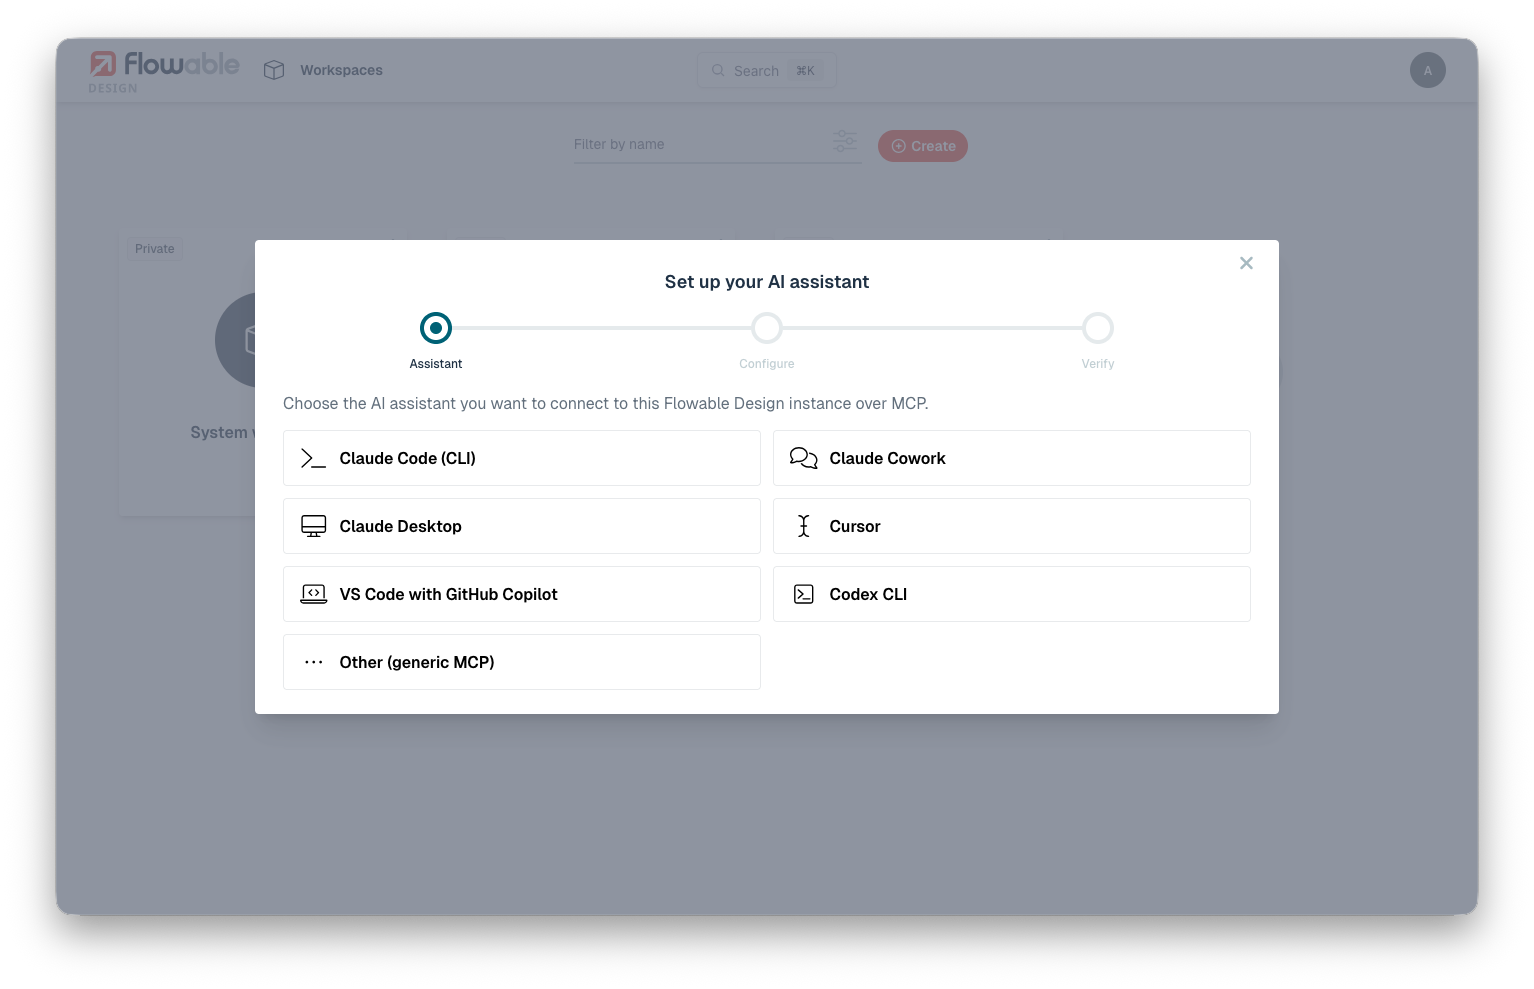
Select the assistant you want to connect. The wizard supports:
- Claude Code (CLI)
- Claude Cowork
- Claude Desktop
- Cursor
- VS Code with GitHub Copilot
- Codex CLI
- Other (generic MCP), for any client not listed above
Then set how long the generated access token stays valid. The options are 1 day, 30 days, 90 days and 1 year. A shorter lifetime is safer, and you can run the wizard again whenever you need a new token.
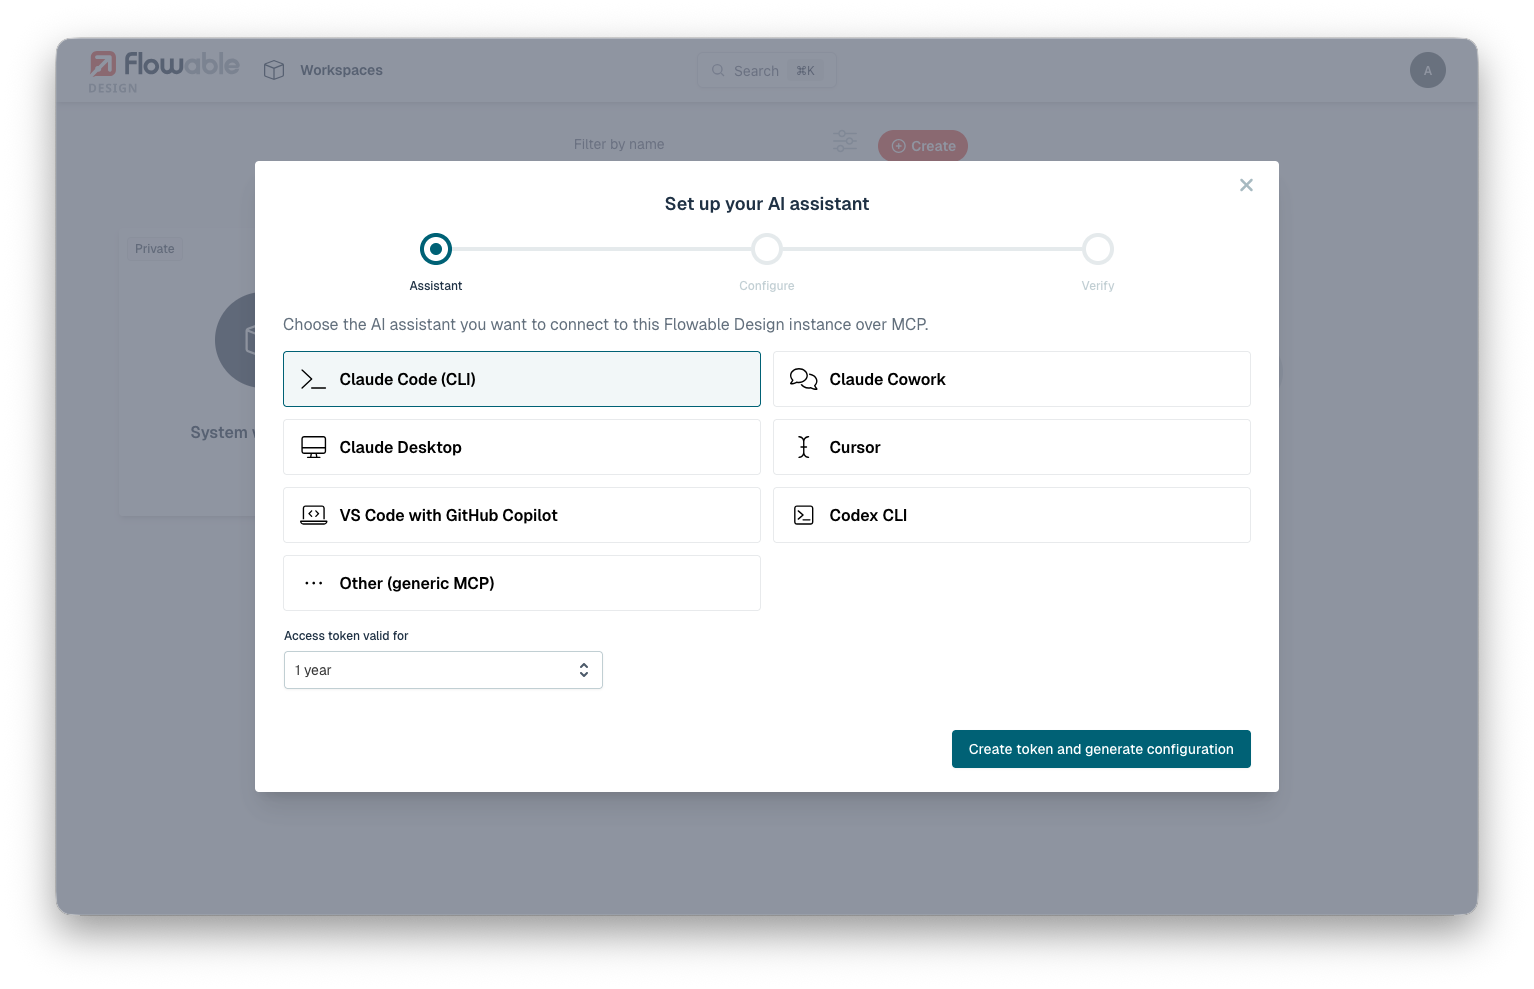
Click Create token and generate configuration. The wizard creates the token and opens the next step.
Step 2: Configure your assistant
The Configure step lists the steps for your assistant and shows a snippet that already contains the endpoint URL and your access token. Copy the snippet with the copy button, then follow the numbered steps to add it to your assistant.
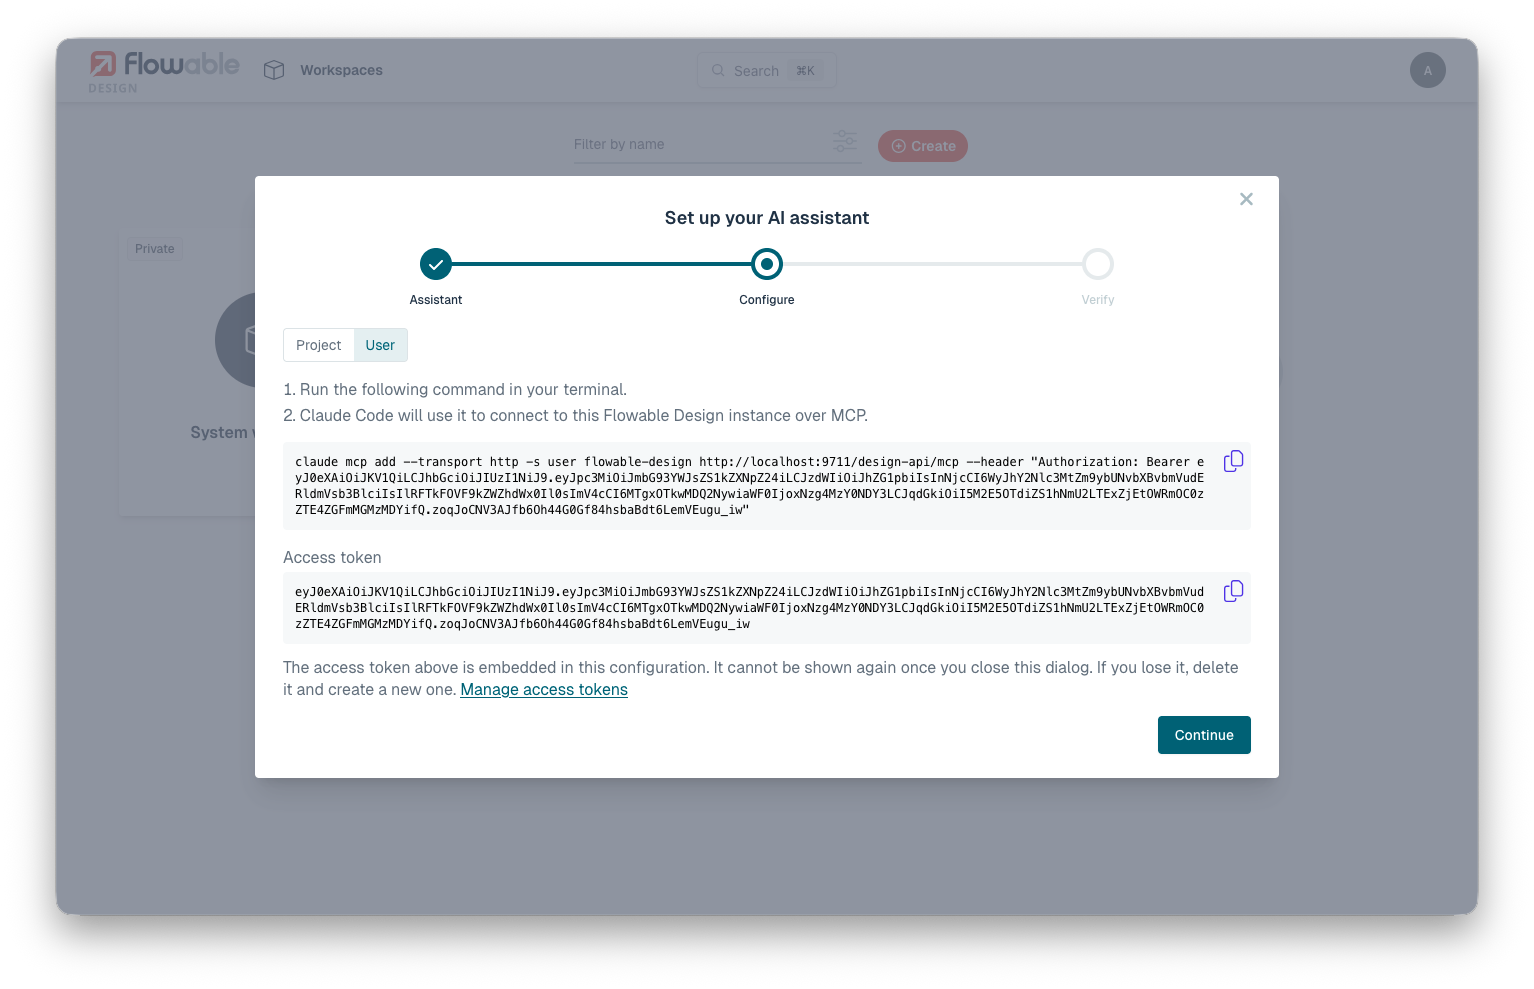
Claude Code, Cursor and VS Code keep their MCP configuration in two places: a project file and a global user file. For these assistants, a Project / User toggle switches the snippet between the two:
- Project writes to a file inside your project, such as
.cursor/mcp.jsonor.vscode/mcp.json. Add the file to.gitignoreif you do not want to commit your token. - User writes to your global configuration, so the server is available in every project.
The snippet uses the same formats as the manual setup under Configuring your MCP client: a claude mcp add command for Claude Code, a JSON entry for Cursor and VS Code, and a TOML entry for the Codex CLI.
The access token also appears on its own below the snippet, so you can copy it separately.
 The token is shown only once
The access token is embedded in the generated configuration and is not shown again after you close the dialog. If you lose it, delete it and run the wizard again to create a new one. The Manage access tokens link opens the Access Tokens screen, where you can review and revoke tokens.
After you add the configuration to your assistant, click Continue.
Step 3: Verify the connection
The last step confirms that the assistant is set up. To test it, ask your assistant to list the Flowable workspaces available to you. If it returns them, the assistant is reaching the Design MCP server with your permissions.
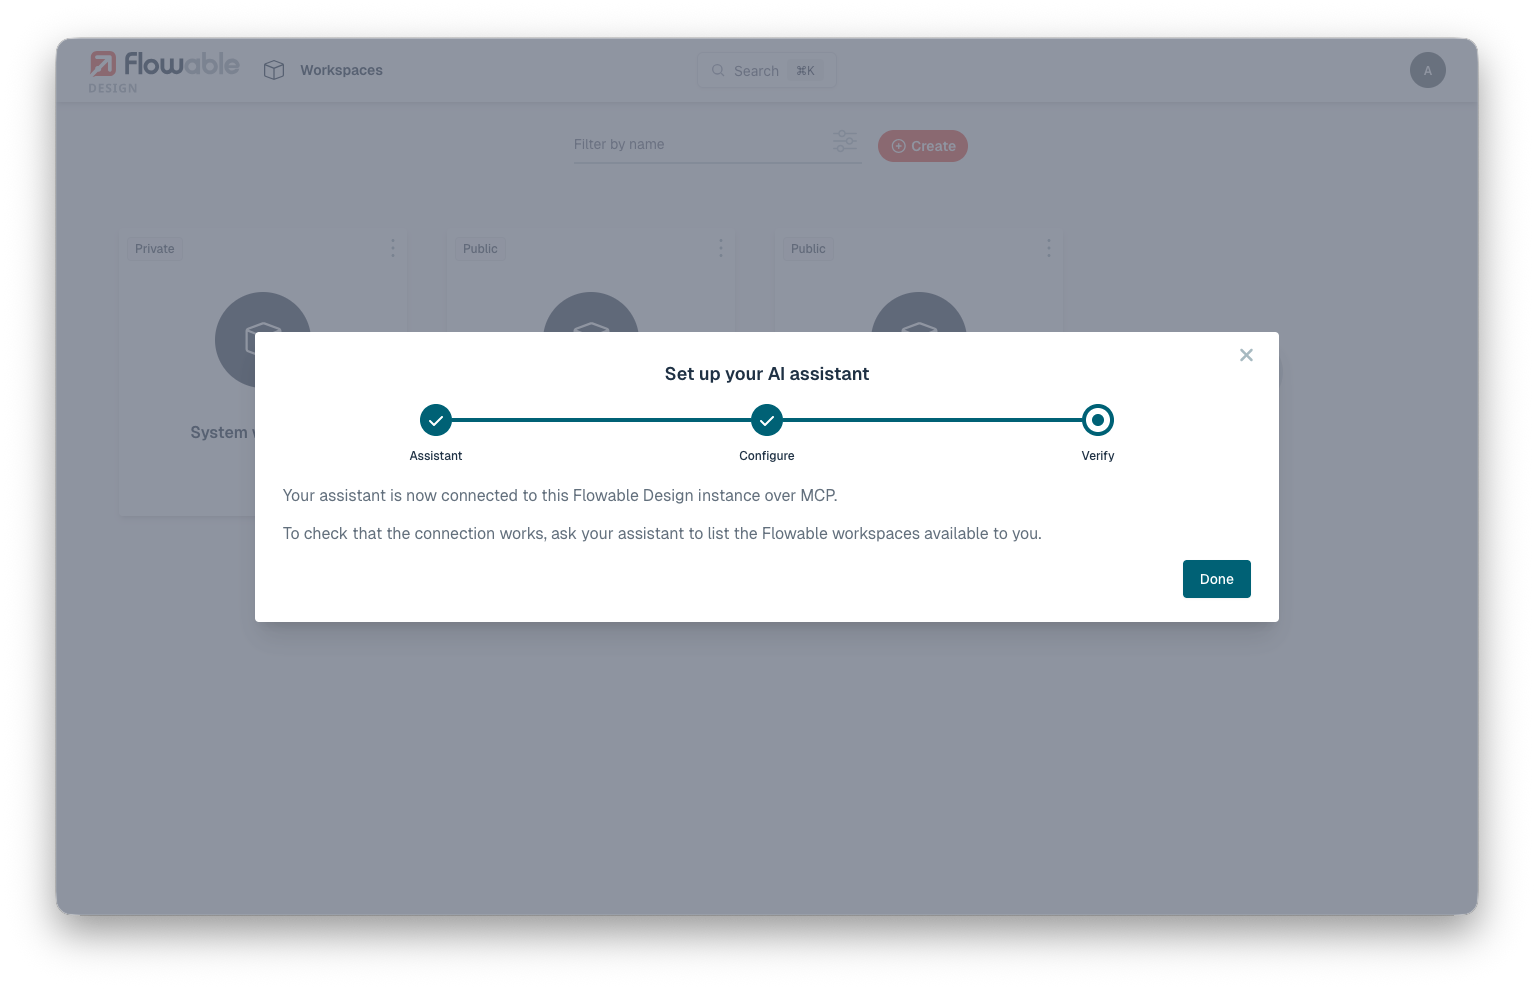
Click Done to close the wizard.
Next steps
- For the tools an assistant can call and how they behave, see the Design MCP server documentation.
- To review or revoke the tokens the wizard creates, see Access Tokens.